It’s that time of year again! The Refashioners is here! If you haven’t heard of the project before, it’s hosted by the amazing Portia Lawrie of the Makery blog. I’m so honored that she asked me to participate again this year. You may remember that last year’s theme was jeans (see my make here). This year the theme is "Suits". To be honest, at first I really wasn’t sure about doing it. Suits make me think of thick, scratchy wool fabric and I live in a warm, sunny climate and happen to have a wool allergy. But Portia wisely pointed out that there are also suits made of linen and wouldn’t that be a lovely fabric to play with? So, I agreed to participate and I’m so glad that I did.
I had a few months for my refashion and over that time did a bit of thrift store shopping, searching for just the right suit. I was really surprised that I couldn’t find anything. Not even a suit section in the probably 5 different Goodwill stores I went to. My mom kindly gave me two of her old suits (on IG here). But I wasn’t feeling that inspired by them. I had a vision in mind of a fuchsia linen suit. No idea why. It was just stuck in there.
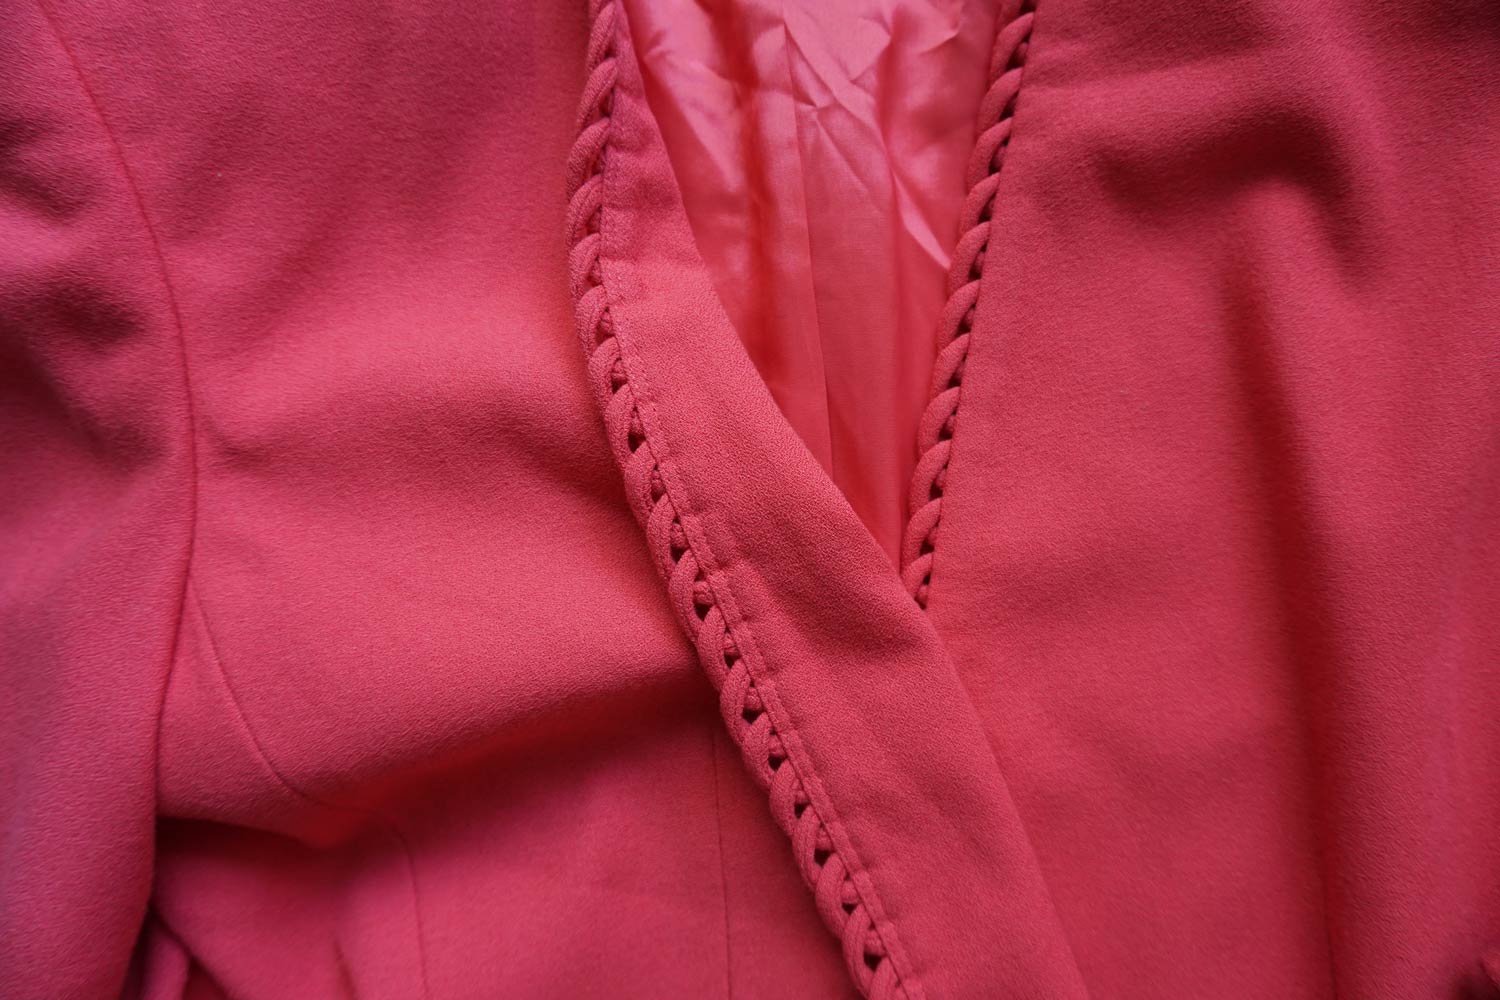
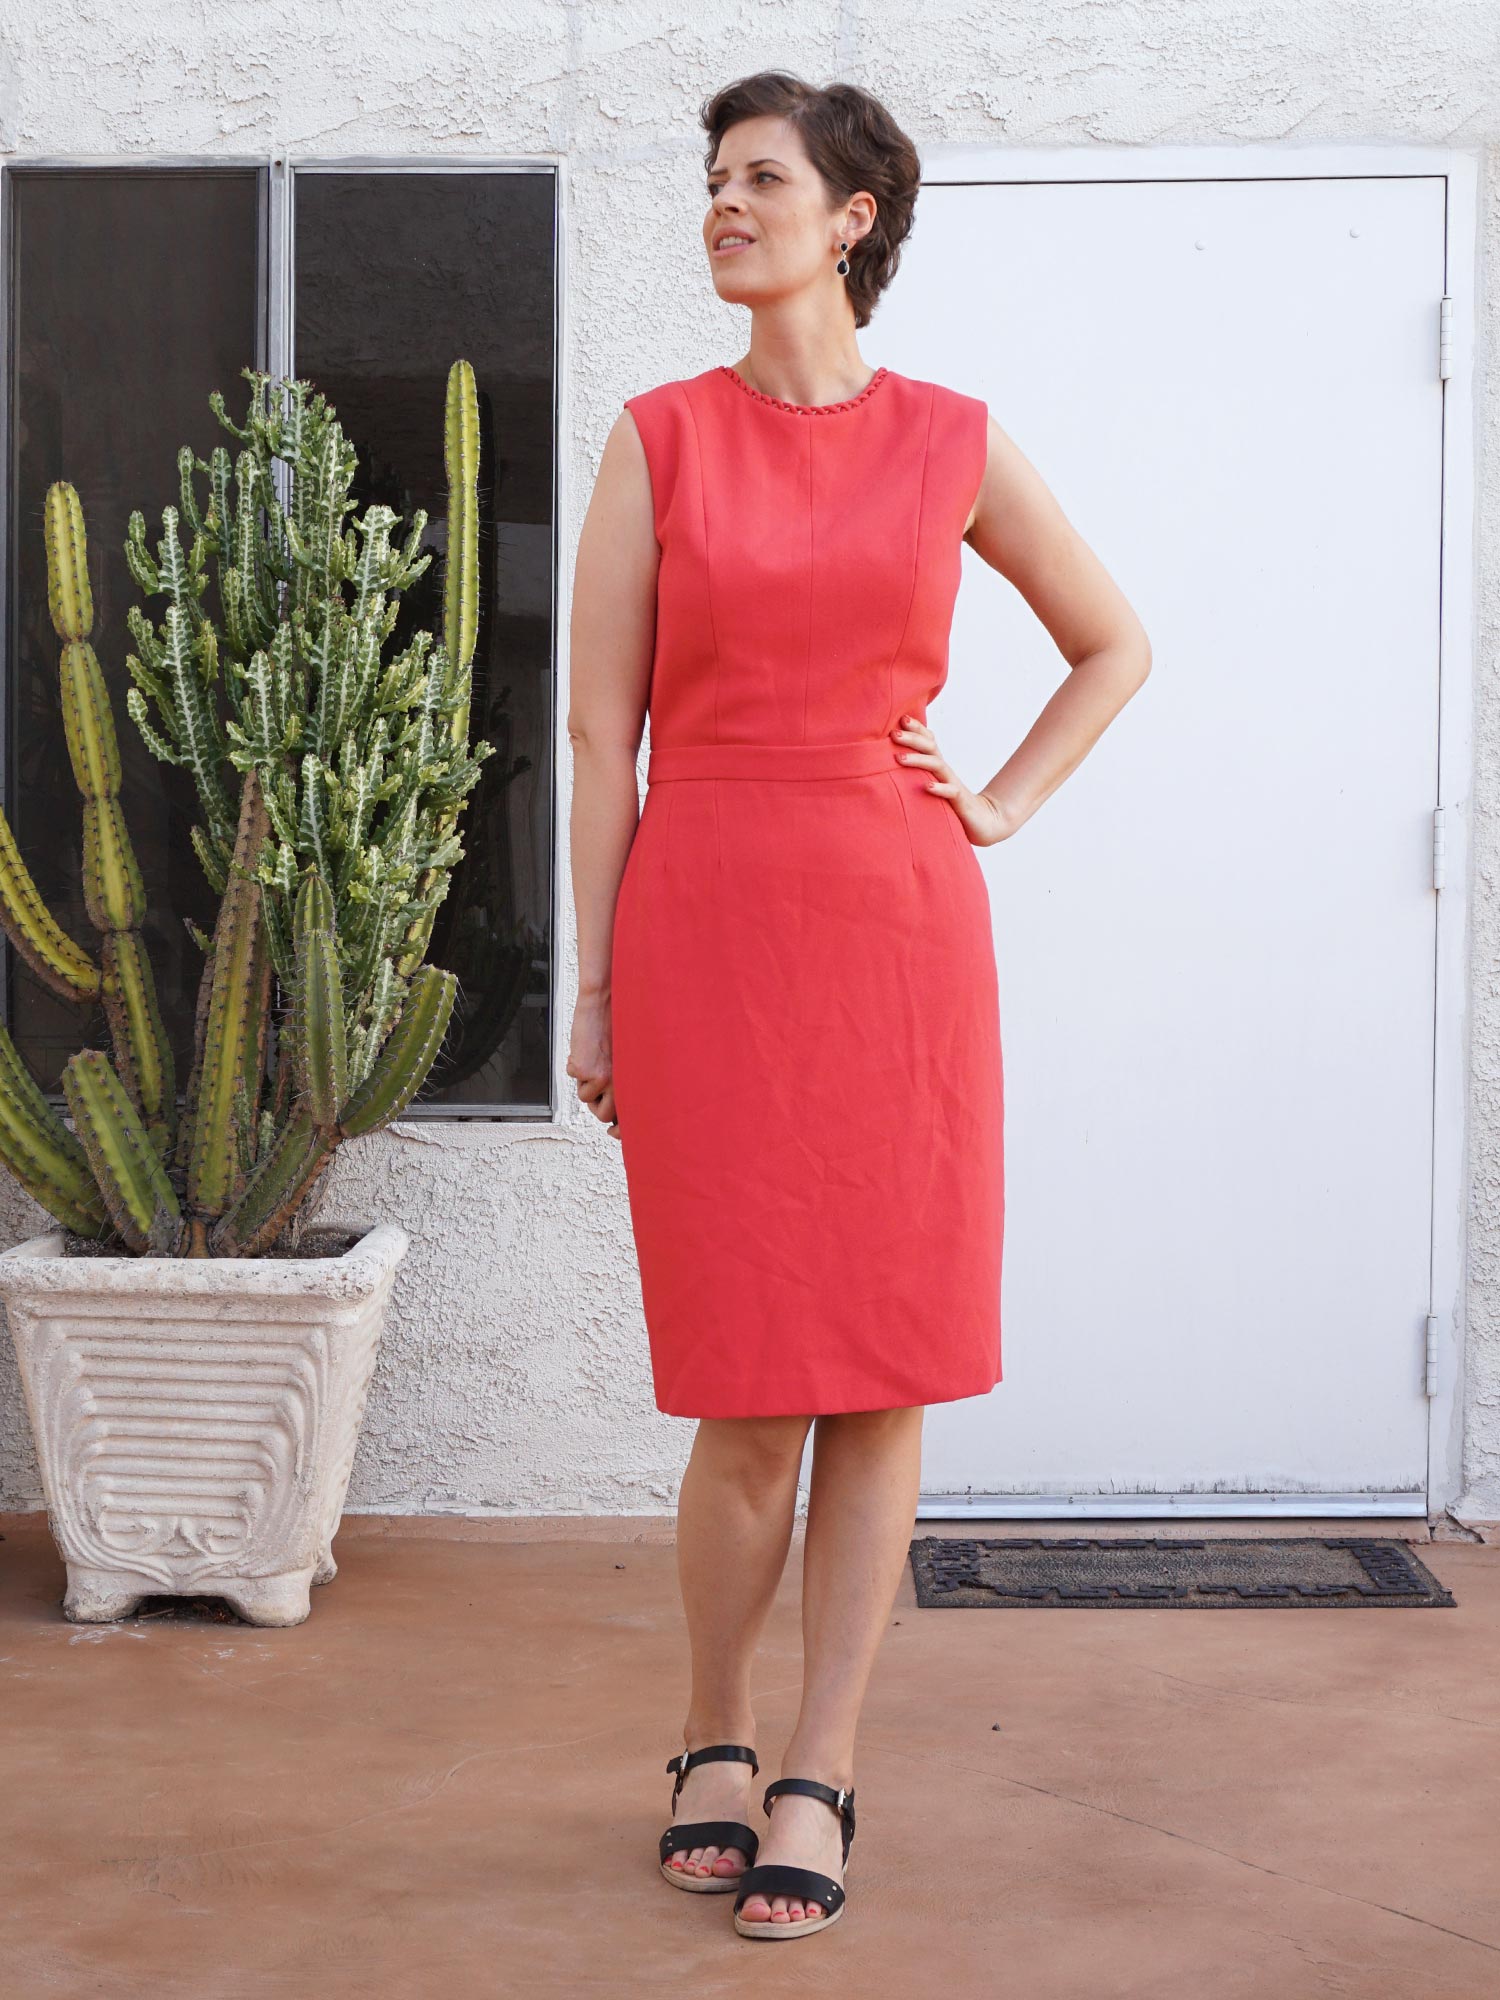
So with less than two weeks before the due date, I trekked over to the giant St. Vincent de Paul. I was delighted to find a whole rack of women’s suits! There were so many options. I almost bought a never worn khaki pant suit that I even contemplated dyeing (which would have been pretty crazy to do on a limited timeline). So, in the end I brought home this coral beauty. It’s one of my favorite colors and I could easily imagine re-using the trim.
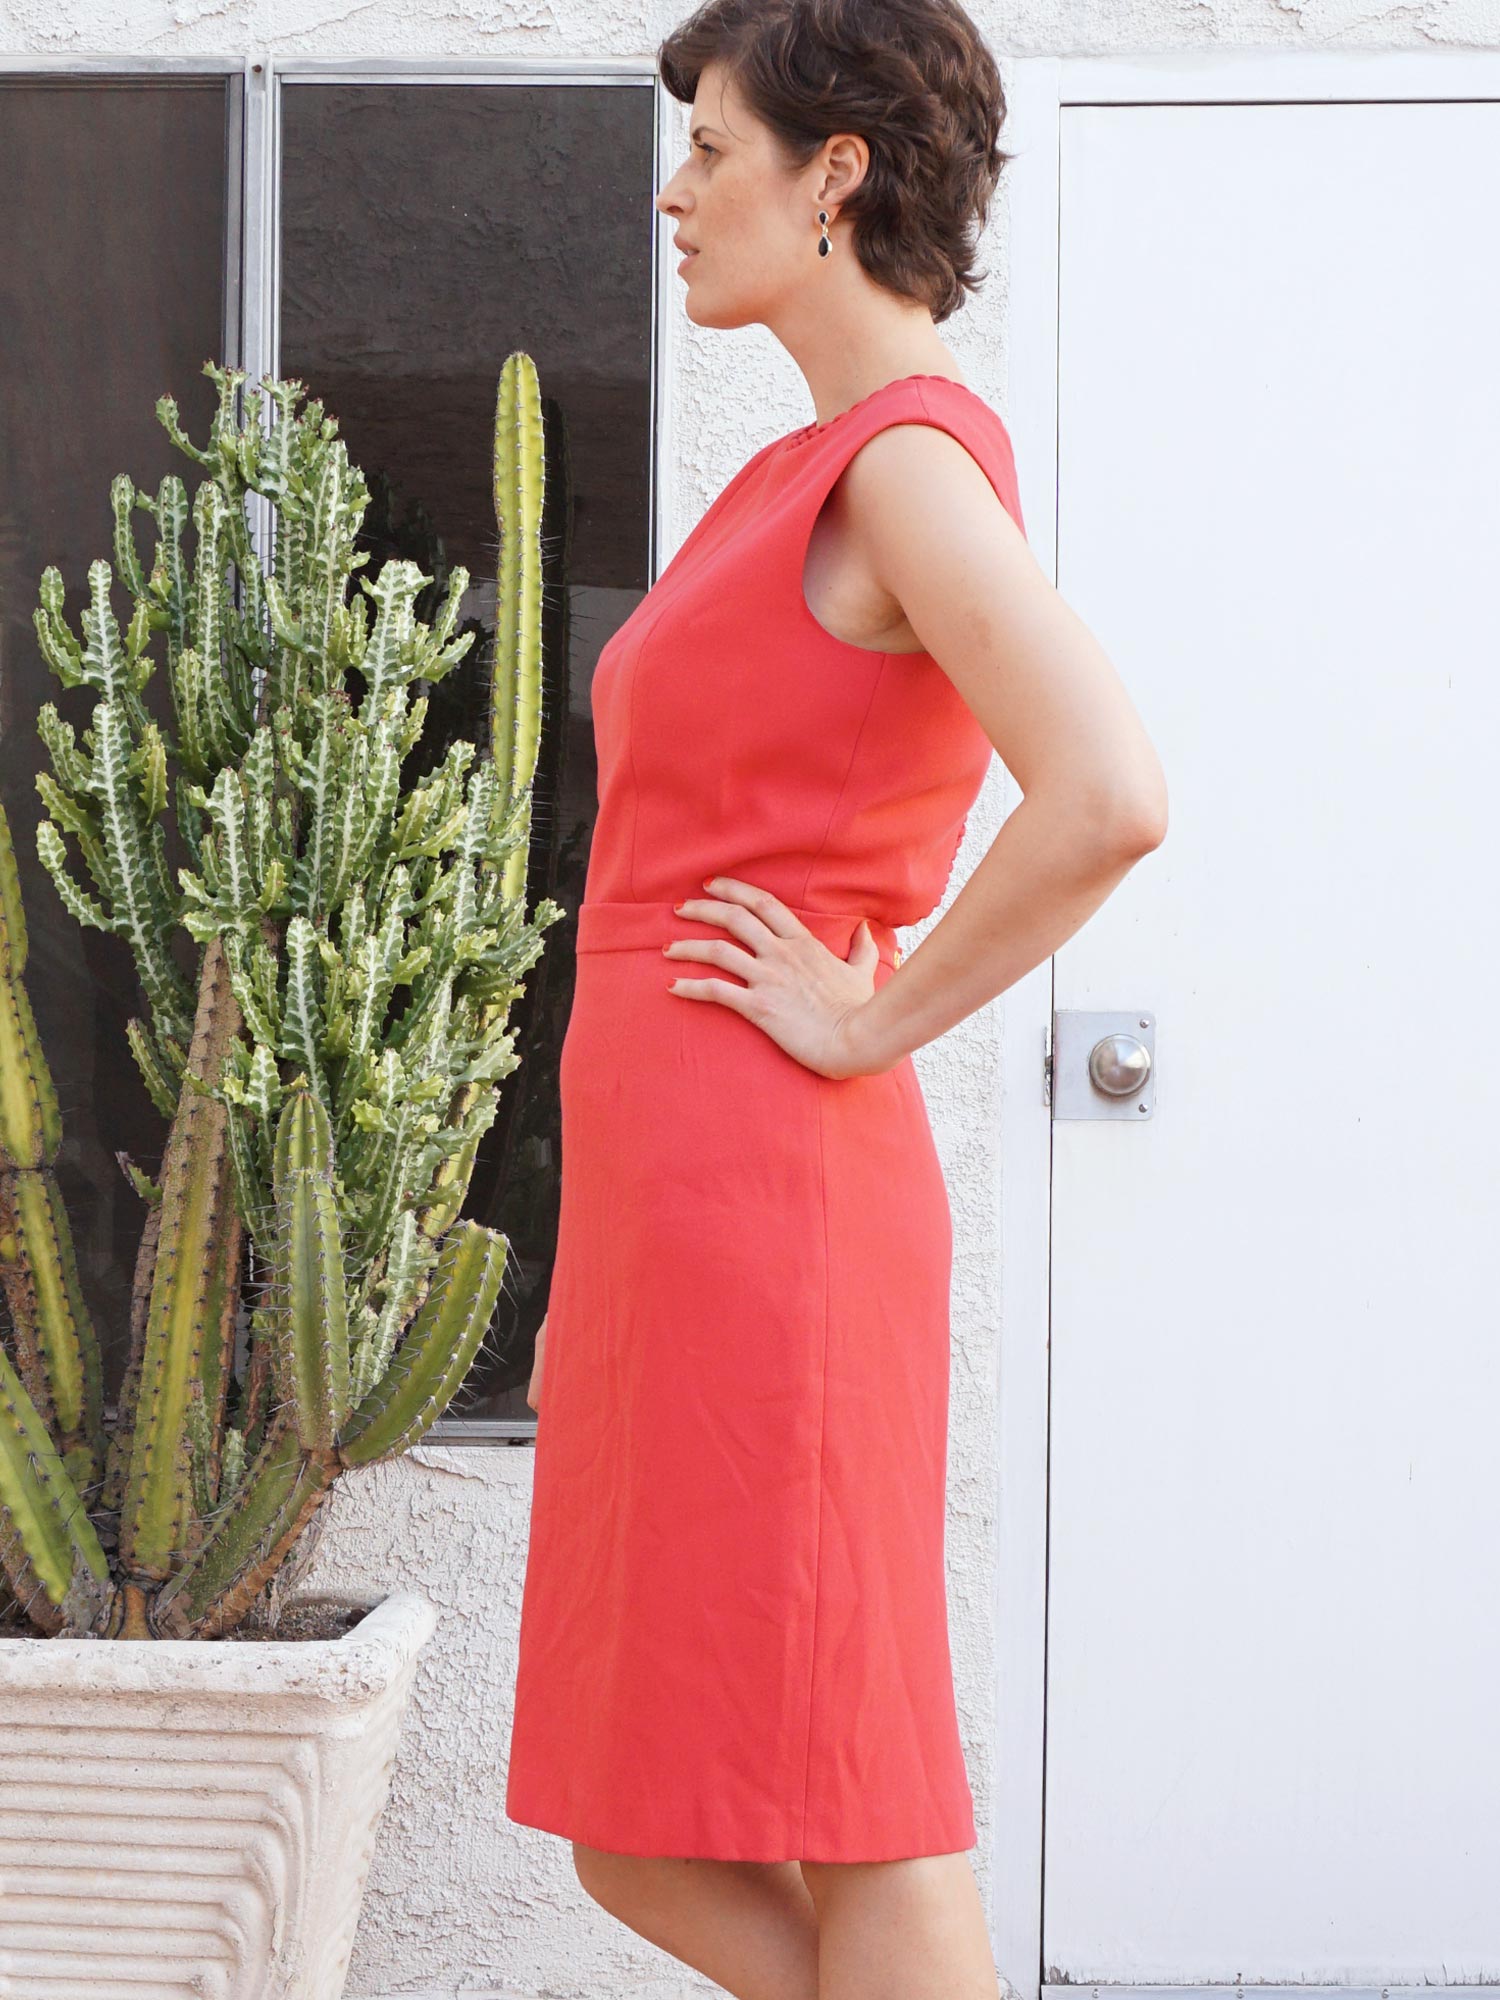
As I didn’t have a lot of time for my refashion, I wanted to make things as easy on myself as possible. I knew I'd be able to use the skirt with very minimal changes. I even used the original zipper. I just needed to find a dress bodice pattern that I knew would fit. I was looking for a design that would highlight the trim and settled on something with an open back.
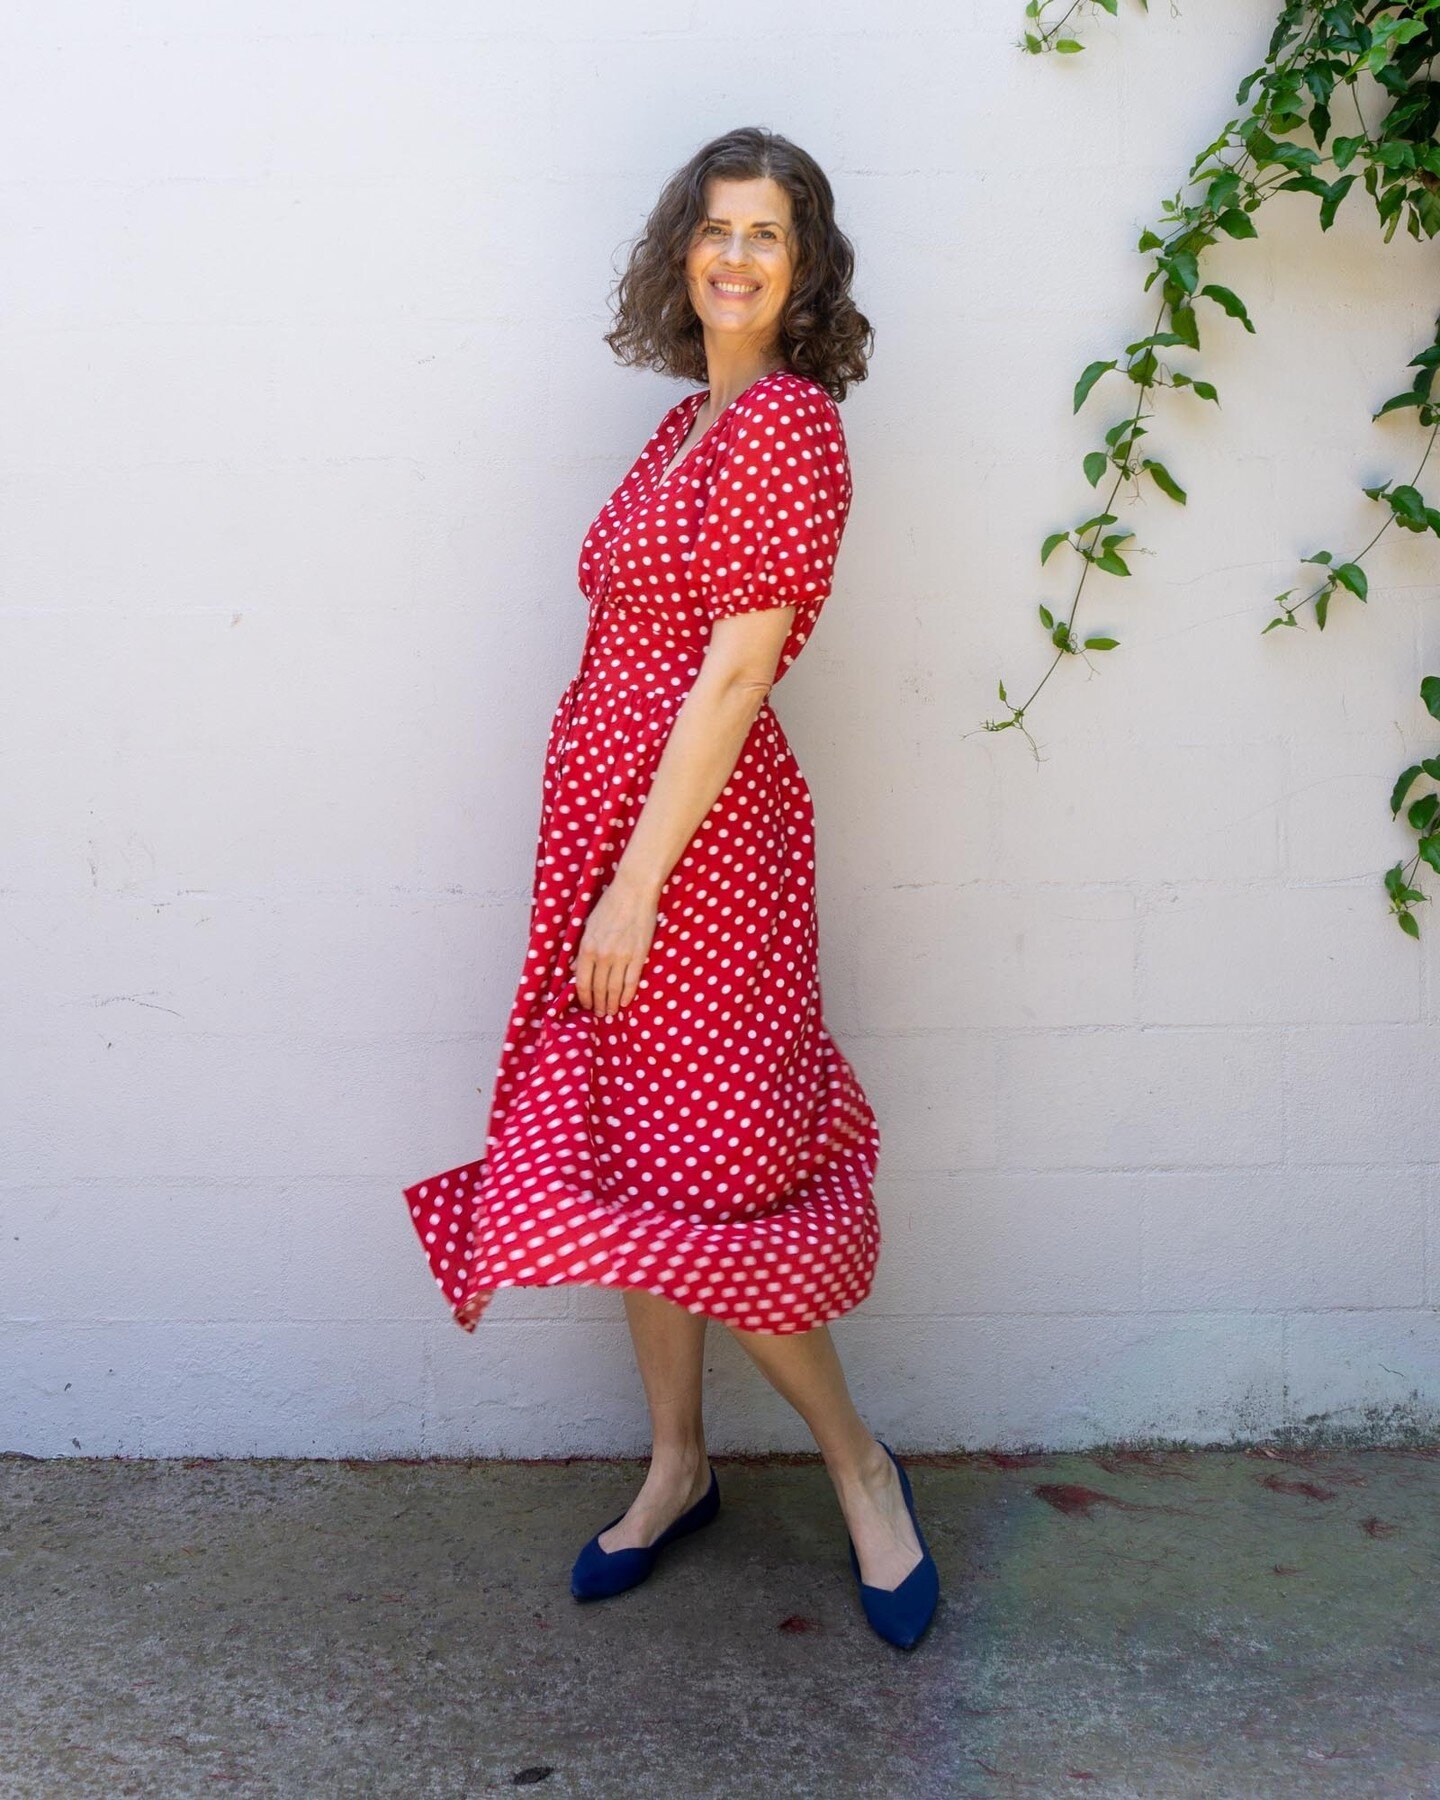
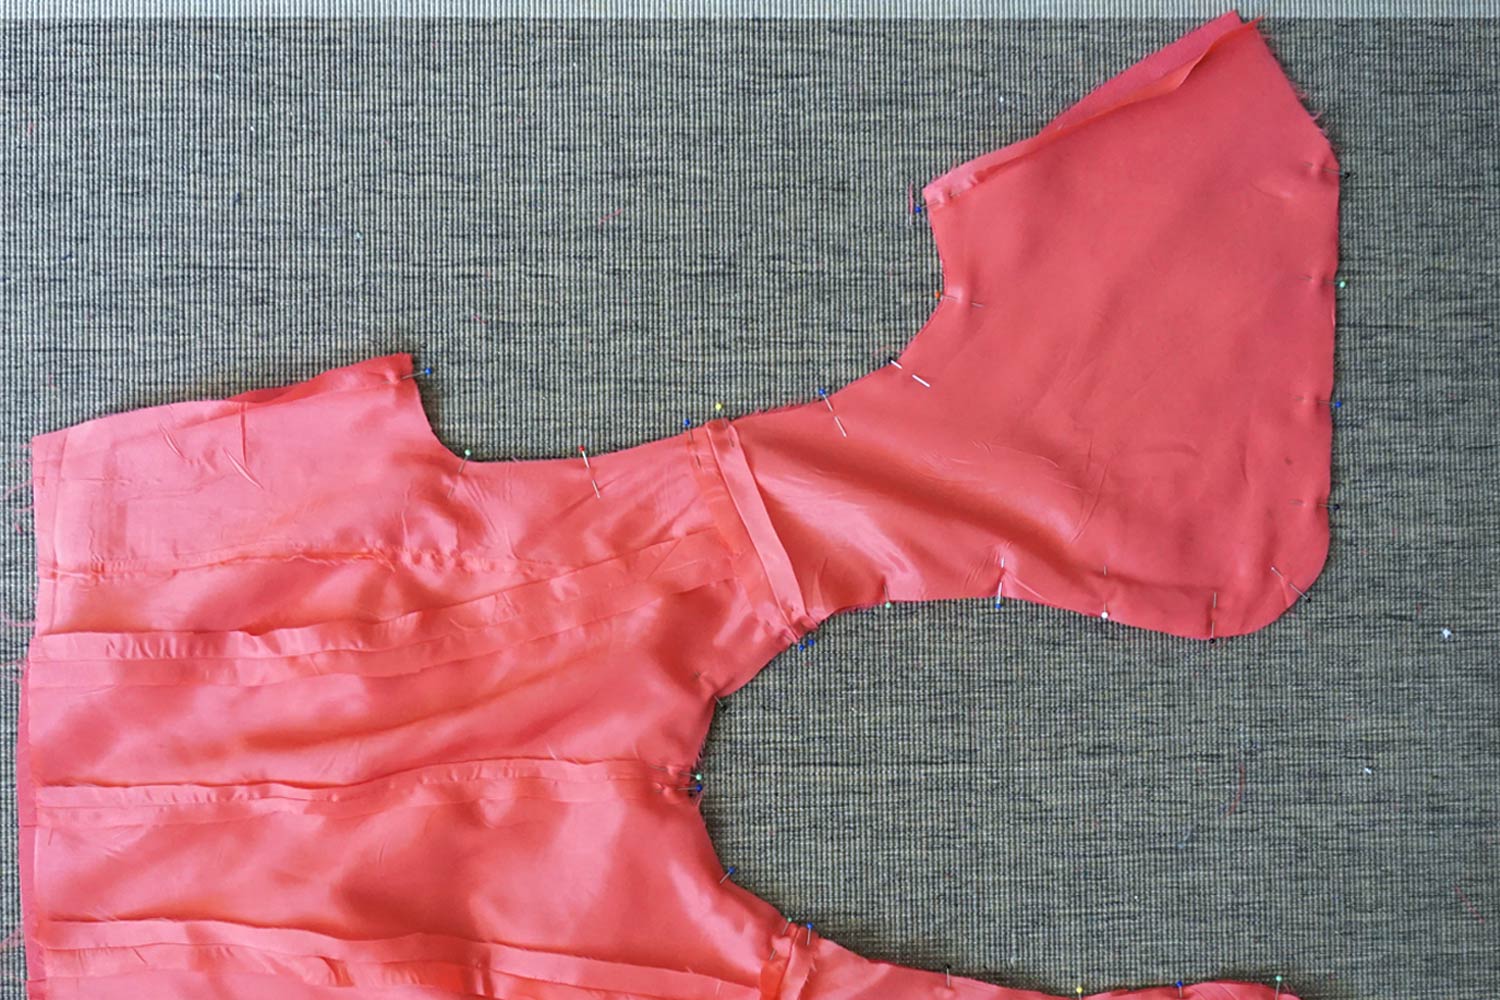
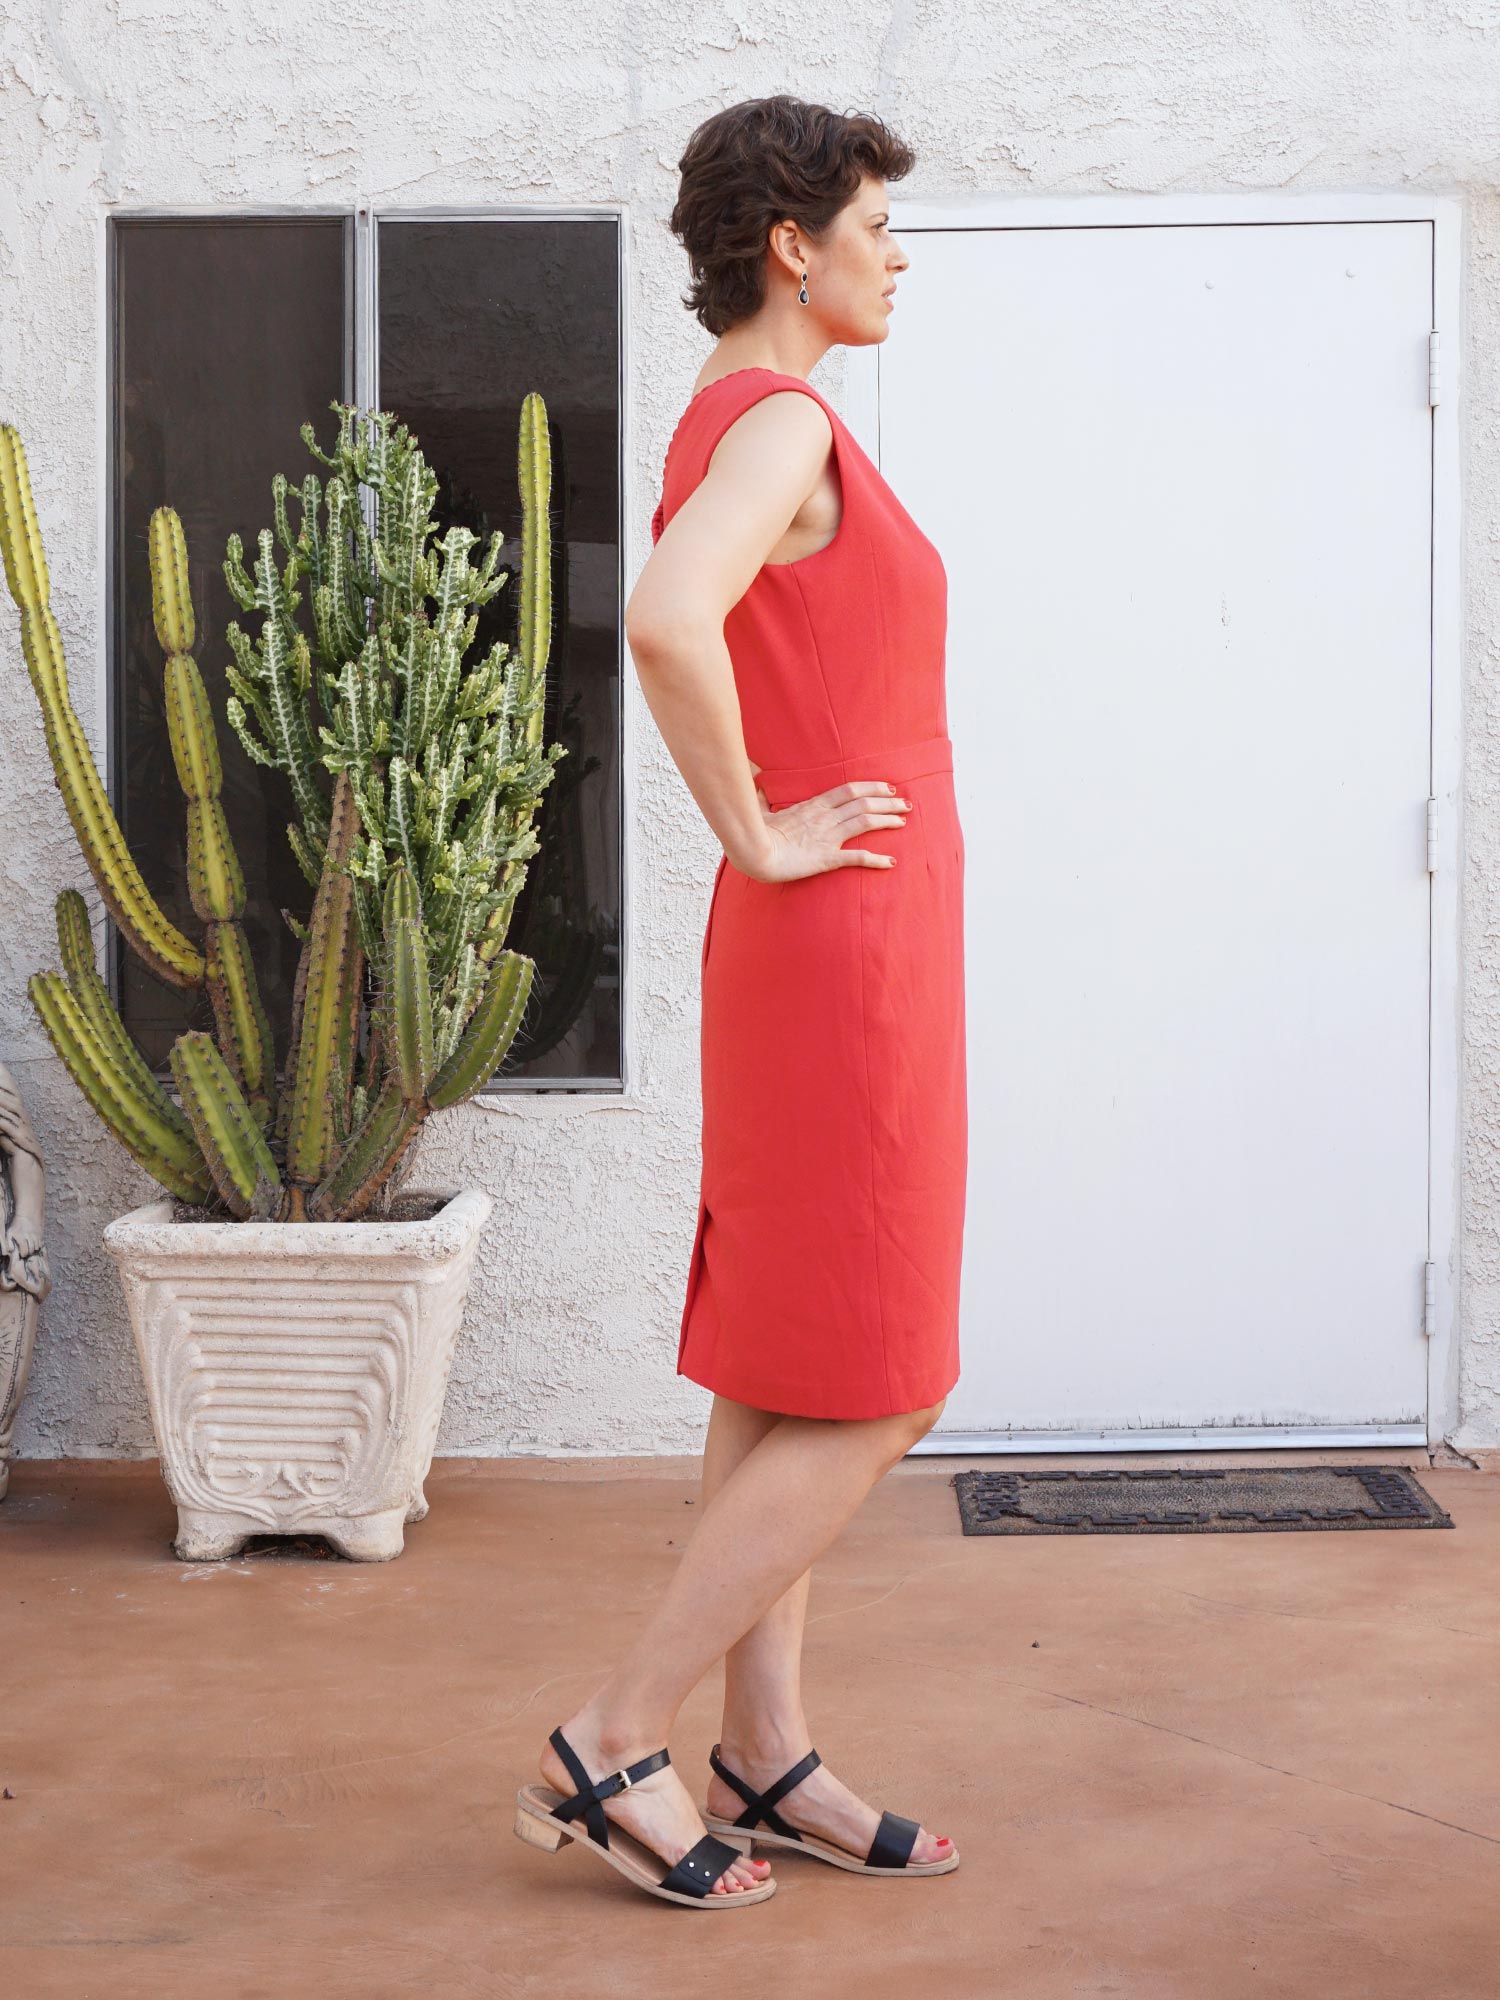
I decided to make a dress with a fitted front bodice and wrap back with a cut out at the bottom of the back bodice. I selected two patterns that I've used before so that I wouldn't have to make a muslin. For the back I used a modified version Simplicity 1873 (based on this very old make). For the front I used Vogue V9075 (previously used here), as it was easier to cut pieces for a princess seam dress. Rather miraculously, the width of the shoulders and length of the bodice were the same in both patterns!
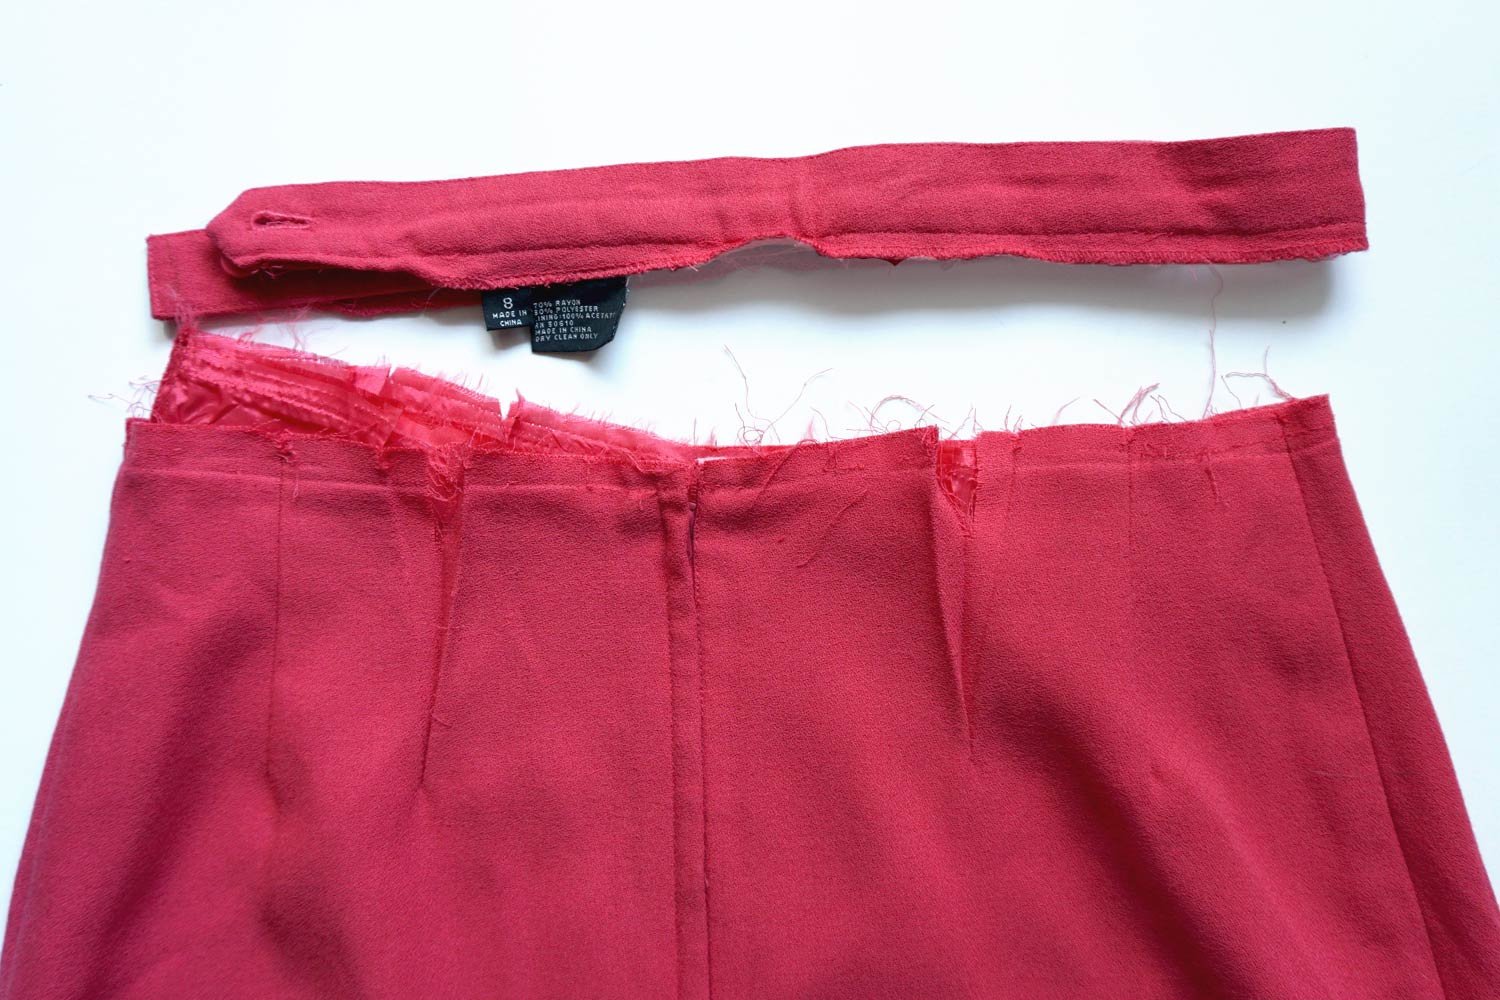
Next, I started taking apart the suit. I removed the waistband from the skirt and set it aside. The waist was a bit snug on me but there were 8 darts in the skirt so I knew I could let those out and cut a new larger waistband. It was fairly easy to take apart by cutting a few stitches at the end of a seam and then I just used brute force and pulled apart the the rest. I know. Dangerous. But I was in a time crunch and these were old stitches. I started by testing just a little bit to see if it would tear the fabric. It didn’t tear at all so I set about ripping apart the seams by pulling. Pulling the seams apart is soooo much faster than using a seam ripper to cut the stitches.
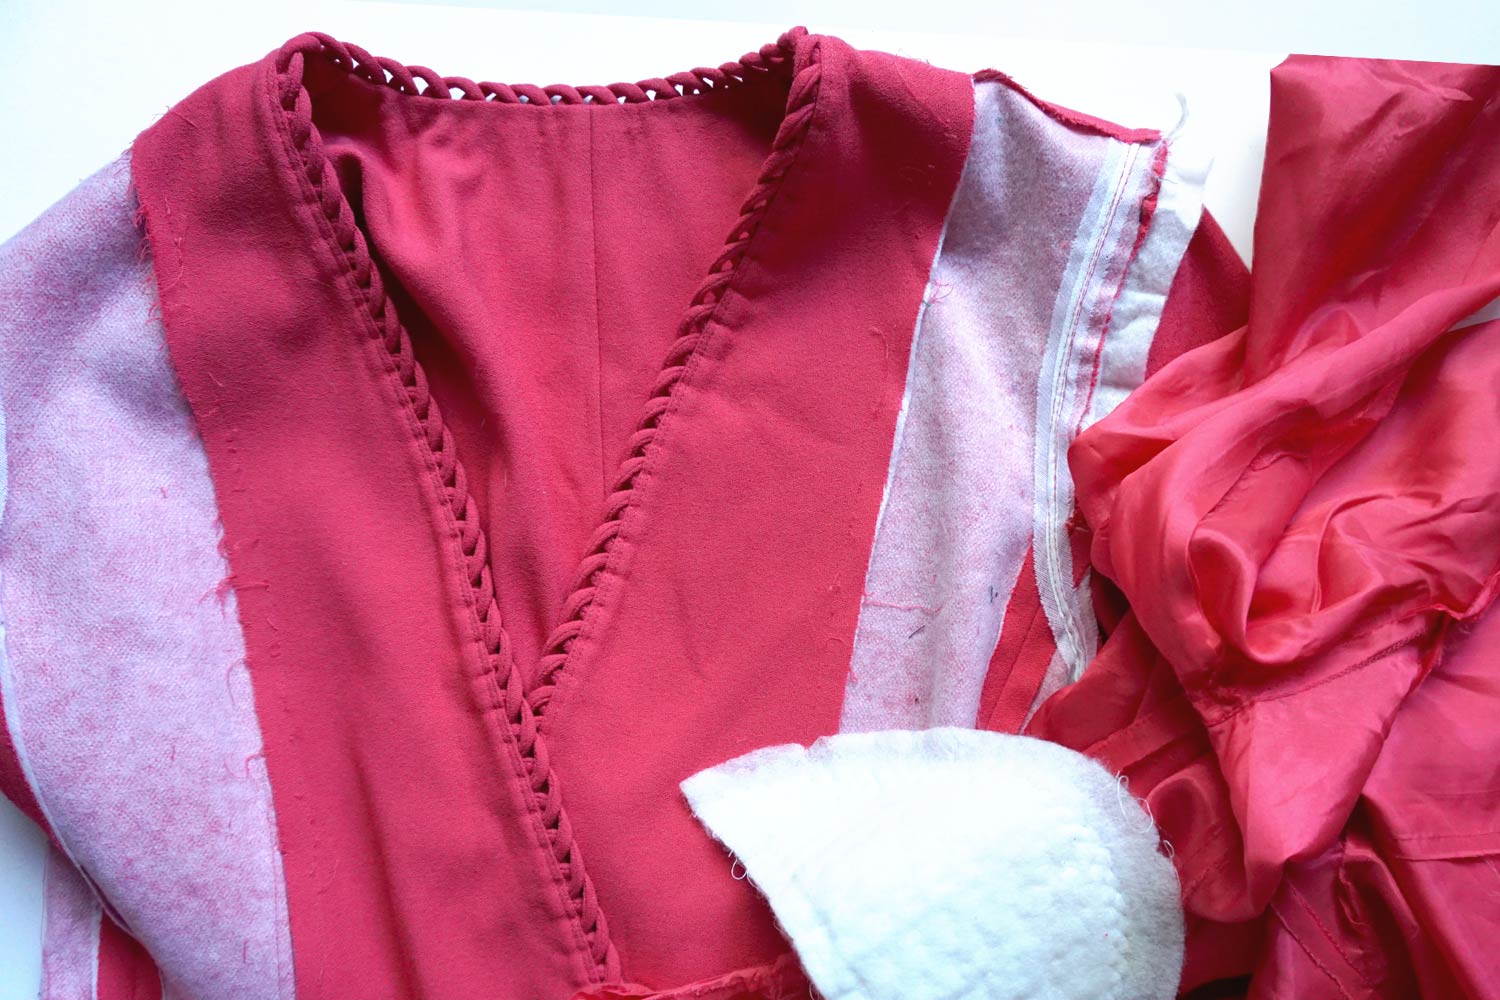
The entire body of the jacket was lined and interfaced (sleeves excepted). I cut the front bodice from the body of the jacket and the back of the dress from the sleeves. Because of fabric restrictions, I had to include a center front seam, cutting the center front piece from the center back of the jacket. For the lining of the dress, I used the lining from the jacket. I cut the waistband last and it is in 3 pieces (one for front and two for the back) because there wasn’t enough fabric to cut it in one piece. Also, in order to attach the both the bodice and the skirt to the waistband, there's a waistband facing (so 6 total pieces).
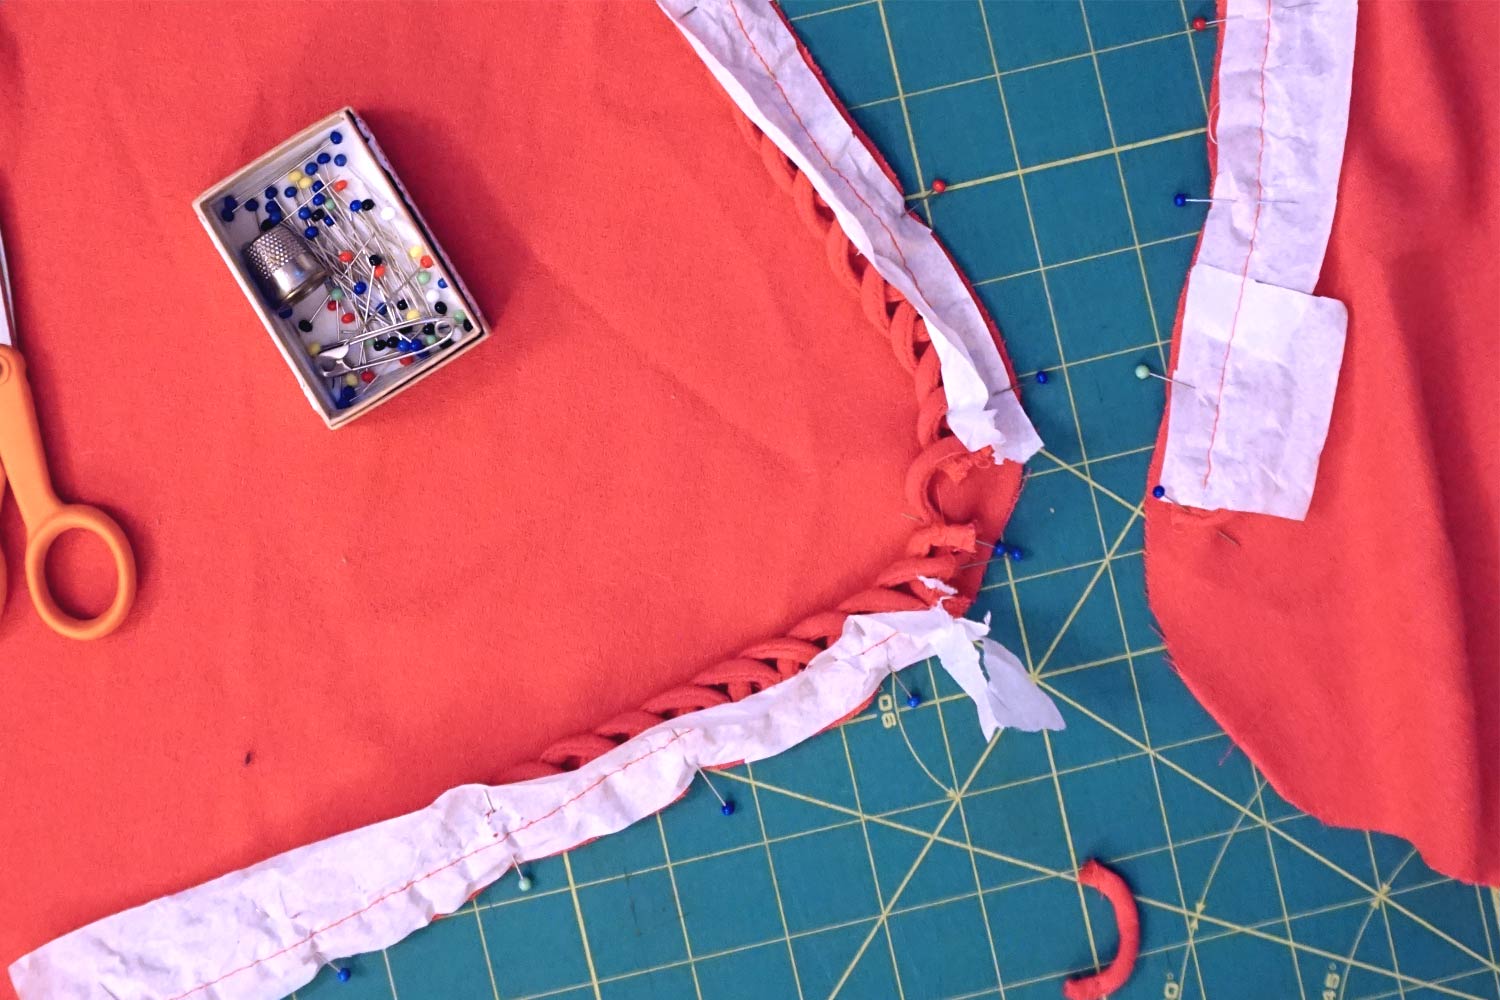
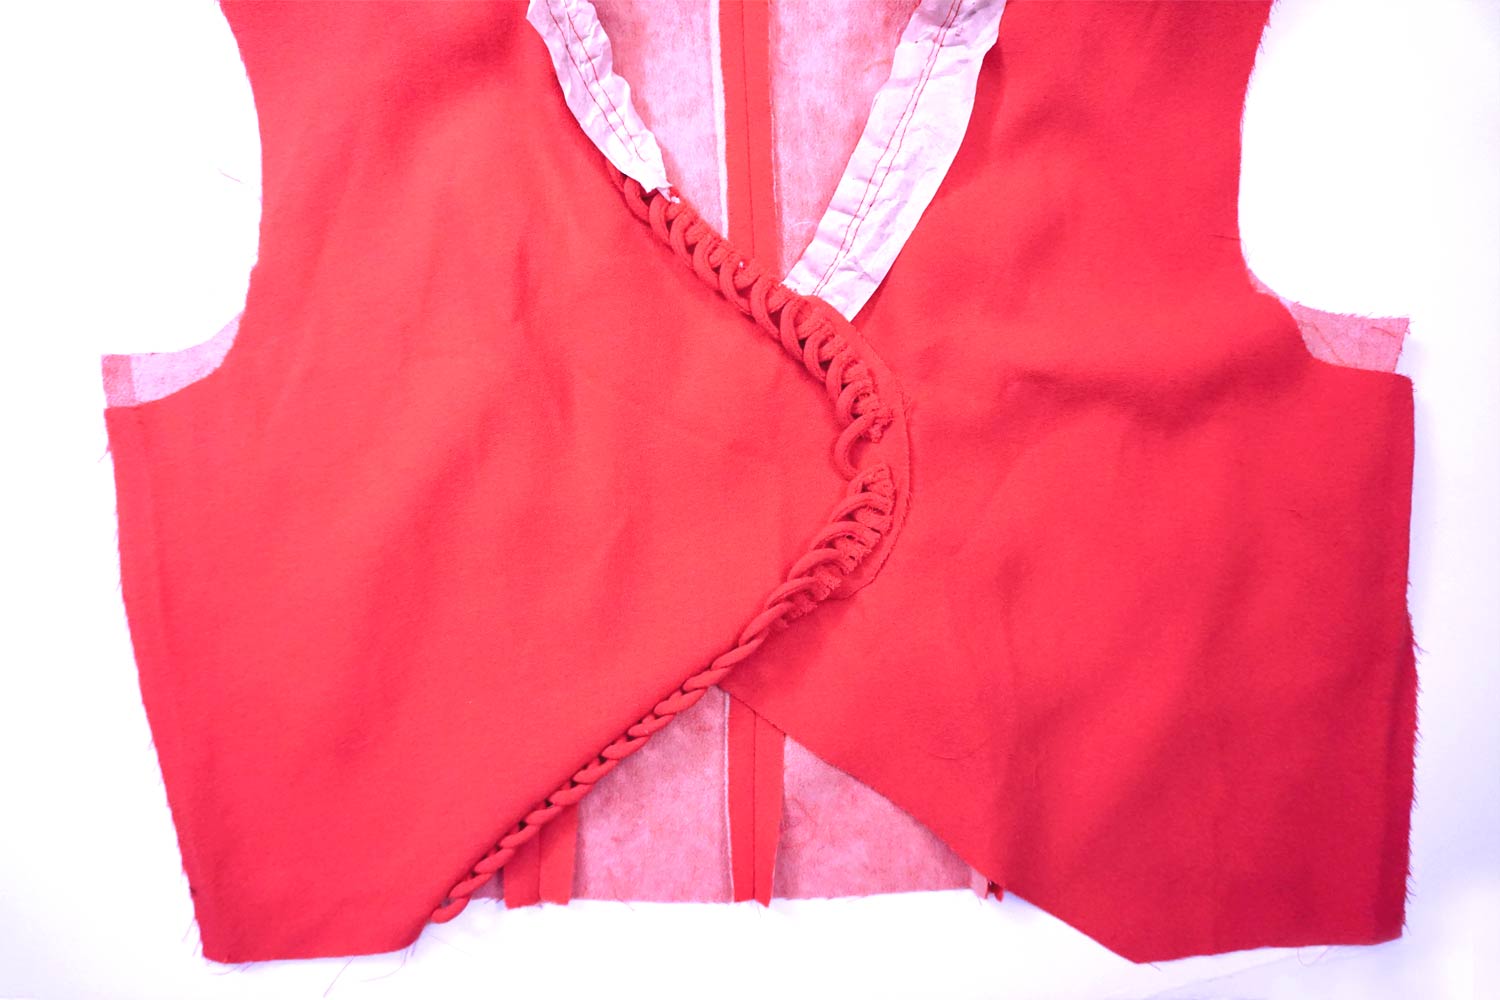
I stitched the front bodice together and then sewed it at the shoulder seams to the back bodice pieces. Next I needed to attach the trim. Removing the trim from the suit was a little tricky and I’m pretty proud of my solution. When I started to remove the trim, it was going to come apart in individual pieces. I wanted to keep the piping set in curves so I could apply it all at once and not have to pin each individual piece. So while it was still attached to the jacket neckline, I sewed a piece of tissue paper to just the piping. Then I removed the piping from the suit so that I had the piping attached to the tissue paper in one long strip. The paper served as a stabilizing backing and kept everything in place. I then trimmed the tissue paper so that it had a 5/8 inch seam allowance. I pinned it to the neckline and basted in place. The jacket used one loop as a closure so I centered that at the back. After basting the trim on, I gently removed the tissue paper. Voila! The trim was on my new garment with minimal headache. Next I sewed my lining to the bodice, trimmed, under stitched and turned it right side out. I stitched the side seams of the bodice and then sewed the bodice and the skirt to the waist band.
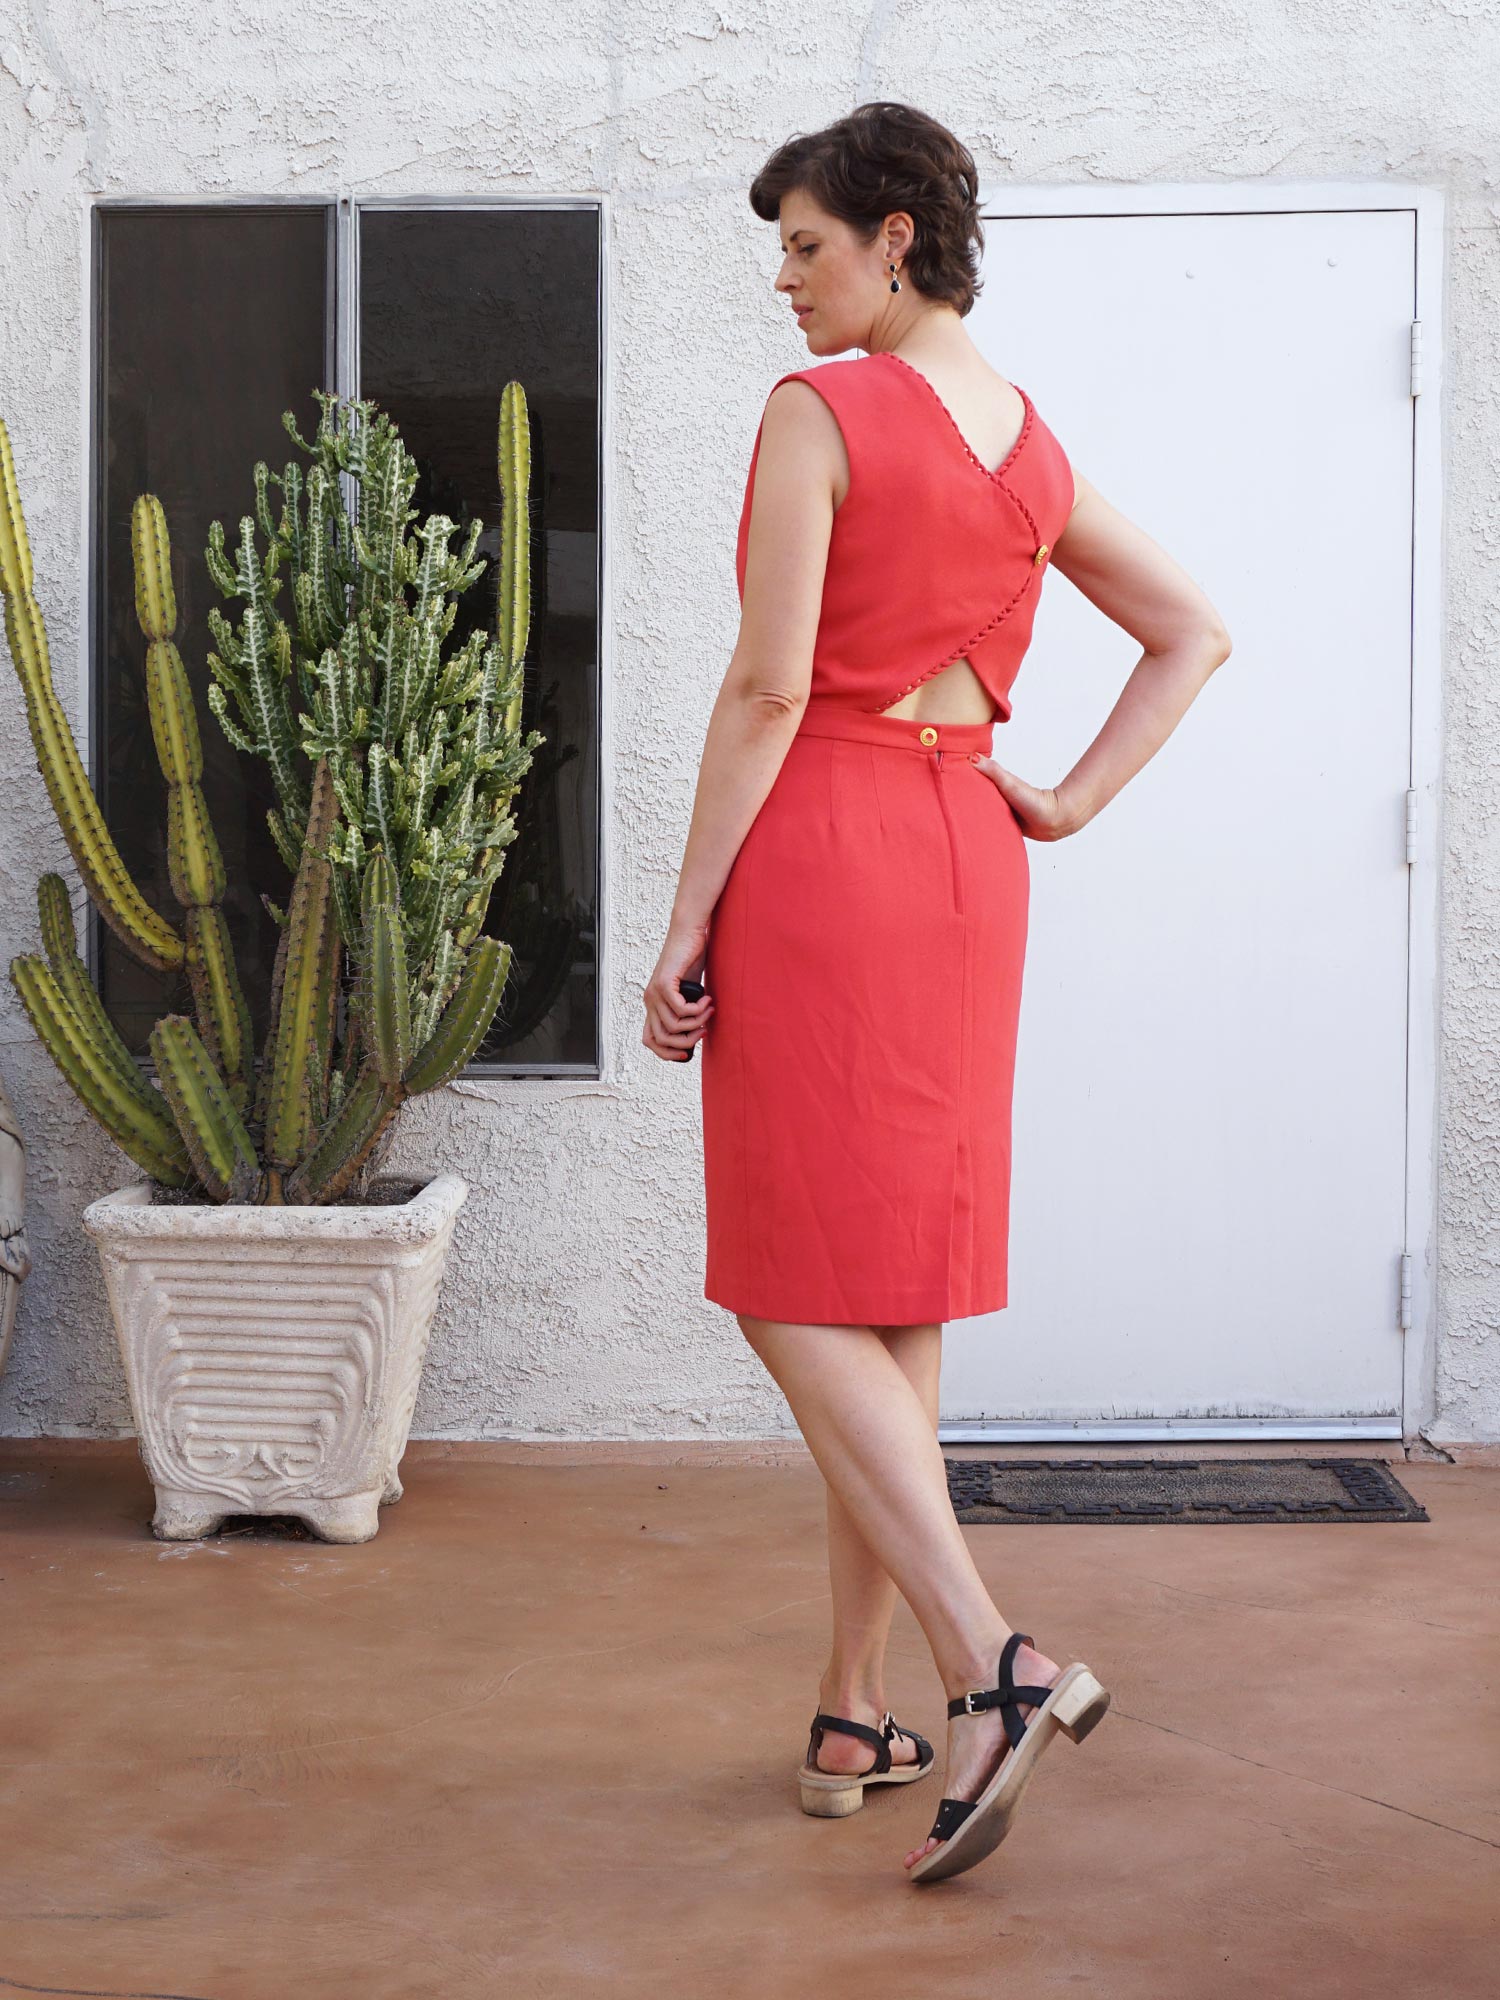
I reused the buttons from the suit for the back of the dress and the back of the skirt. The zipper in the skirt is original and also the only true opening. The wrap back is stitched in place and the button is purely decorative. It does make it a tad tough to take on and off. A longer zipper would help that.
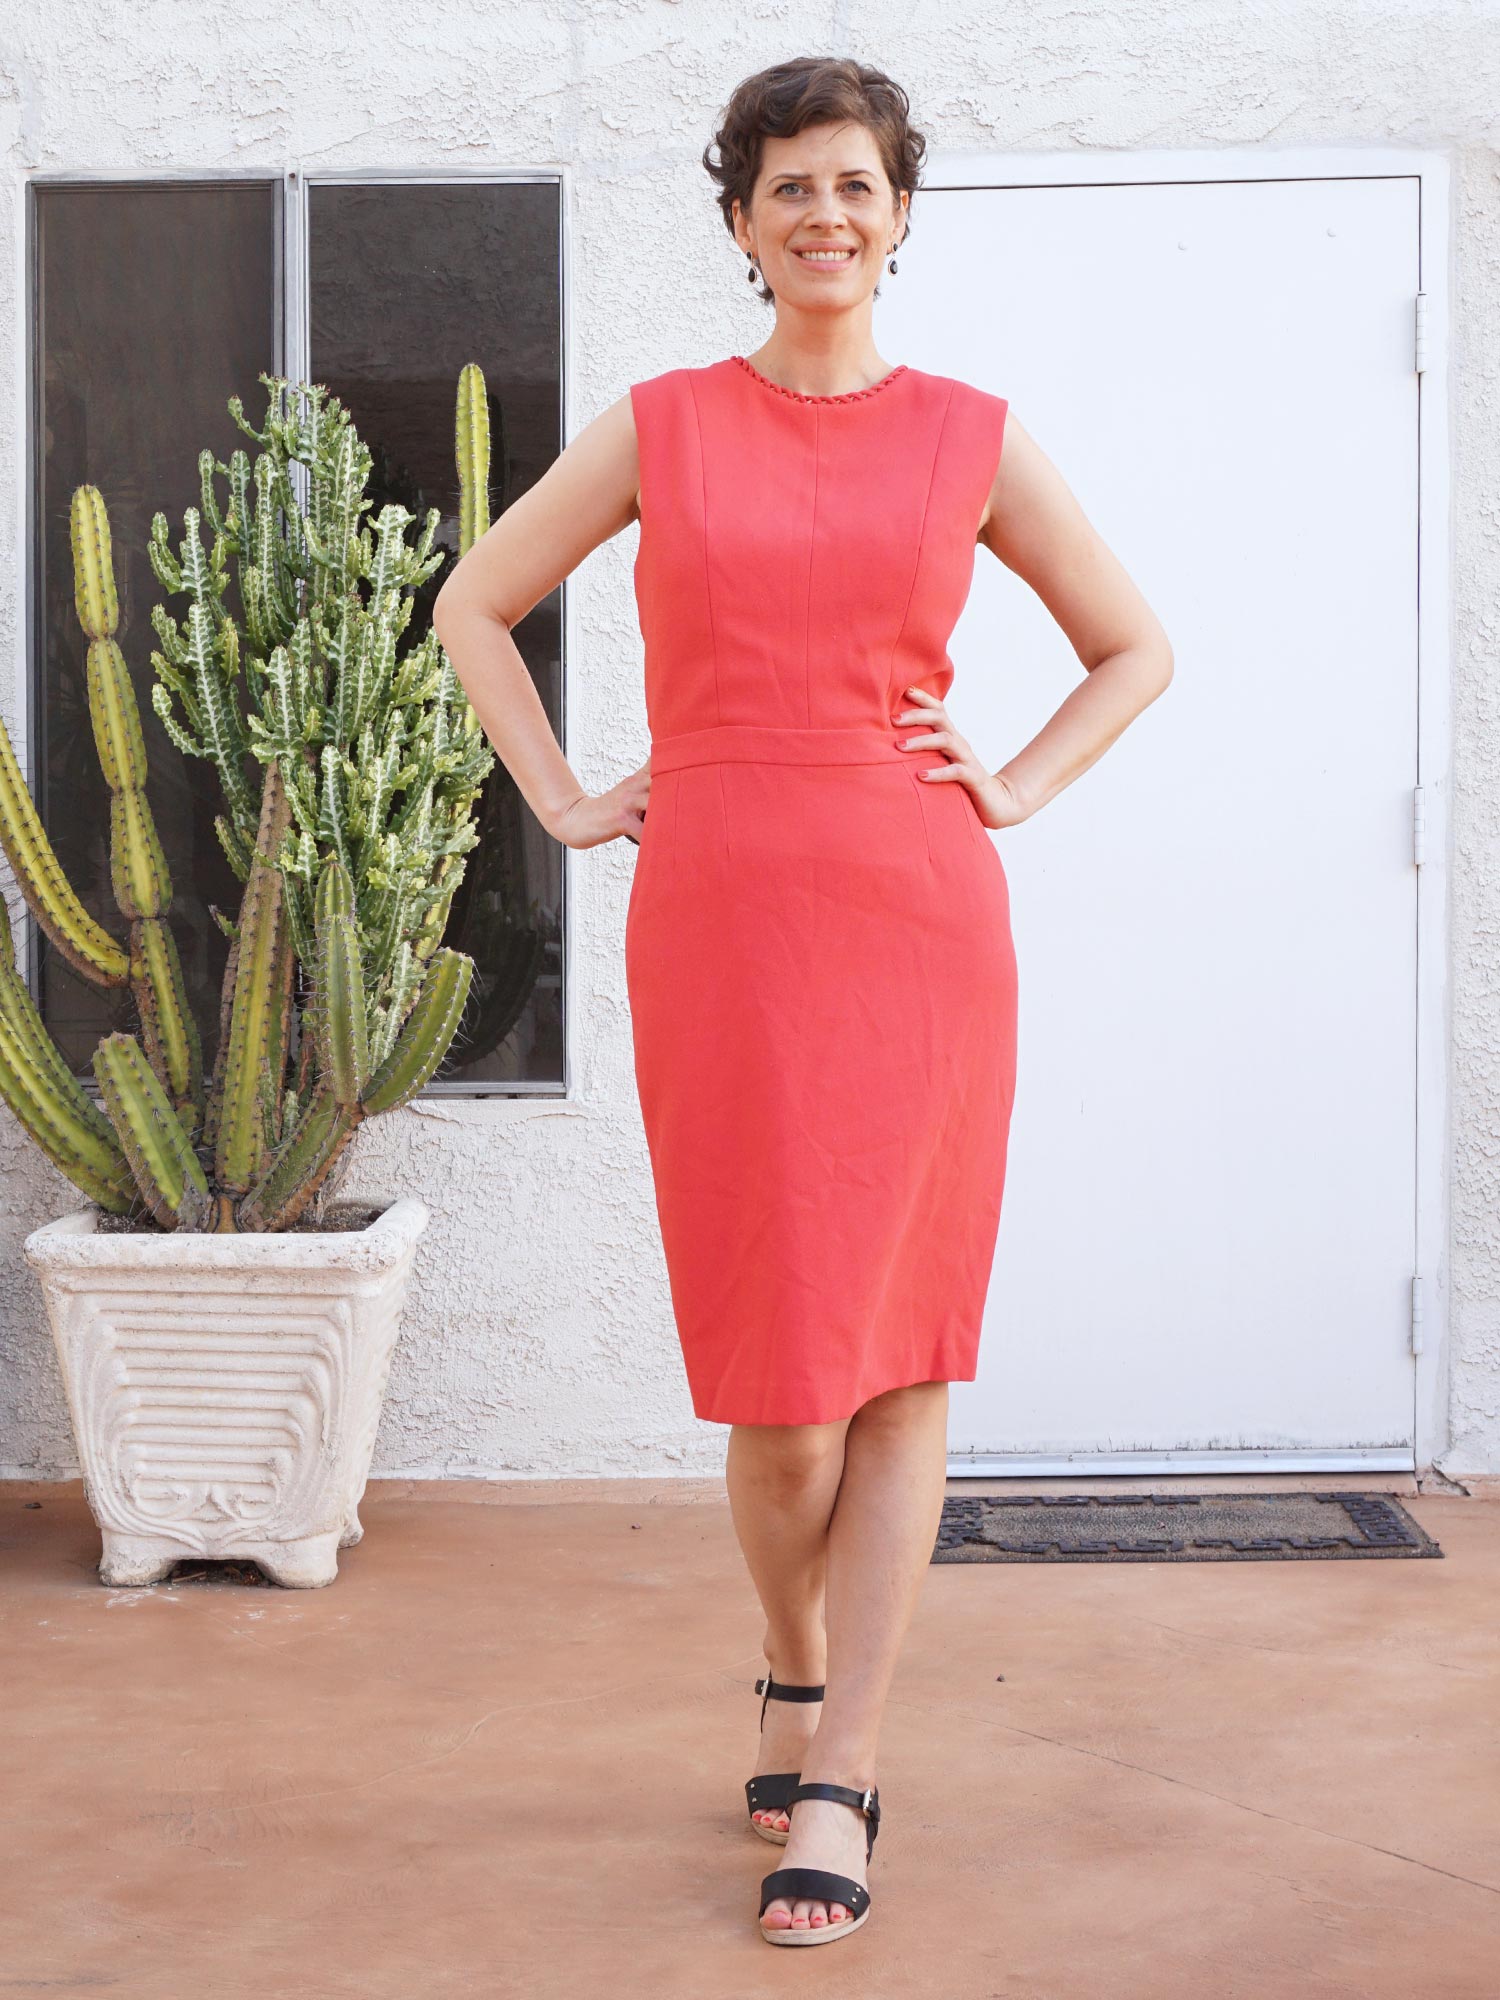
The main fabric is 70% rayon and 30% polyester and the lining is 100% acetate. It's all comfortable, easy to sew with and totally itch free. I'm really, really pleased with my dress. I love the fitted silhouette. It actually reminds me of the last dress I posted. Such a classic style but with interesting details. Now I just need the right event to wear it to.
So are you now inspired to refashion something yourself? Well good! Because you can enter your refashion in the community challenge and maybe win a bunch of fabulous prizes! Get all the details right here.