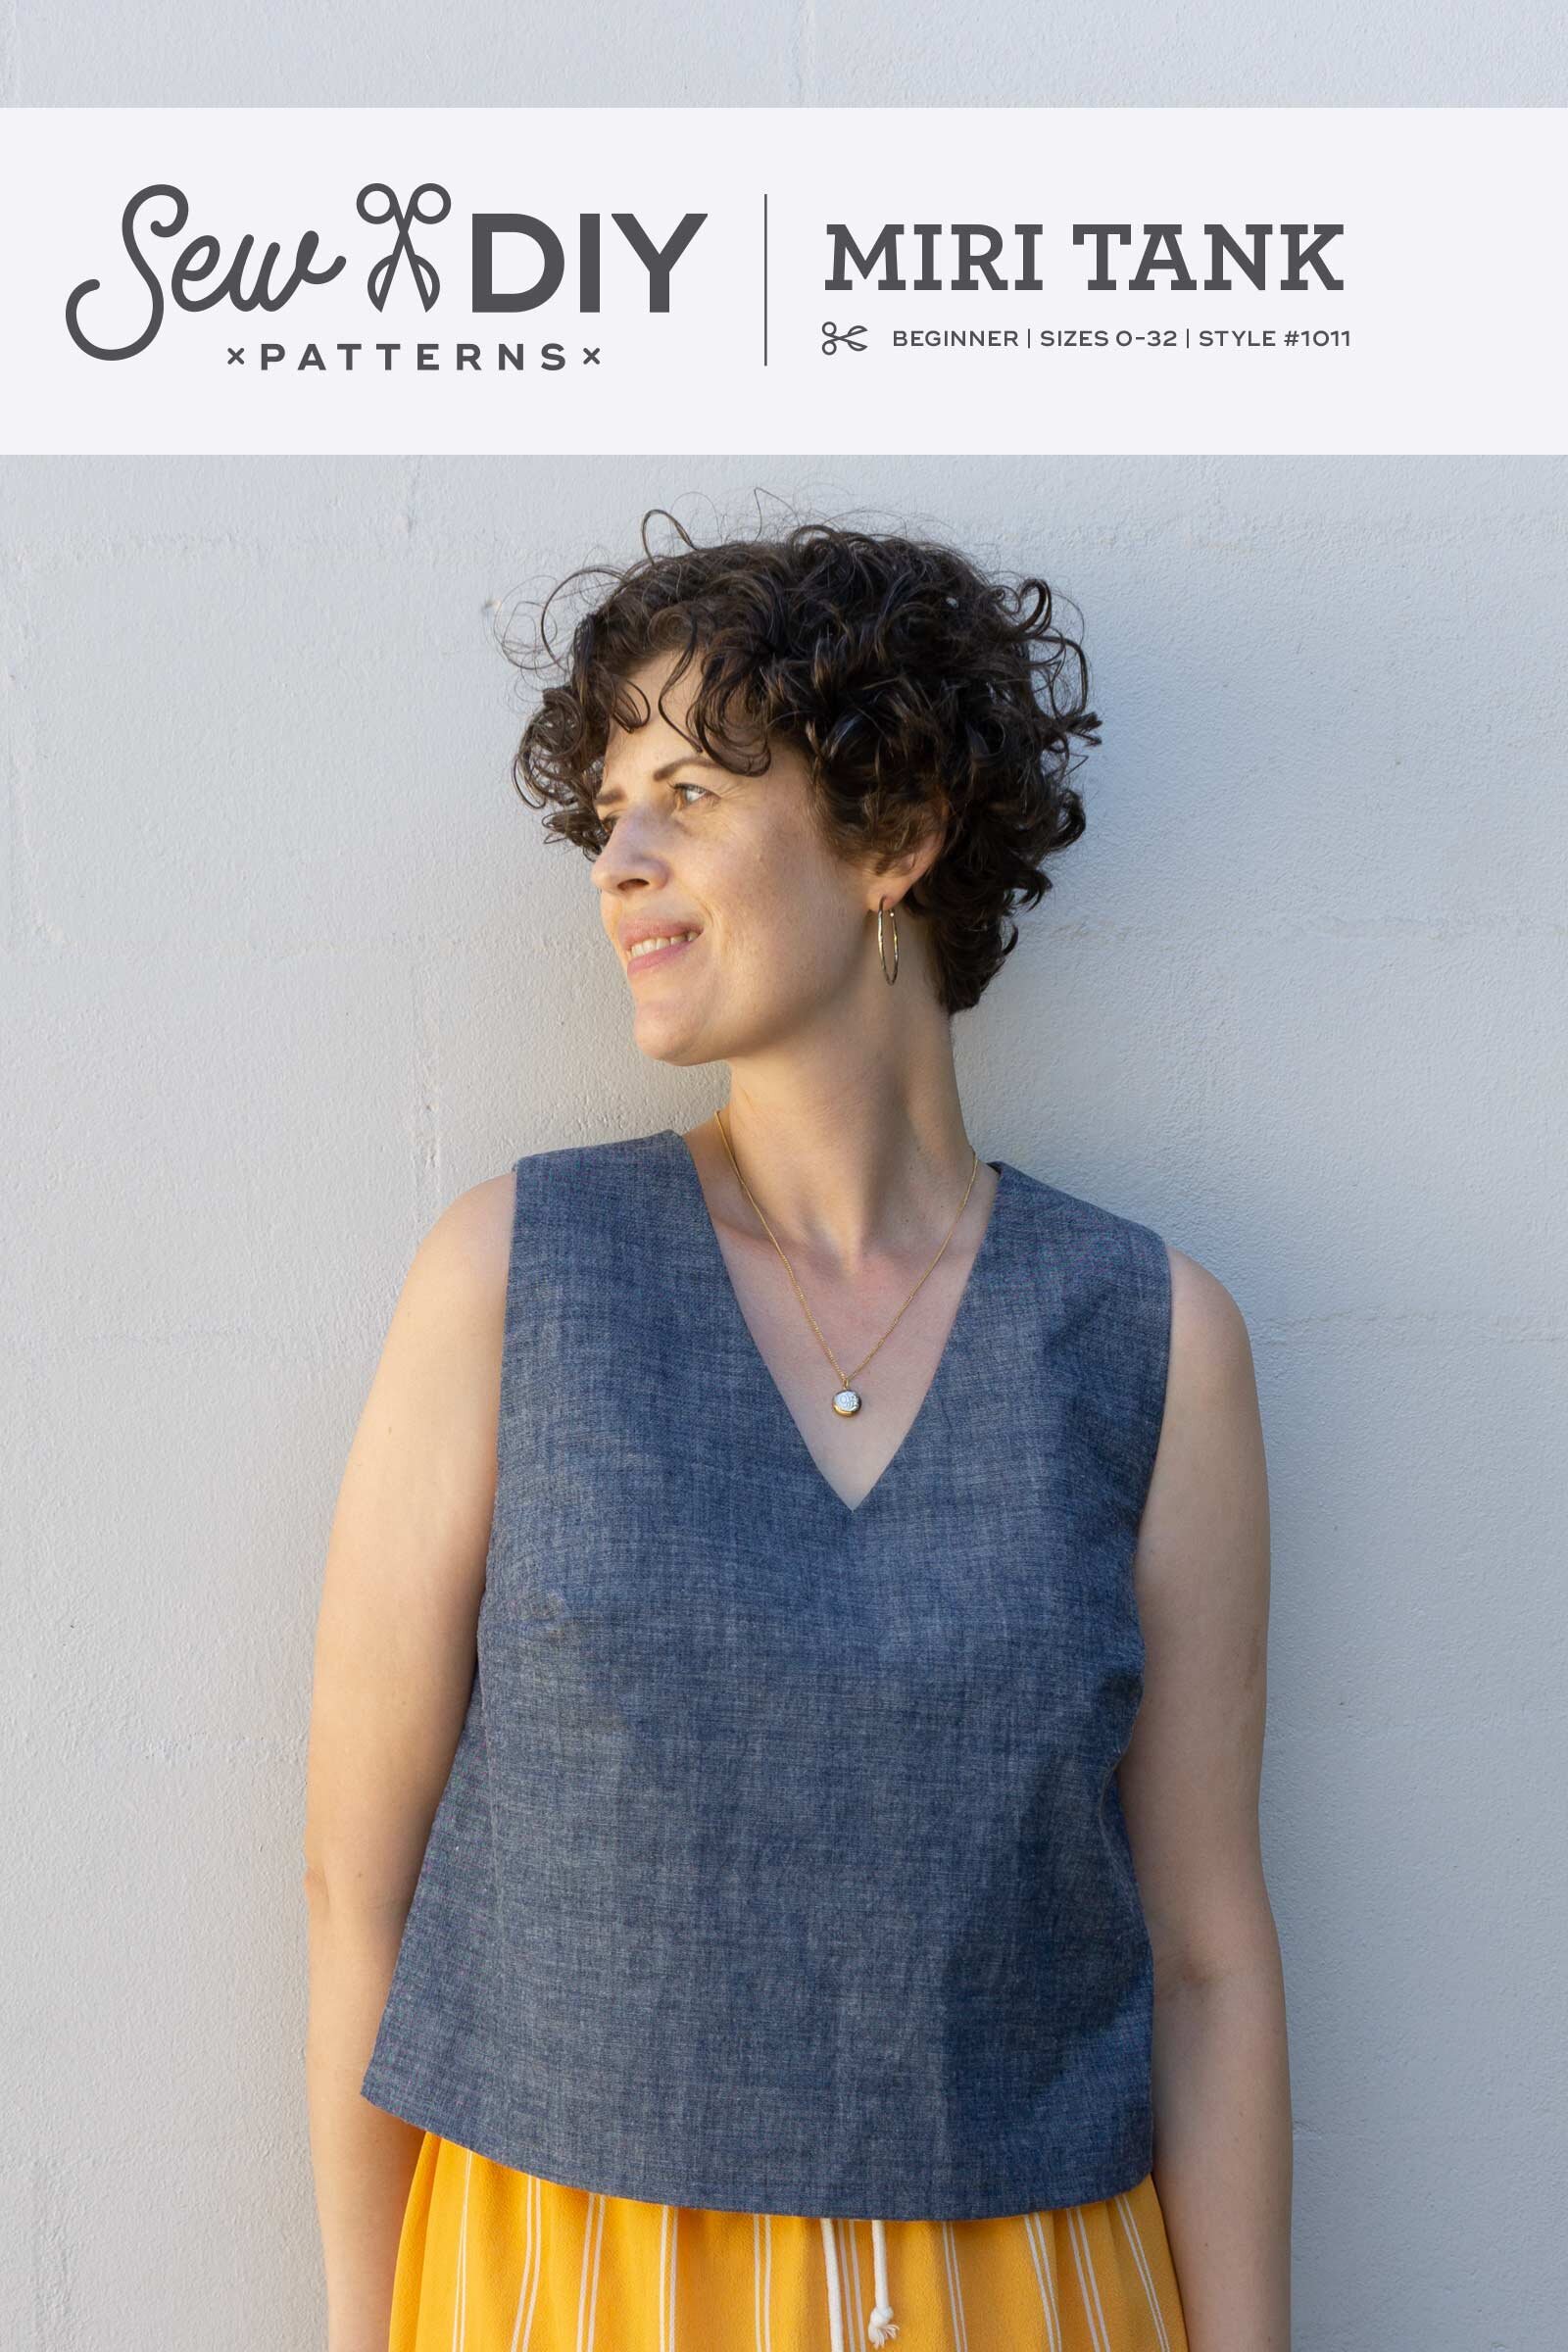
Today, I'm very excited to announce the launch of a new sewing pattern, the Miri Tank. This beginner-friendly pattern is destined to become the foundation for all your favorite outfits. Pair it with shorts or a skirt for hot summer days. Or, with trousers and a cardigan for cooler spring and autumn temps.
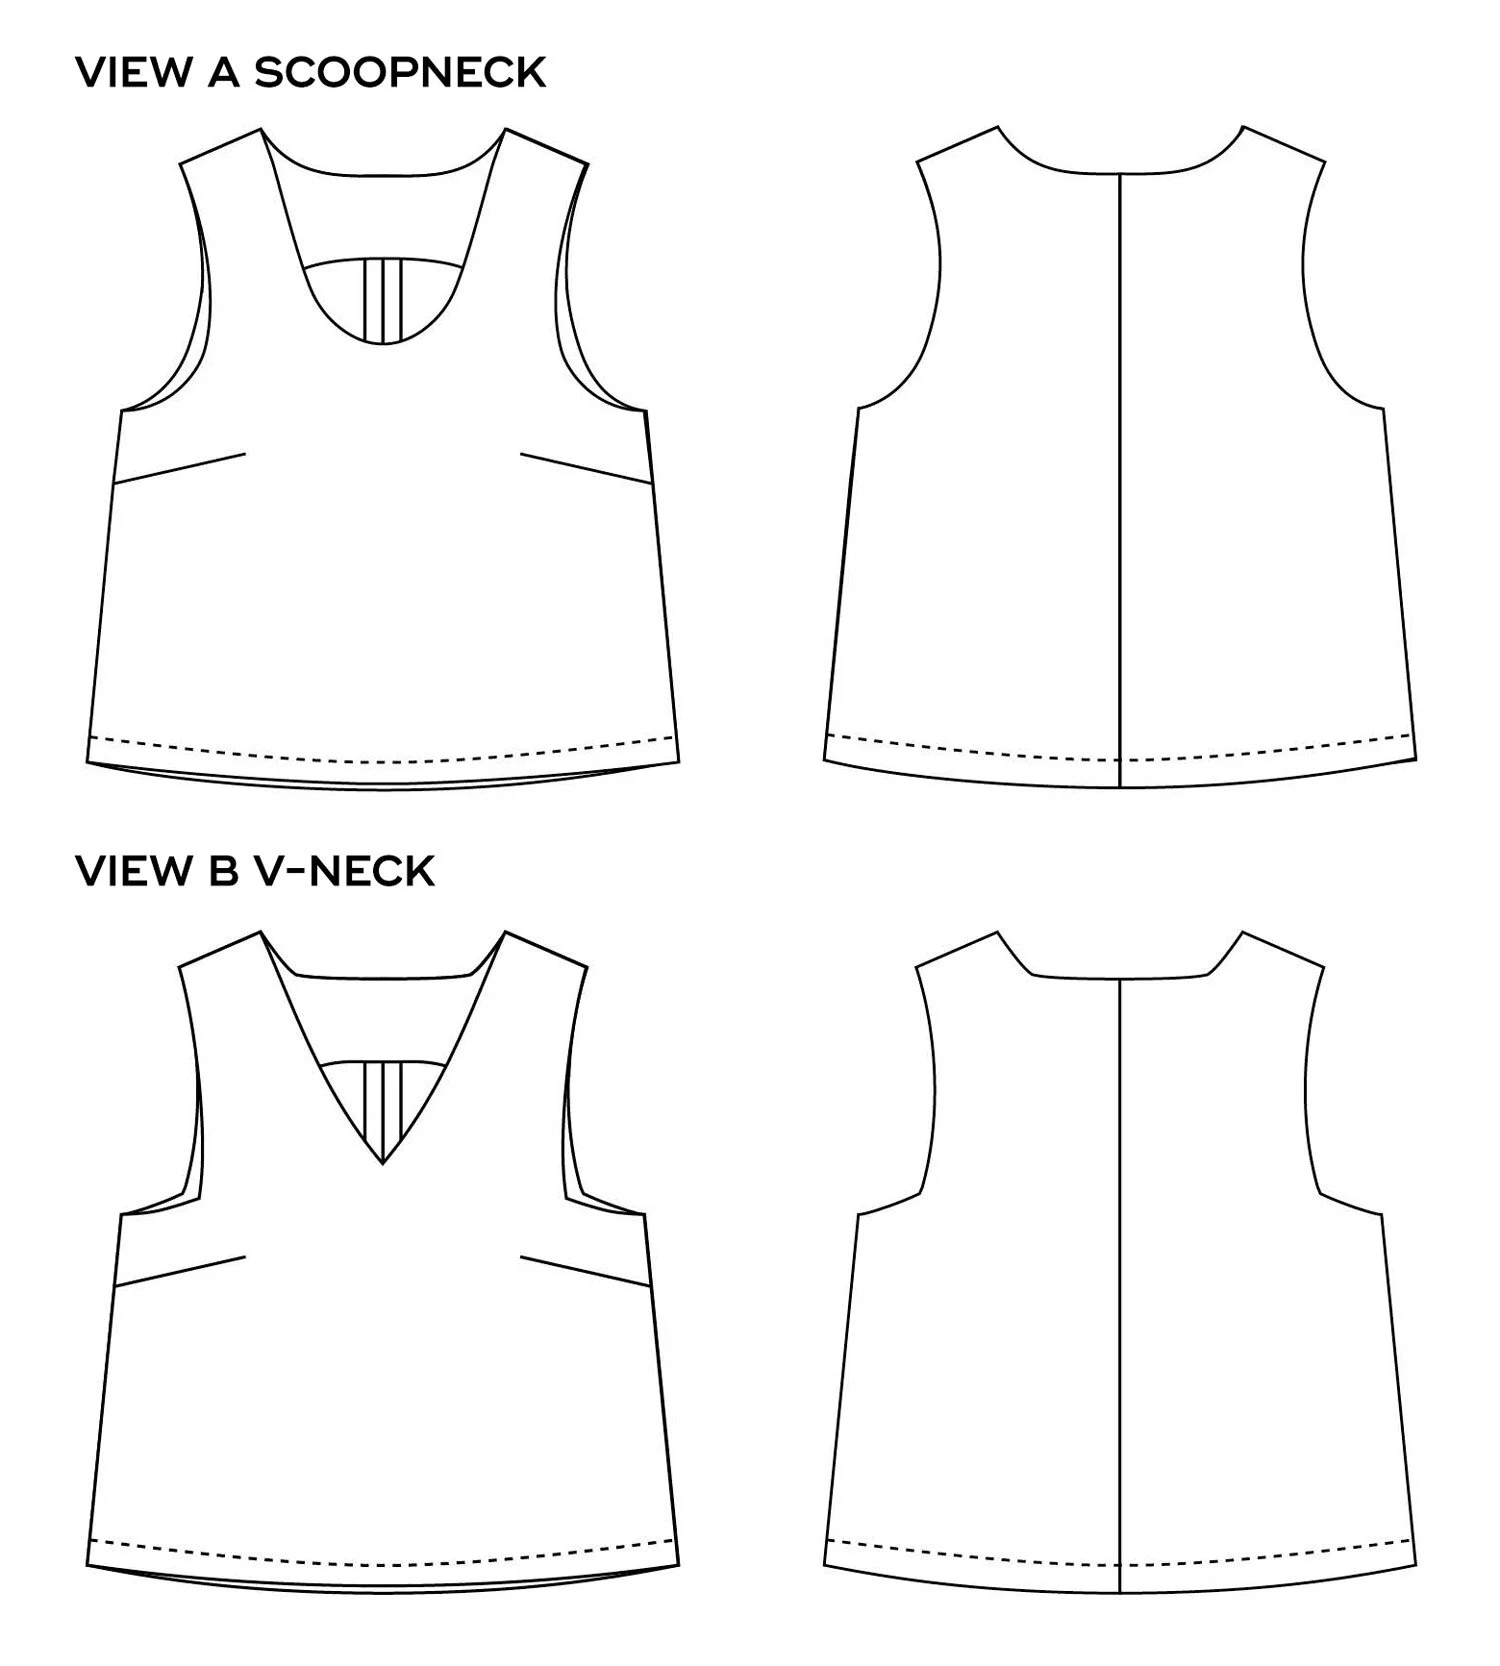
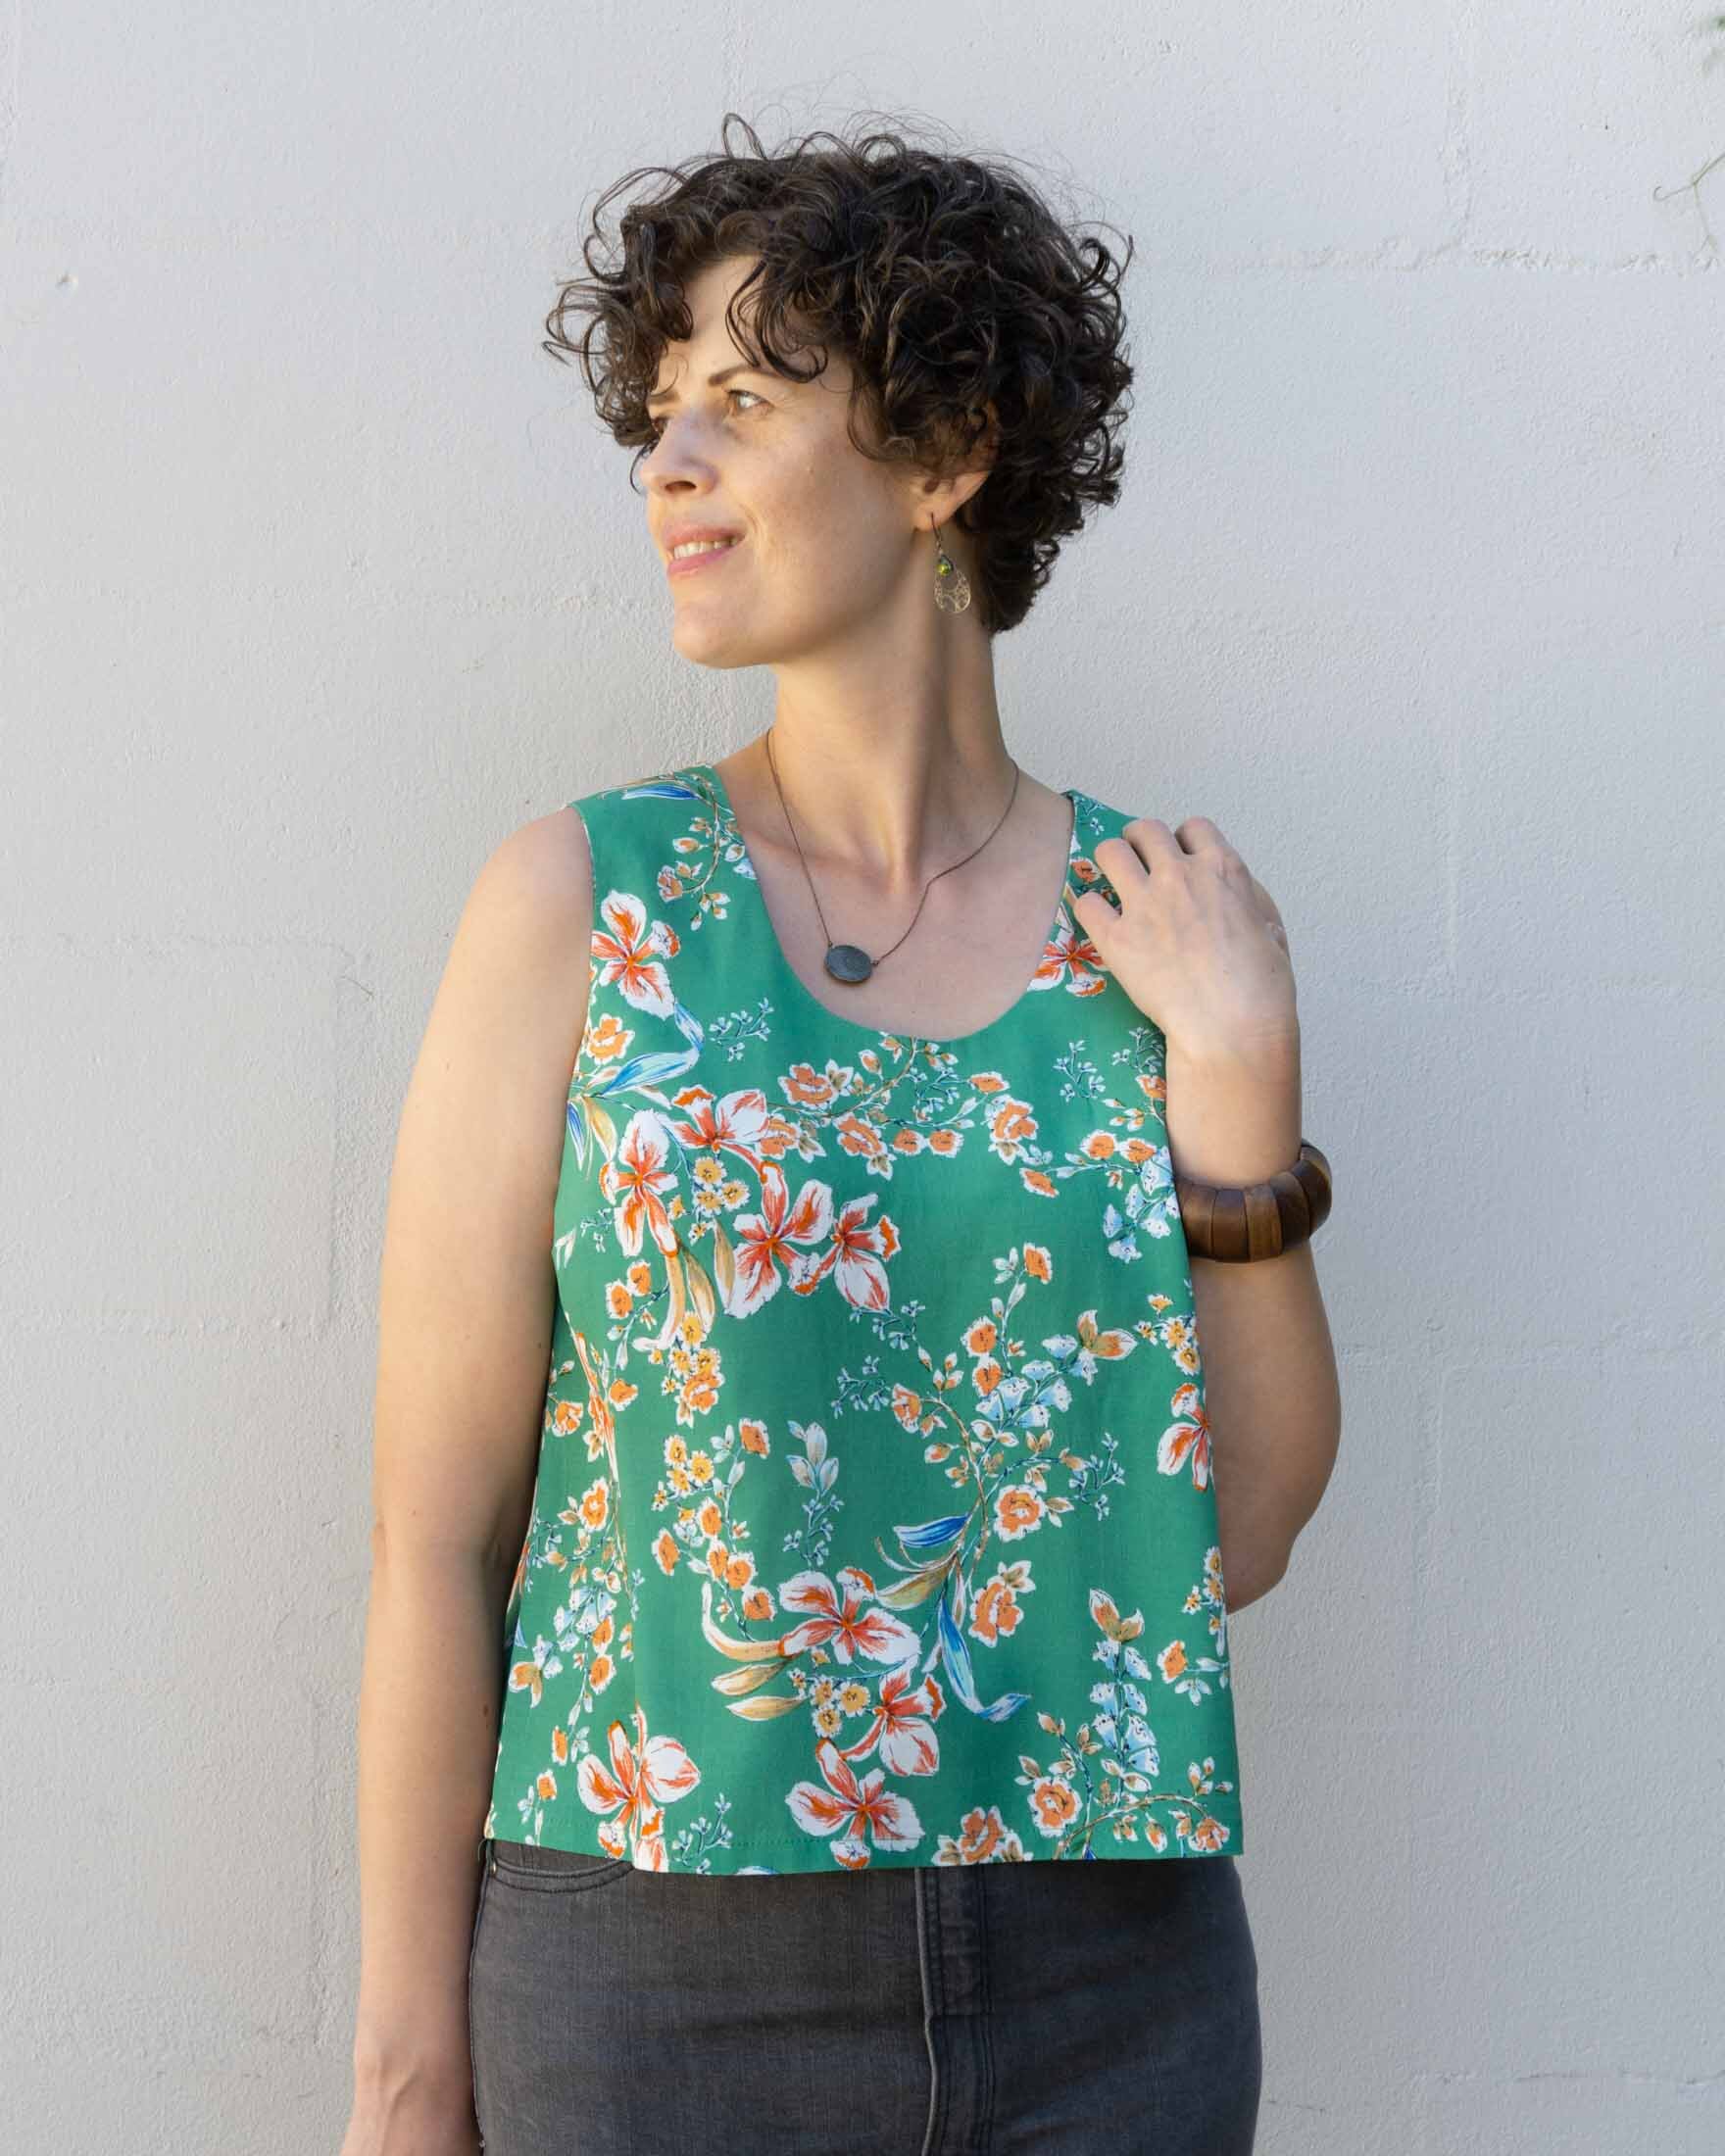
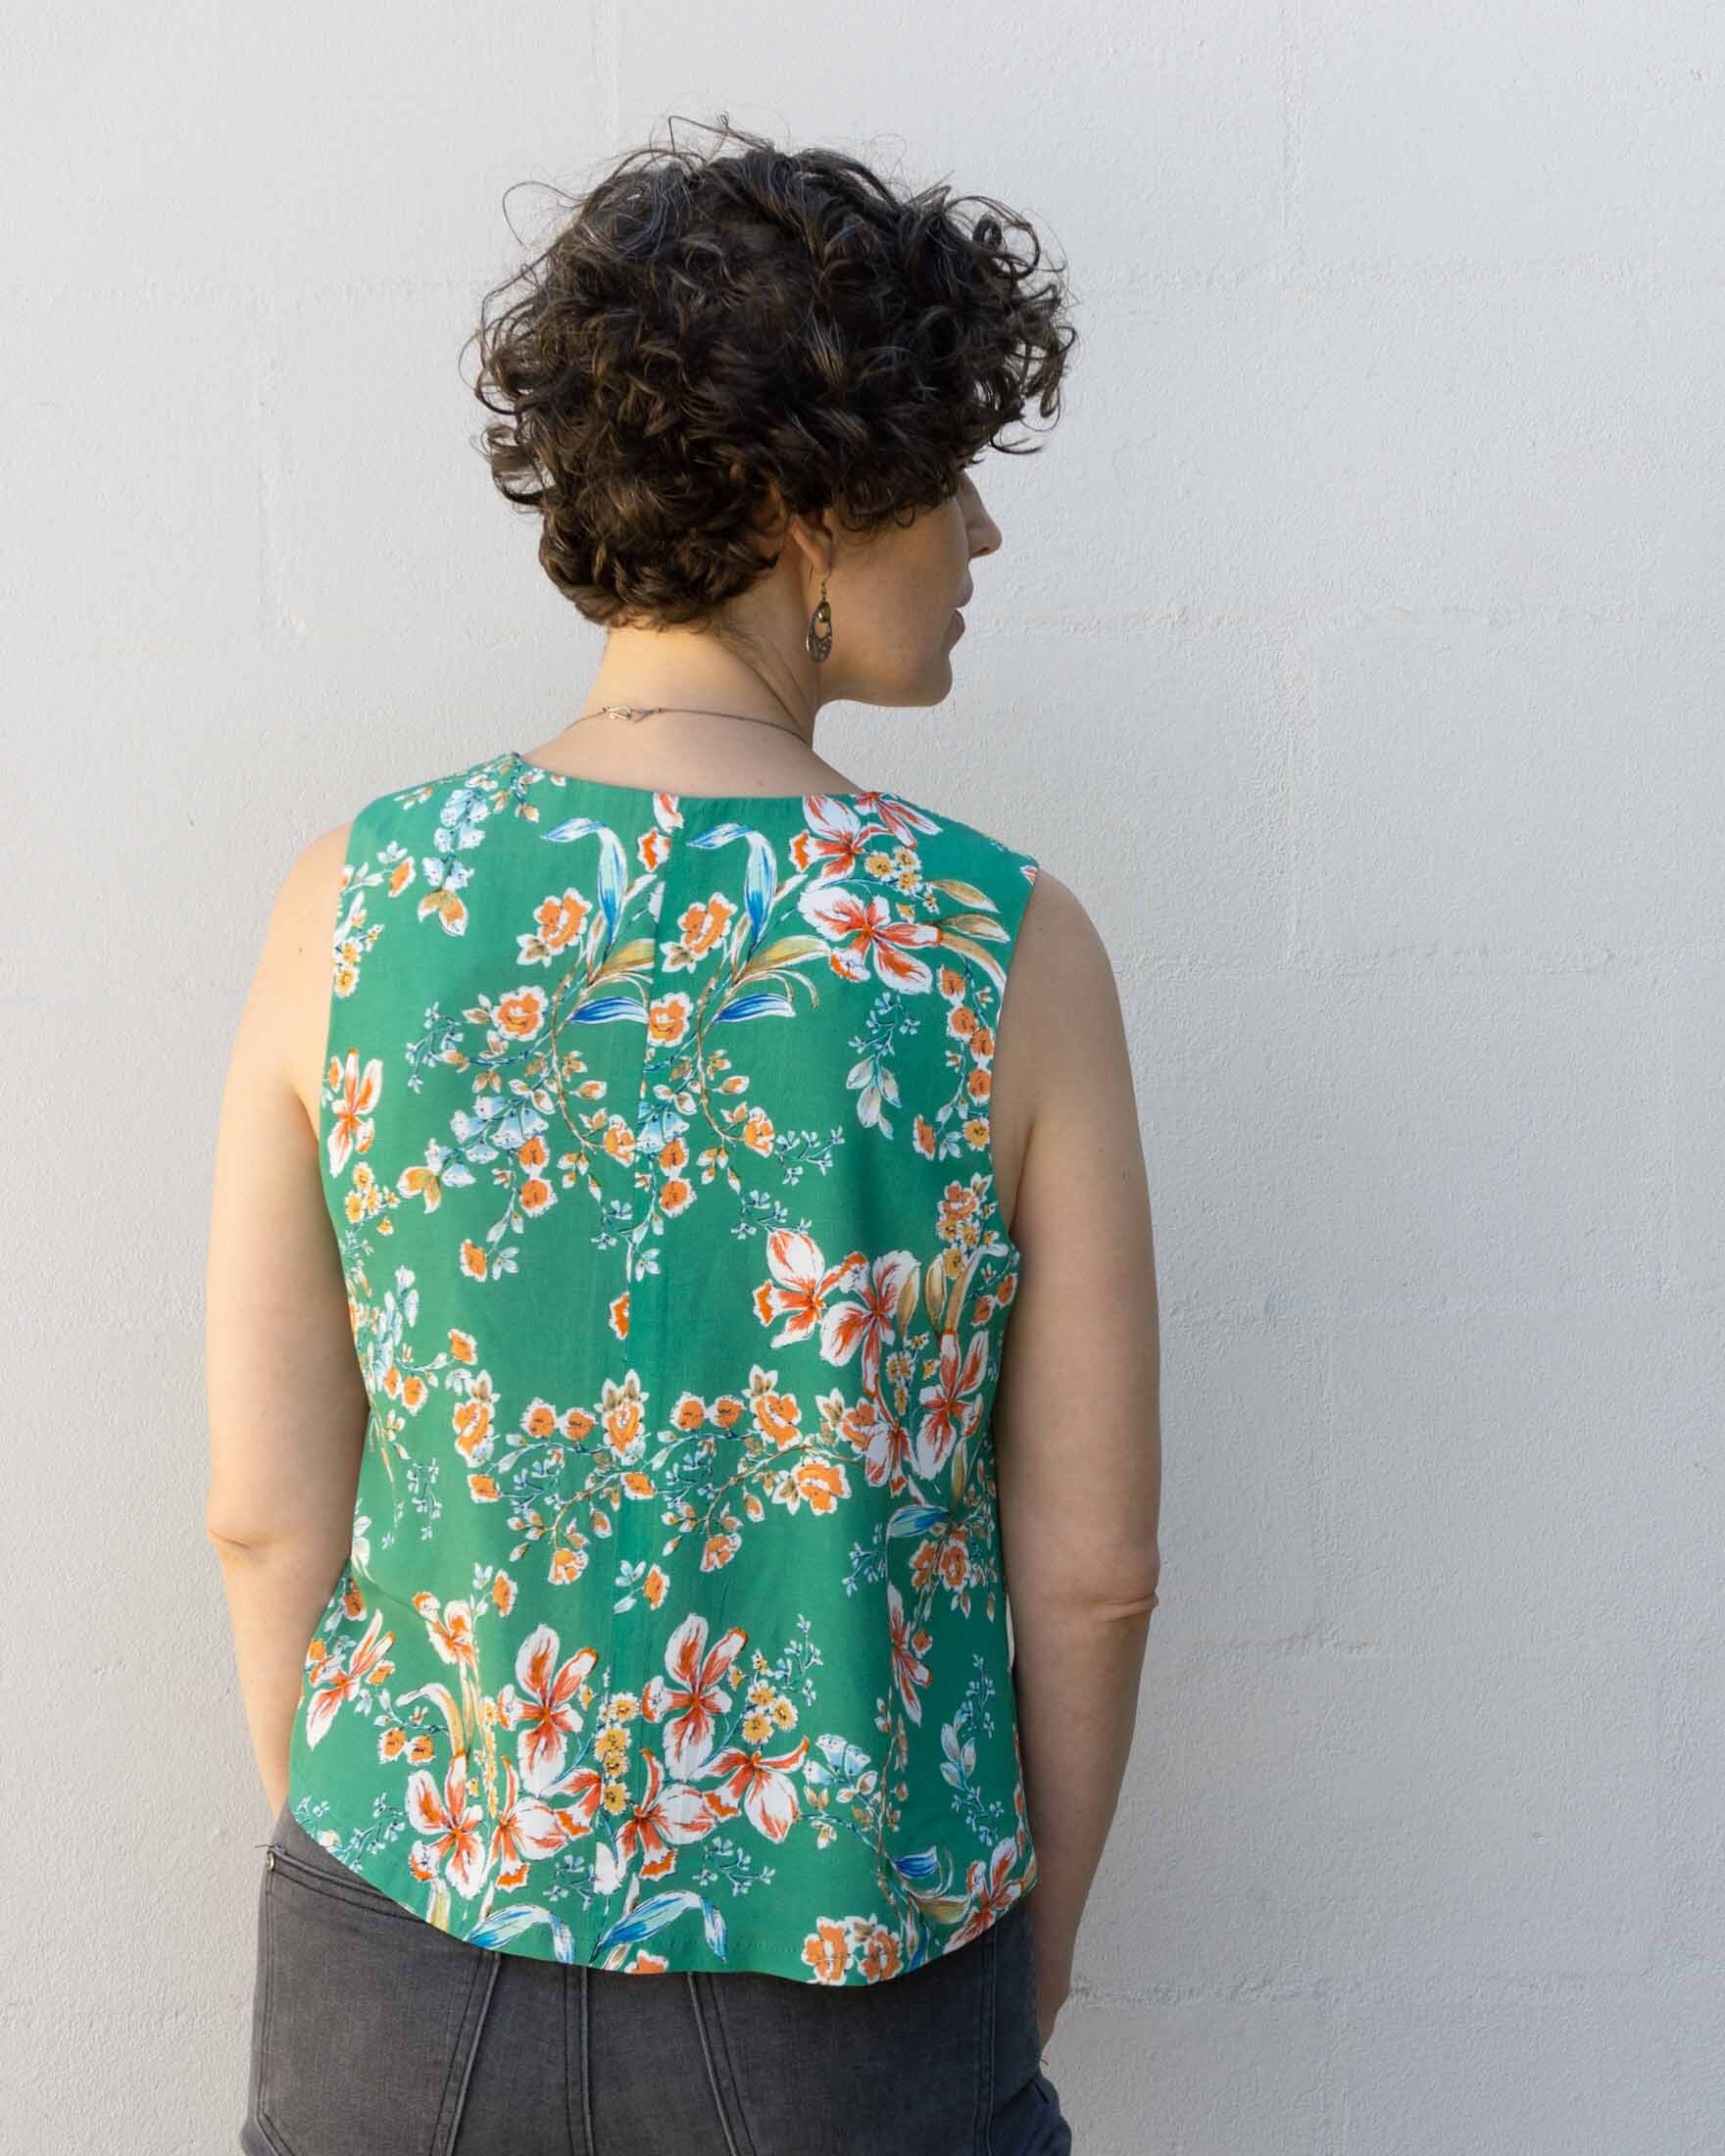
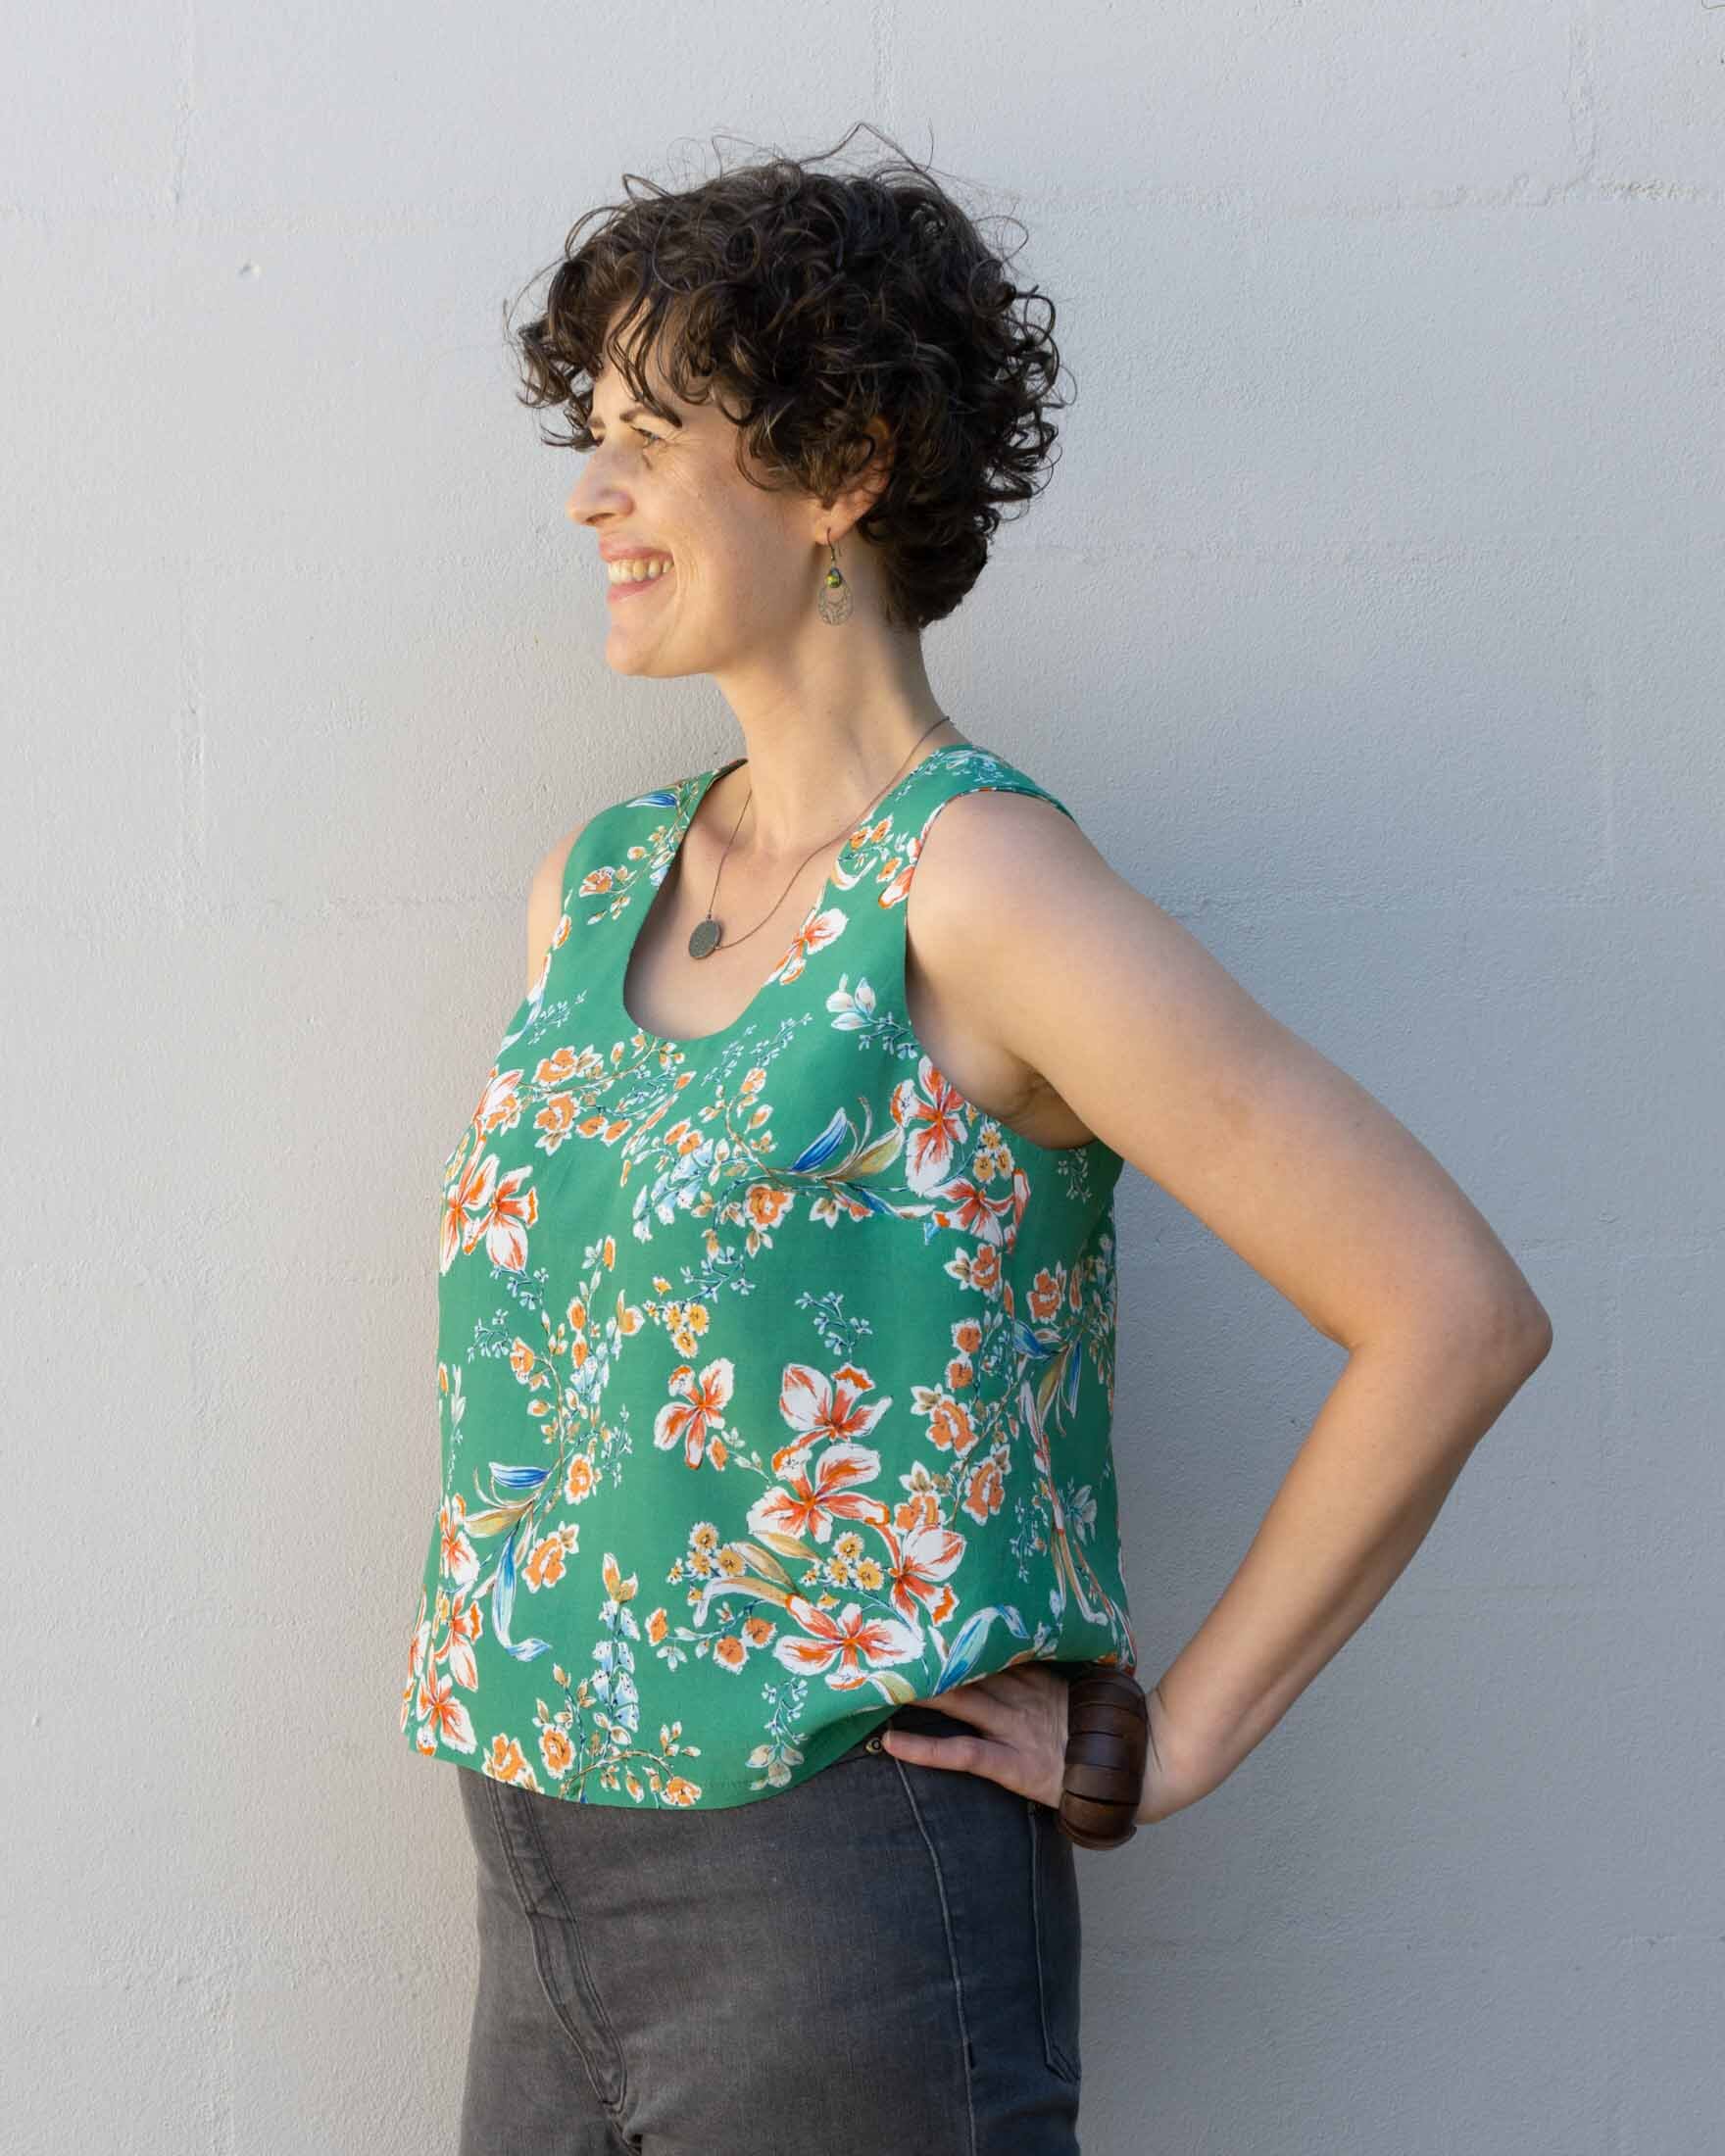
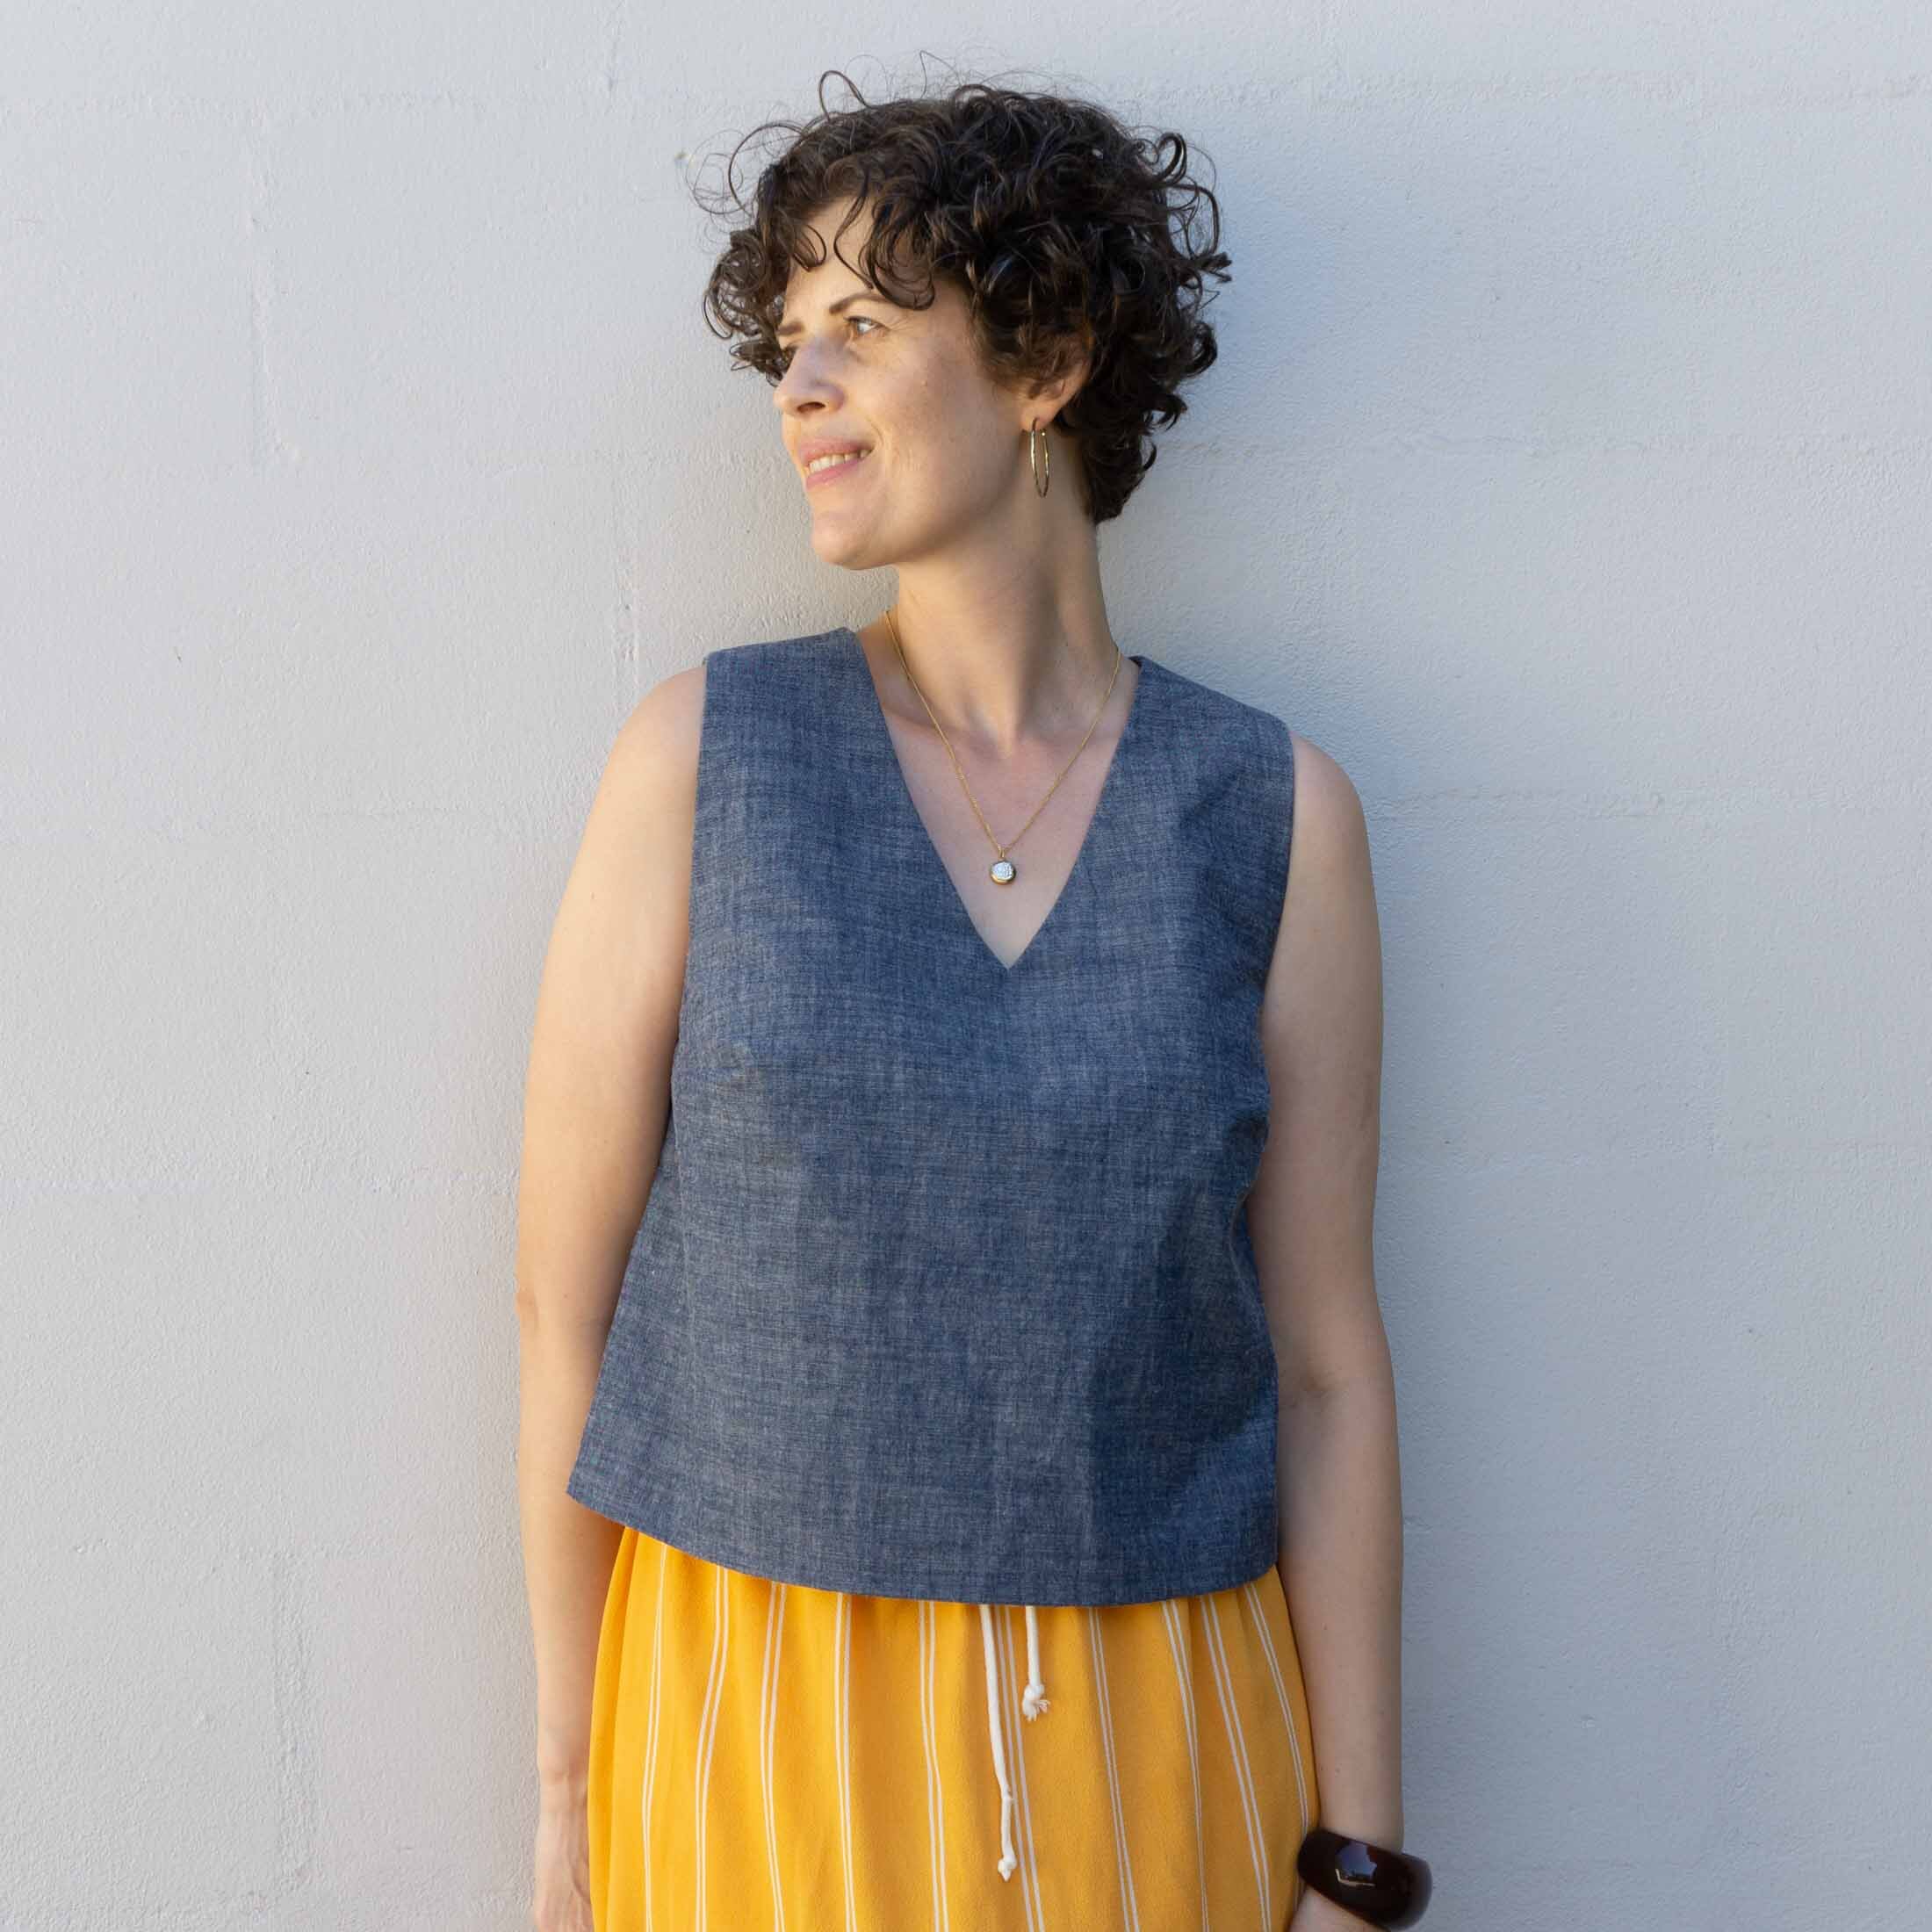
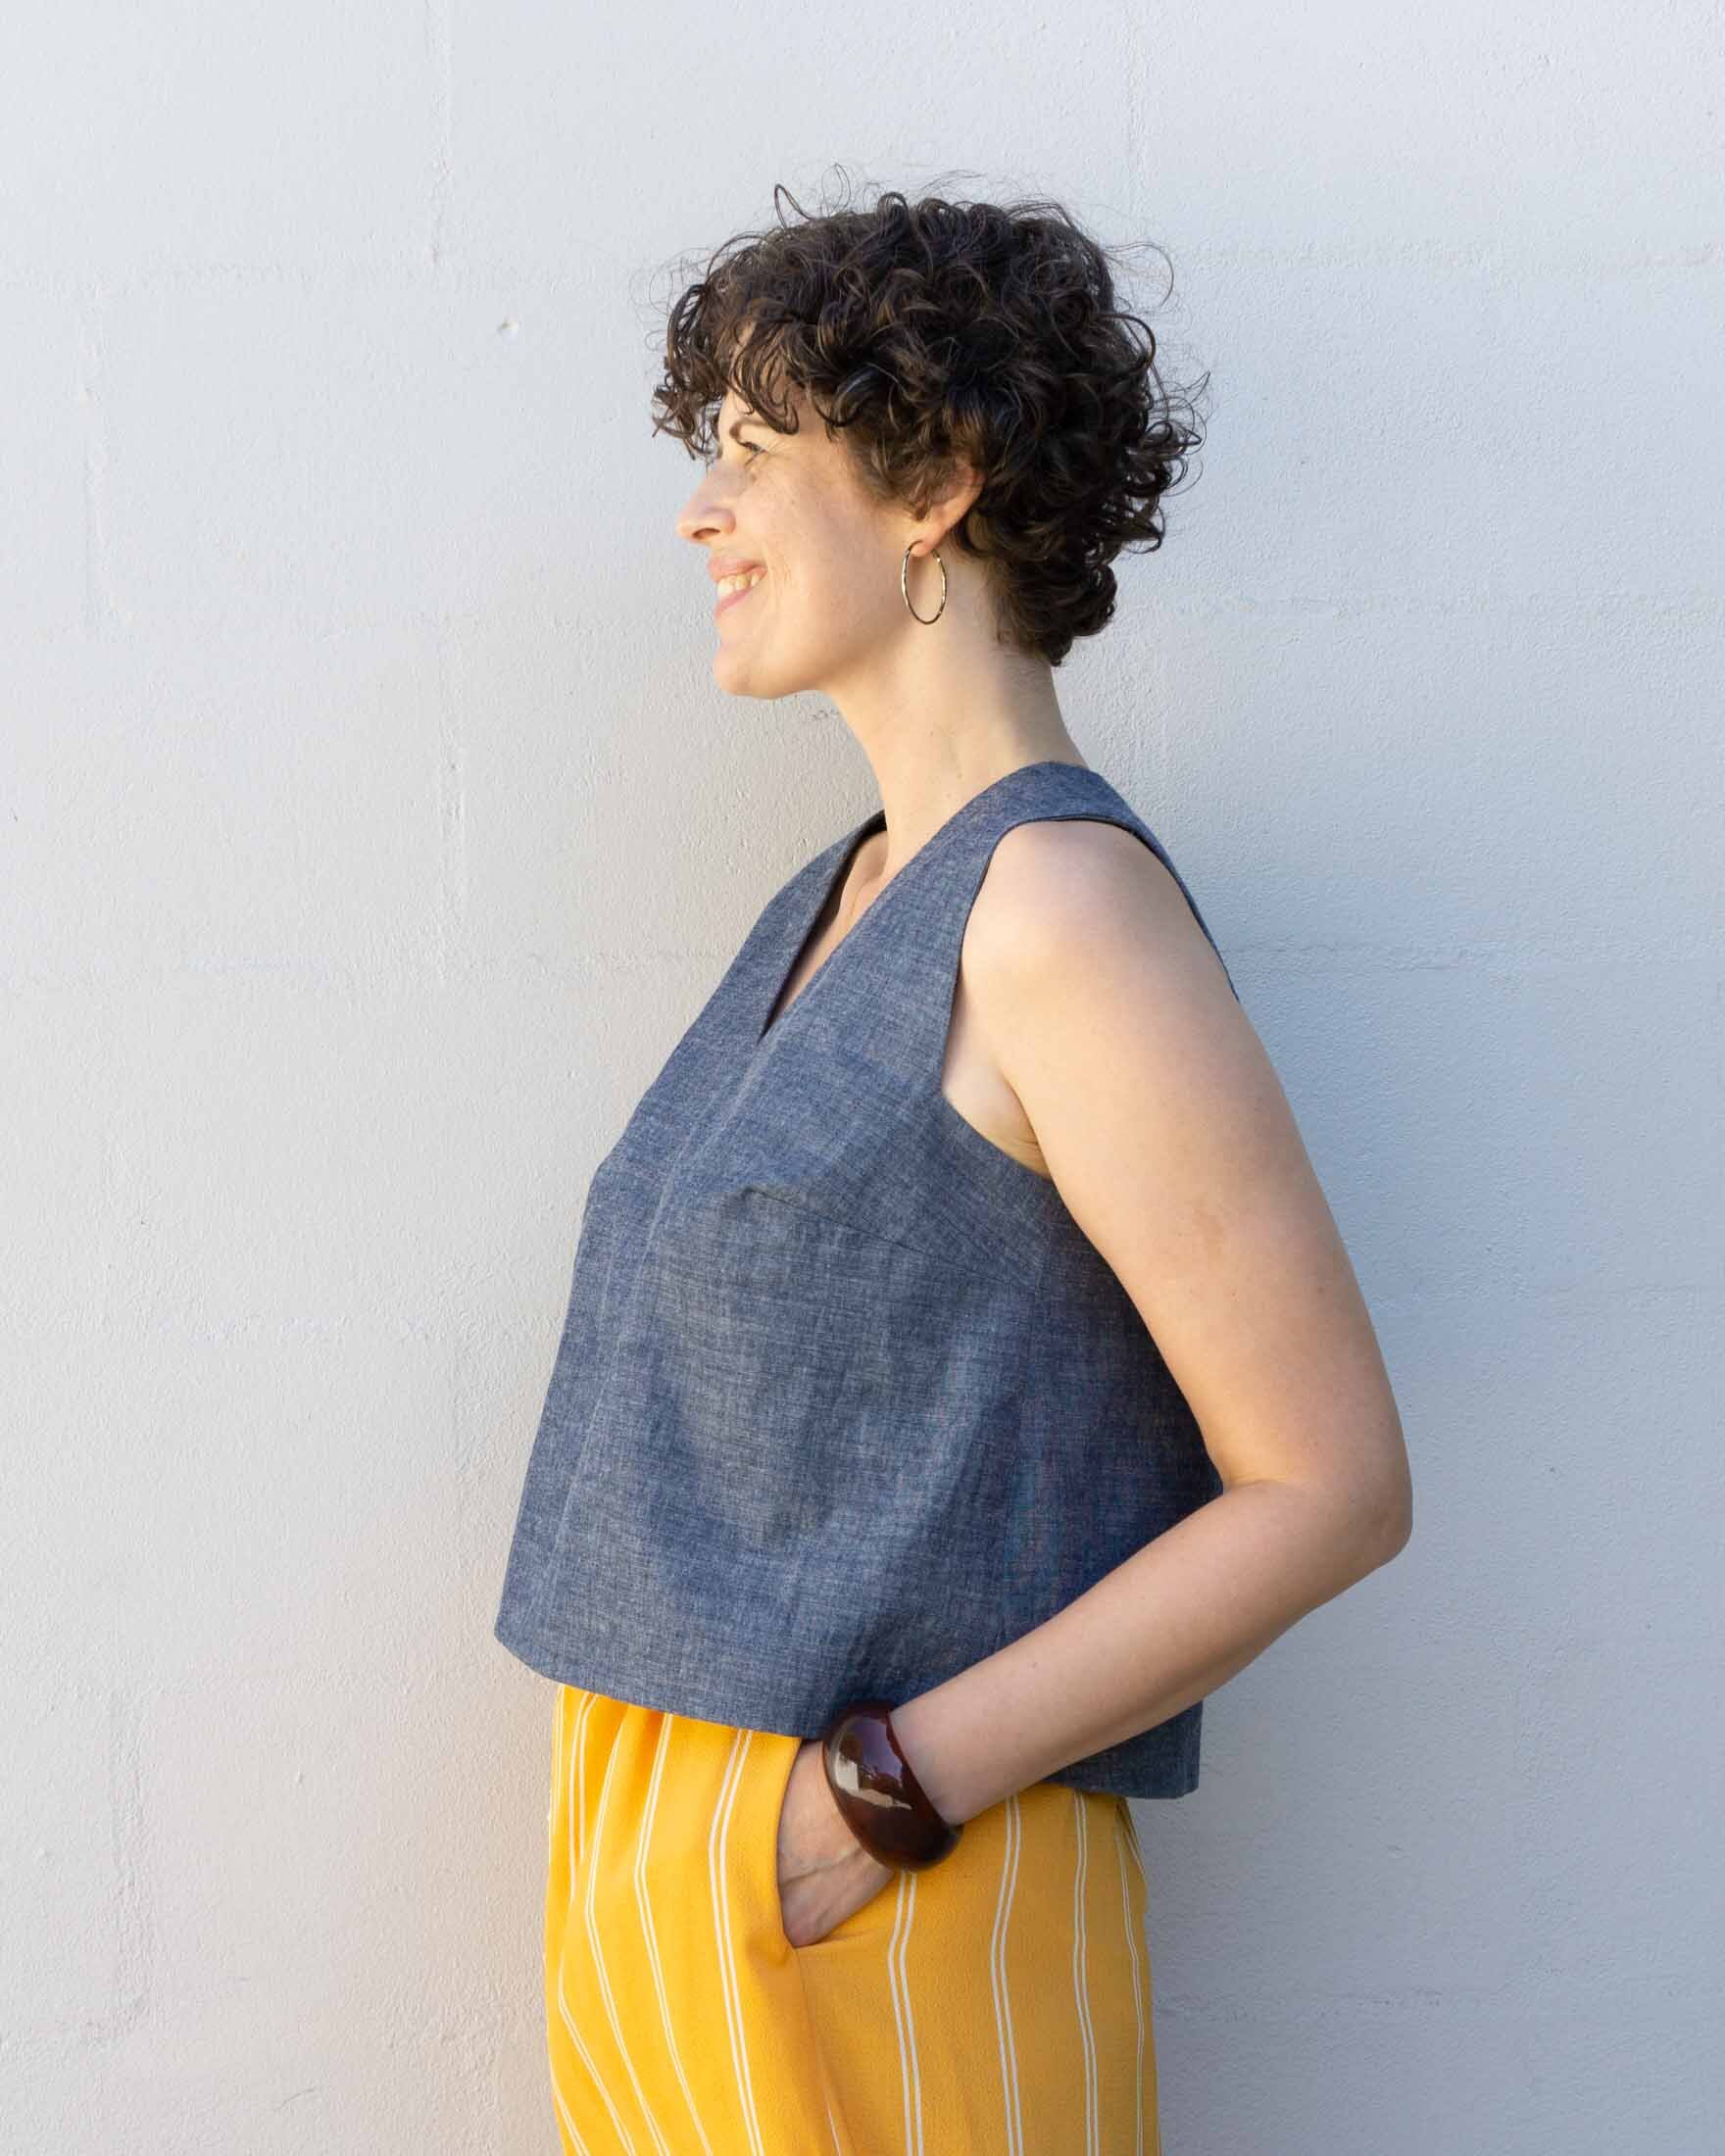
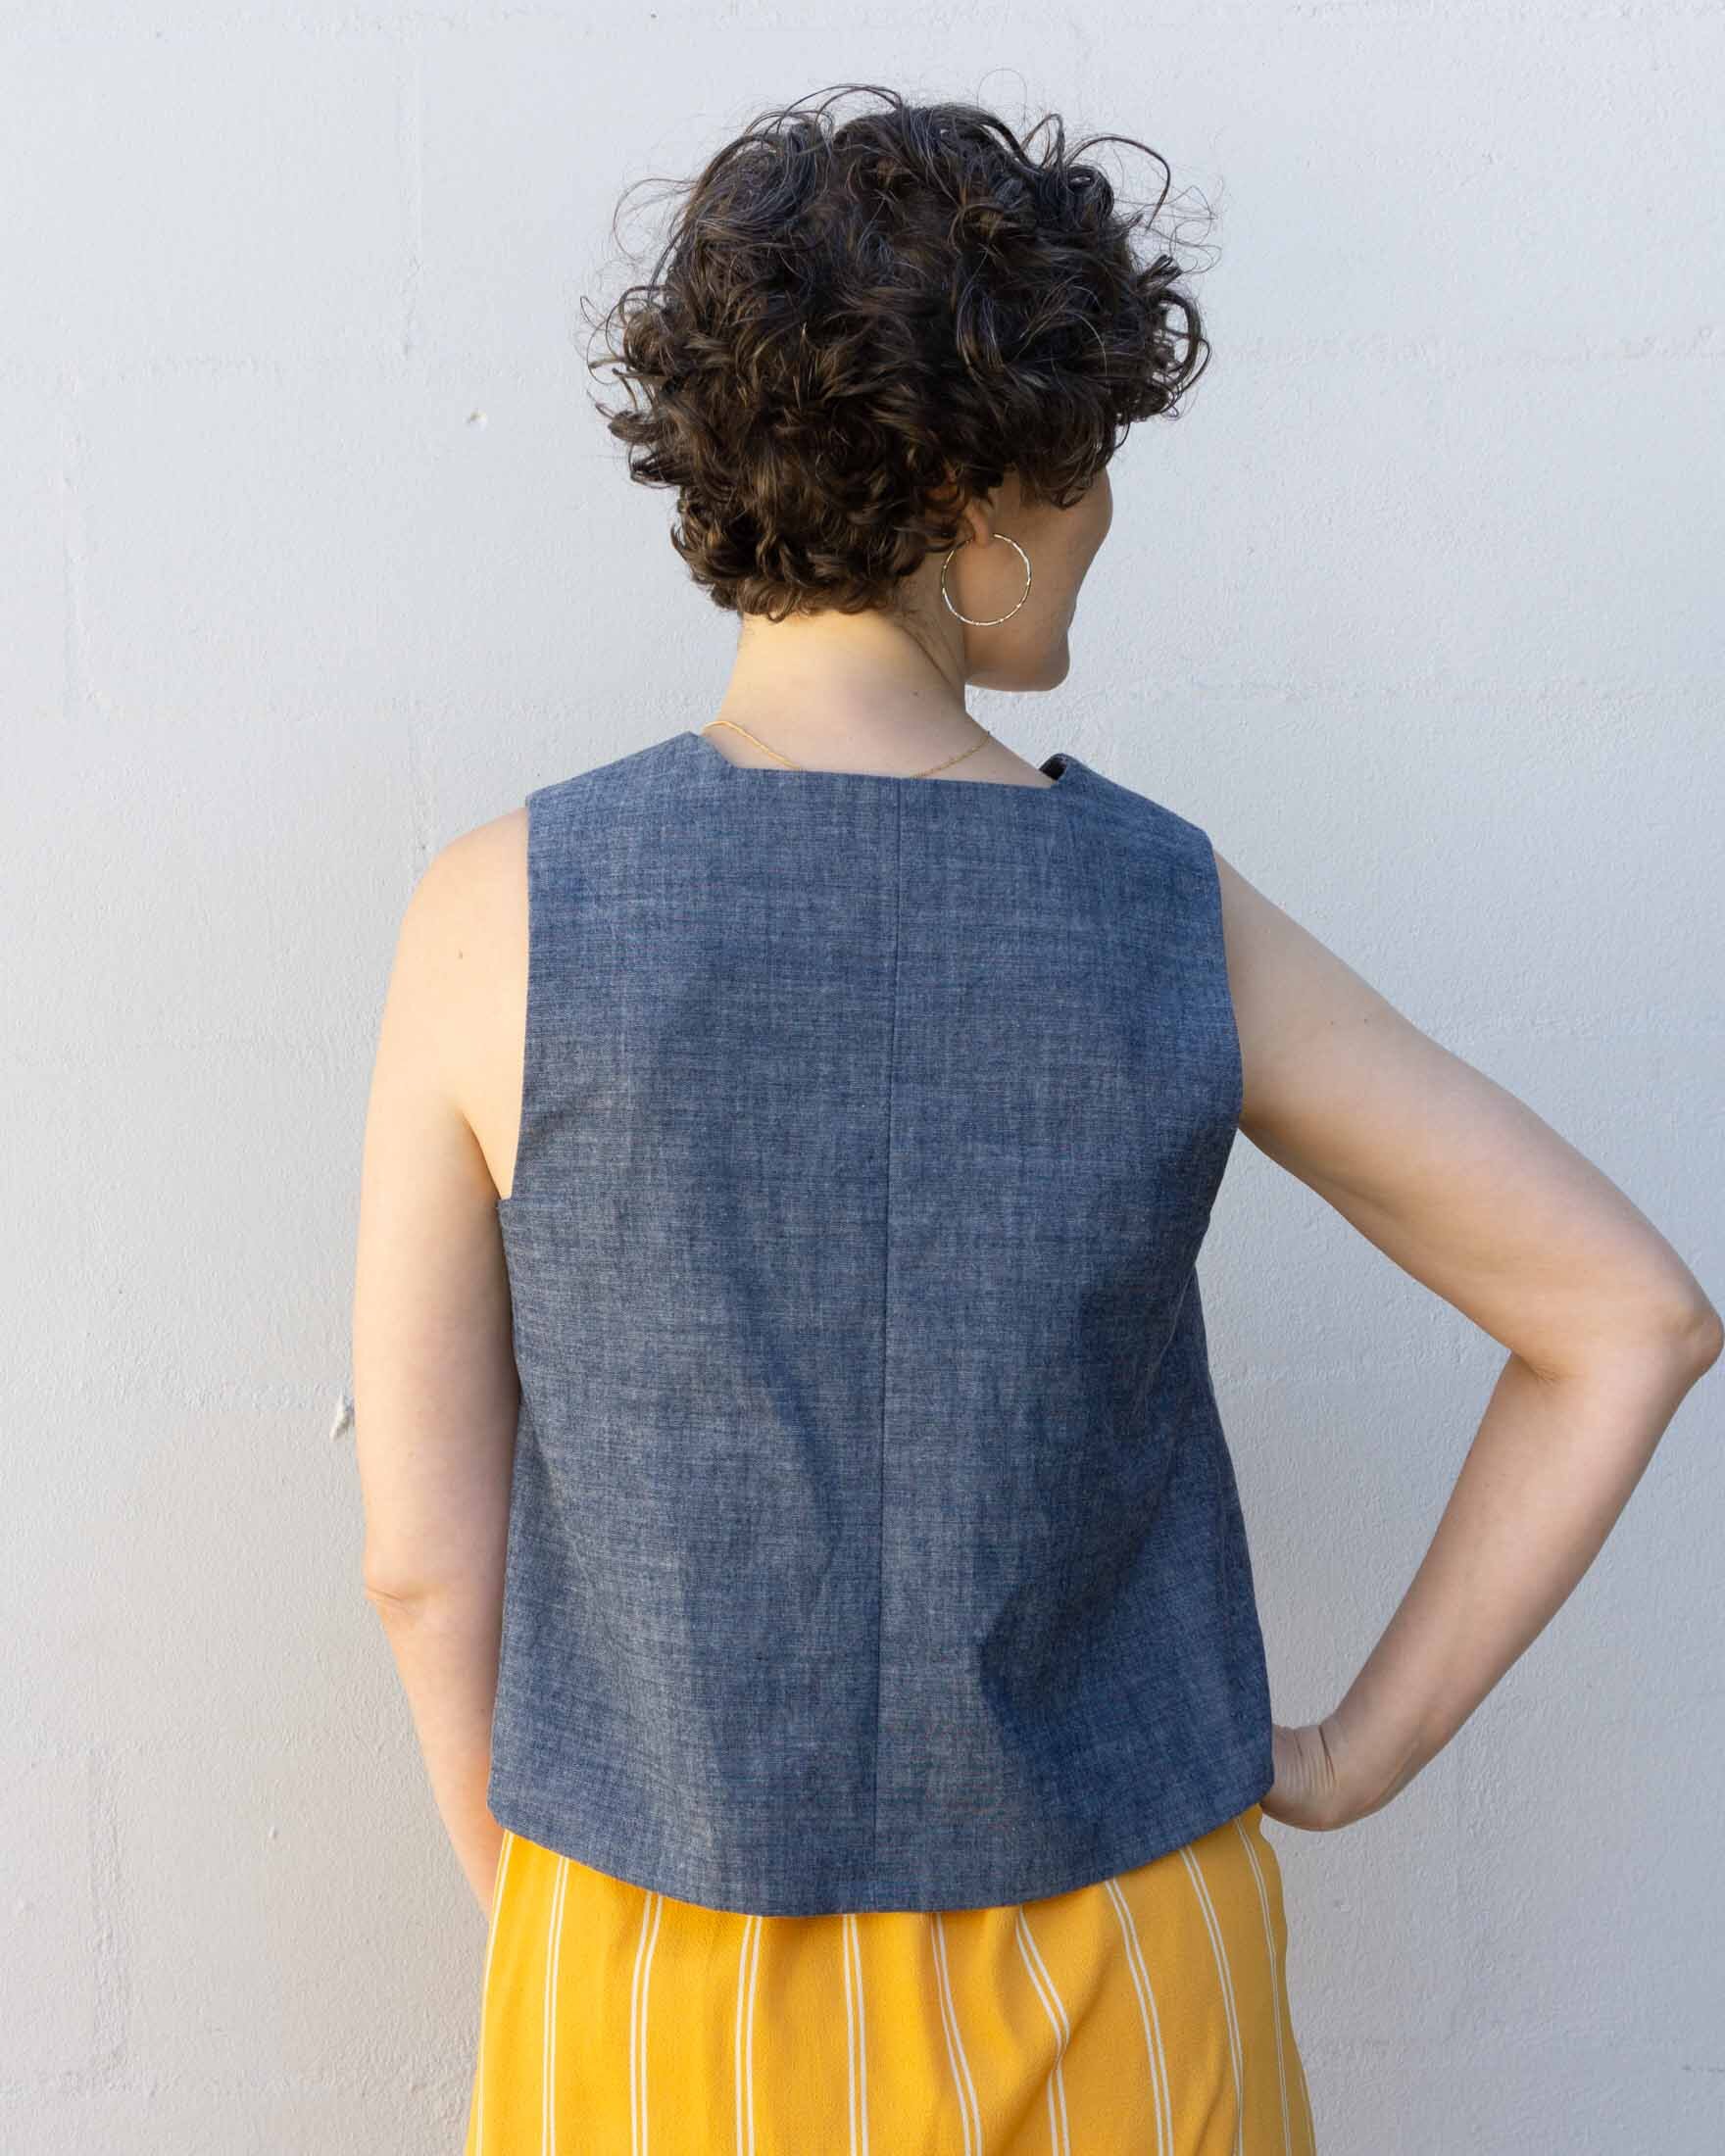
The Miri Tank features is an A-line shaped tank top, fitted with a bust dart and cropped to end at the high hip. View A features a classic rounded neckline and armholes, while View B sports a V-neck in the front and gently angled armholes and back neck shaping. When made in a linen or cotton fabric with structure, the tank will maintain its A-line shape. When made in a drapey rayon or tencel, the shape will hang closer to the body.
ABOUT THE MIRI TANK SEWING PATTERN
If you are new to garment sewing, this is a great pattern to start with. It's simple to sew, a basic design and teaches some great beginner skills. In fact, I designed it with beginners in mind. I hope to one day launch an e-course for beginning sewists and this is the pattern that teaches all the basics you need to know to sew a simple garment. With this pattern, you'll learn and practice important garment making skills such as stay stitching, using interfacing, sewing darts, sewing a facing and understitching.
This pattern is named after my great-aunt Miriam. She passed away in 2019 just shy of her 103rd birthday. Sewing was her greatest passion and I loved being able to share that with her. I was originally going to do a summer dress as her namesake pattern but as that pattern is languishing, I hope she'll appreciate that her pattern will be used as a way to introduce new people to something that she loved so much.
Sizing for the Miri Tank sewing pattern (Multiple cup sizes!!)
This beginner-friendly pattern is drafted for sizes 0-32 and includes three cup size options for all sizes. I think one of the biggest obstacles with fitting is the cup size and figuring out an SBA or FBA. I didn't want beginners to have to go through that so I decided to include multiple cup sizes with this pattern. You can choose from an A/B cup, C/D cup or E/F cup for a customized fit through the bust. I decided to do all three cup sizes for all sizes because I had a hunch that our bodies really differ a lot and that there would be people that would need all those options. I was pleased when looking at tester applications to see that my hunch was true. (Phew! :) So, even if you are a size 2 with an E/F cup or a size 28 with an A/B cup, you will find your size included in the pattern.
I would have loved to do a pattern for each cup size (as in A cup, B cup, C cup, etc) but it really would have been too many pattern pieces to handle. As it is, doing three cup sizes was almost three times as much work. So, while this was a fairly easy pattern to draft, doing all the sizes was really a massive task. In total, there are 51 sizes for you to choose from!
When selecting your size, you'll start by finding the size closest to your high bust measurement (it's ok to round up or down). Then go down that column to find the measurement that most closely matches your full bust (again, it's ok to round up or down). The pattern instructions have additional information on how to select your size.
If you're interested in the technical bit of what exactly an A/B cup is, let me tell you. So, in the world of pattern drafting, the bust cup is determined by the difference between the high bust measurement and the full bust measurement. A 1" difference is an A cup, 2" difference is a B cup, 3" is a C cup, etc. The A/B cup is drafted to be right in between a sewing A-cup and a sewing B-cup–a 1.5" difference between the high bust and full bust. During testing, I was pleased to find that these in-between cups really worked well.
You can learn more about our size charts here.
Fabric and supplies
This pattern is designed to be used with light to medium-weight woven fabrics such as linen, chambray, cotton lawn, poplin, double gauze, rayon, tencel and crepe de chine. When made in a linen or cotton fabric with structure, the tank will maintain its A-line shape while worn. When made in a drapey rayon or tencel, the shape will hang closer to the body. If you are new to sewing, I recommend using a fabric with more structure like linen or cotton lawn as it will be easier to handle.
Additionally, you will need thread and interfacing. For interfacing, you'll want to use a type that has the same weight as the fabric you are using. For example, if you're using a very lightweight fabric such as rayon crepe, you'll want to use lightweight interfacing. If in doubt, I recommend using a lightweight interfacing. Using an interfacing that is heavier than your fabric can make the garment feel very odd. So, lighter is better! Some of my testers even skipped the interfacing with success. I like to use interfacing to create stability around the neck and arm openings.
Sewalong
I have created a Miri Tank sewalong page with all of the blog posts that could be helpful when making this top. You'll find posts on interfacing, darts and even printing your pattern. I also have a few posts in the works on common pattern adjustments to support the Miri Tank.
Additionally, I have a number of pattern hacks planned. This pattern is just begging to be hacked and the possibilities are nearly endless. The best way to stay up to date on all my blog posts is to sign up for my weekly newsletter.
I hope that you love this pattern as much as I do. It’s really quick to sew, a great stash buster and is the perfect wardrobe builder. To celebrate the launch, we are offering 20% off this pattern with code HELLOMIRI. Offer expires Friday, Sept 3, 2021 at midnight, Pacific time.
Click here to grab your copy of the pattern. Happy sewing!

