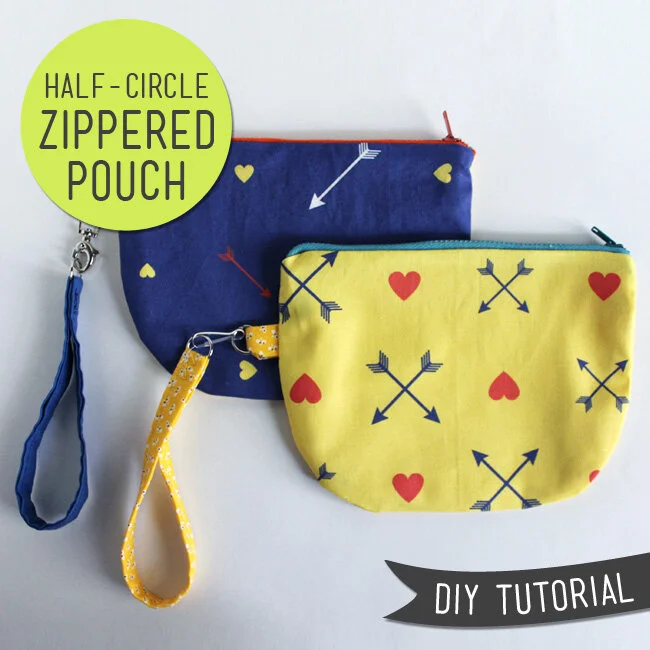
Whether hitting the road or hitting the town, every girl needs a little pouch or two or three to carry all of life's little necessities. Fill them up with with jewelry and makeup, your favorite art supplies or a few snacks, then throw it in your purse and you're ready for the day. Everything you need will be easy to find and readily accessible. These fun little pouches use just a few pieces of fabric and can be made very quickly. This is a great project for featuring a little swatch of fabric that you love so much but just can't figure out where to use. I used swatches for fabrics I designed on Spoonflower. Head on over there and you can purchase your own fabrics in this arrow and heart designs.
DIY Tutorial – Stamped Mini May Day Tote
is an often overlooked holiday but in my book it's well worth celebrating. To help you do just that, here is a little flowered tote perfectly sized for hanging a small bouquet on a neighbor's doorknob. I made this tote in two variations, one decorated with stamped fabric paint and the other with embroidery. Of course you can use these sweet little bags any time of year for things like party favors and gifts. I hope you enjoy!
DIY Stamped Mini May Day Tote
Materials:
1 small potato
knife for carving
fabric paint (I used
)
bag fabric
Fabric for straps or pre-made ribbons
thread
sewing machine
Instructions
Step 1:
Cut 2 pieces of fabric for bag each 8 x 9 inches. Cut 2 pre-made straps 14 inches long. Or, make your own straps as described below in Step 6 at the bottom of the post.
Step 2:
Cut potato in half and carve a tulip design into cut edge. Using a foam brush, apply paint onto tulip design. On a covered countertop or table, stamp tulip designs onto right side of bag fabric. Let paint dry. Set paint according to manufacturers directions.
Step 3:
Finish fabric edges.
Step 4:
Place tote fabric right sides together. Stitch around 3 sides leaving one shorter edge open.
Step 5:
Turn top edge to wrong side about 1 inch. Topstitch in place.
Step 6:
Pin straps to outside of bag. Stitch in place.
OPTIONAL:
Make your own straps
Cut 2 pieces of fabric 14 inches x 3 inches. Fold in half lengthwise, right sides together and stitch along the long edge. Turn right side out and press with the seam along one edge. Fold in the raw short edges.
I really love the look of contrasting fabrics on the bag and straps. This is a great little project to highlight a scrap of floral fabric or ribbon you've been saving for just the right time. Happy May Day! How are you going to be celebrating the holiday?
Related:
--
Follow along with me here:
//
//
//
//
DIY Tutorial Braided Fabric Bracelet
Whether you pile them on or wear one at time, these casual braided bracelets are a great addition to your spring wardrobe. They take an hour or less to make and you can use any fabric you want (as long as it will be comfortable on the skin) making this project a great way to use up fabric scraps. So let's get started!


