Today I'm excited to share a super simple hack for the Lou Box Top pdf pattern. Back slits are totally on trend right now and they are very easy to make. I made a couple of slit back tops a few years ago using Simplicity 1661 (here and here) and I really like the unexpected drama of a slit back. I knew I'd love this version too. This top is part of my Fall Sewing Plans and (lucky you!) I'm going to tell you how to make it. And, did I mention, it's super, super easy? Yup. Just the way I like it.
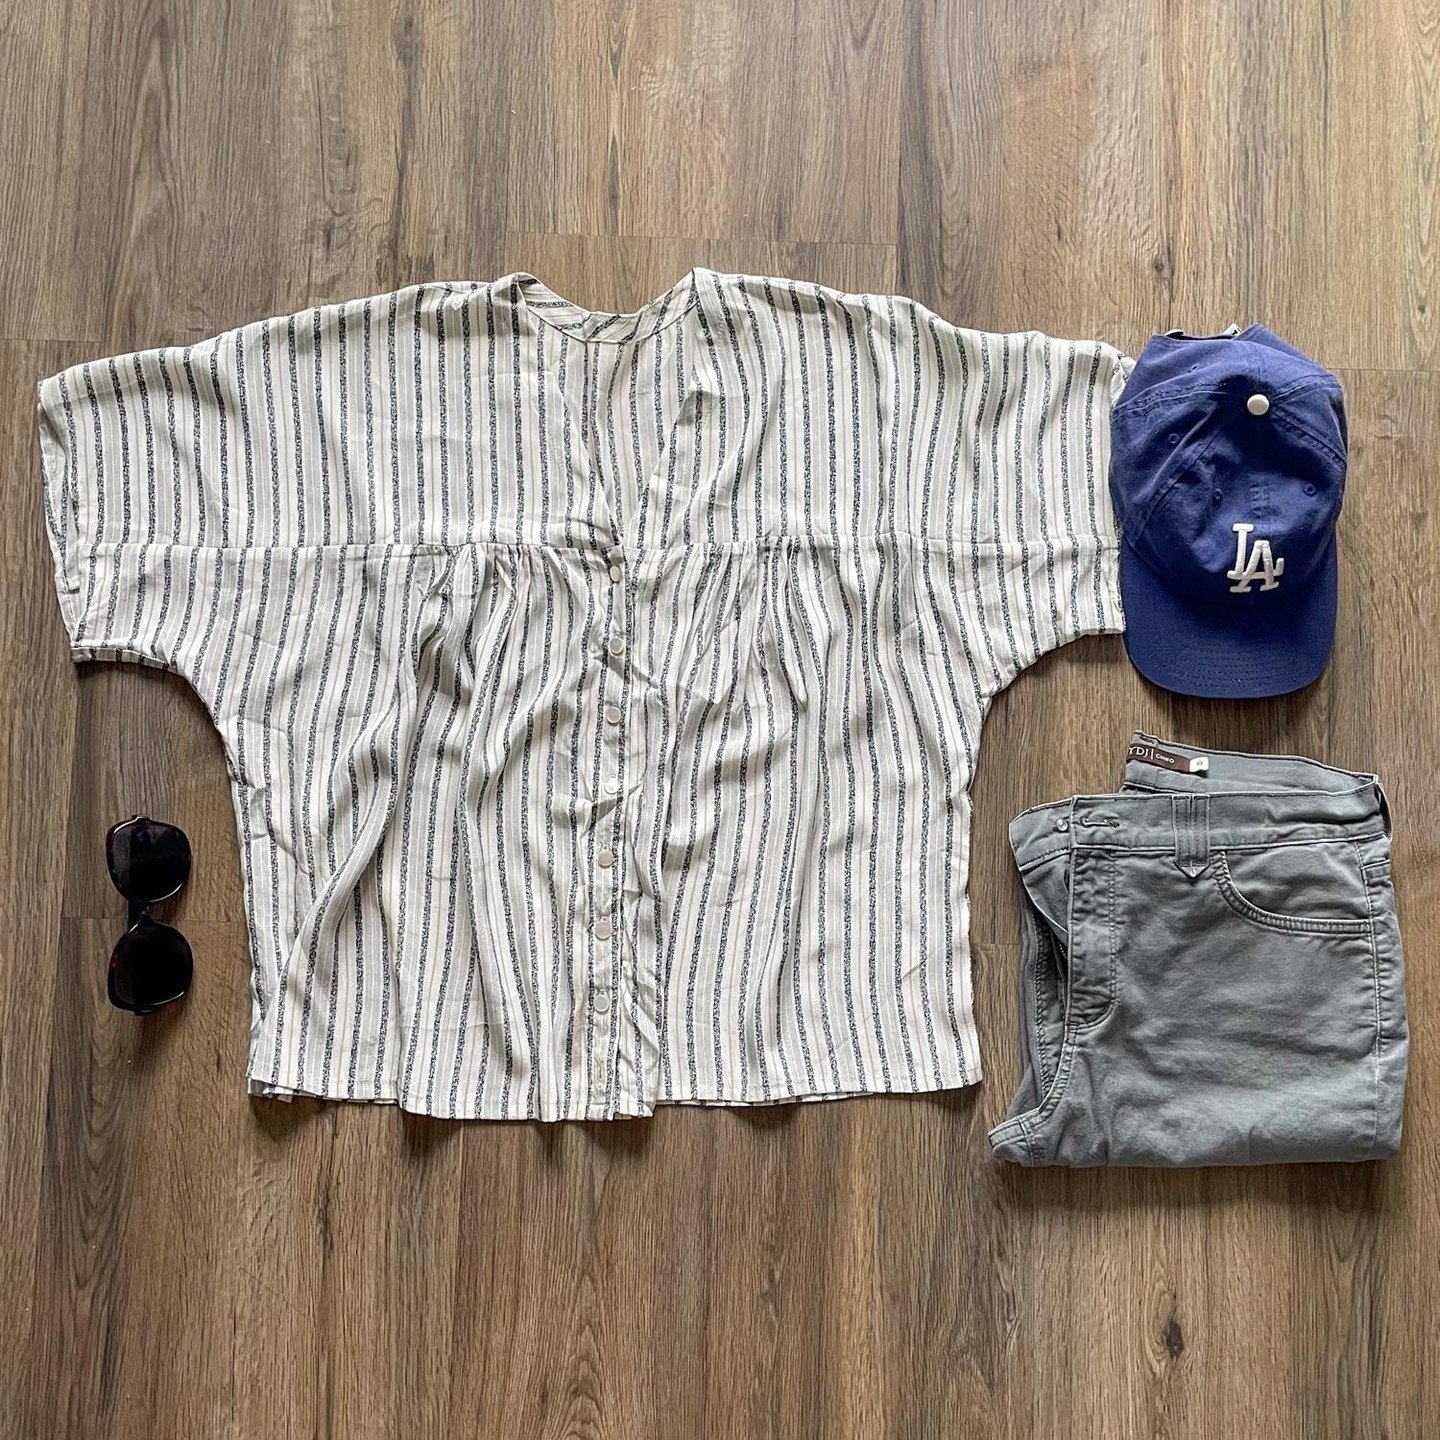
For the fabric, I used a textured black mystery fabric. It was a little tricky to work with but giving it a good ironing before cutting really helped. And just look at that drape! Perfecto!
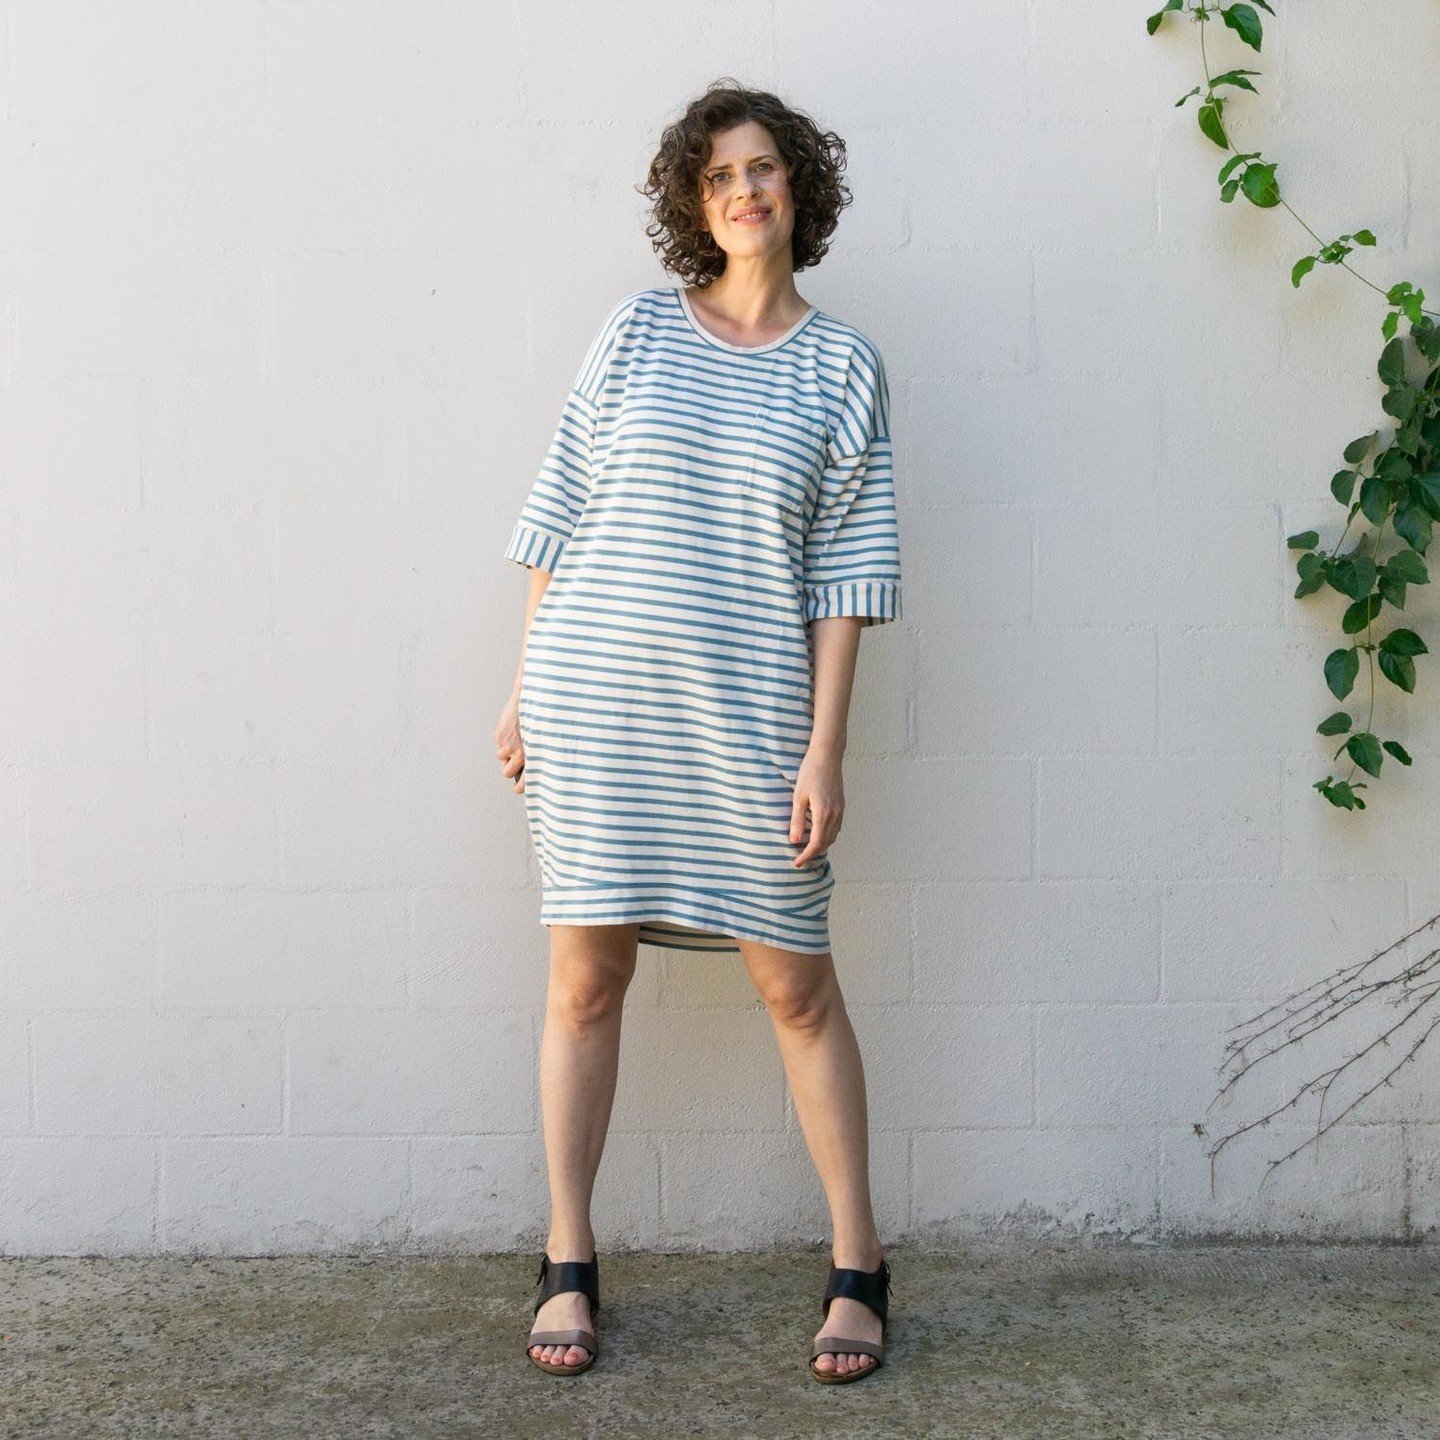
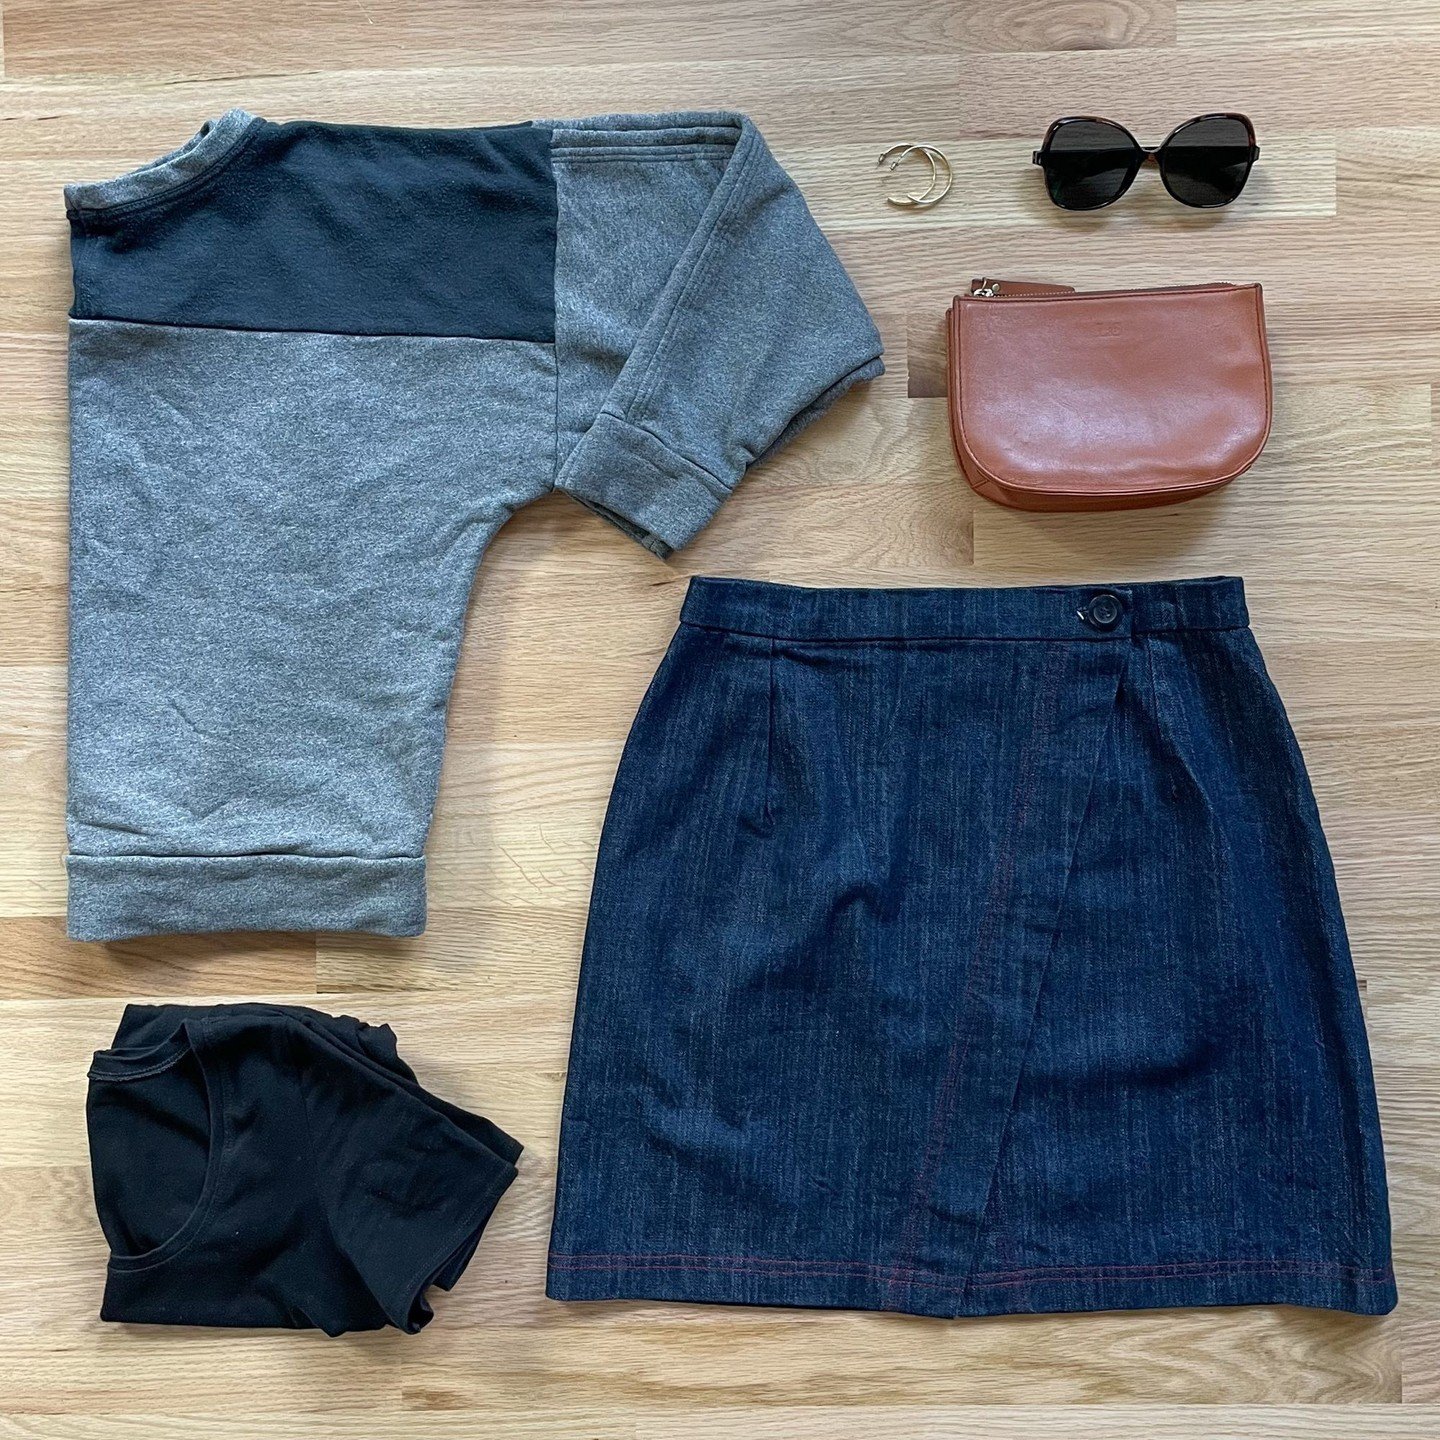
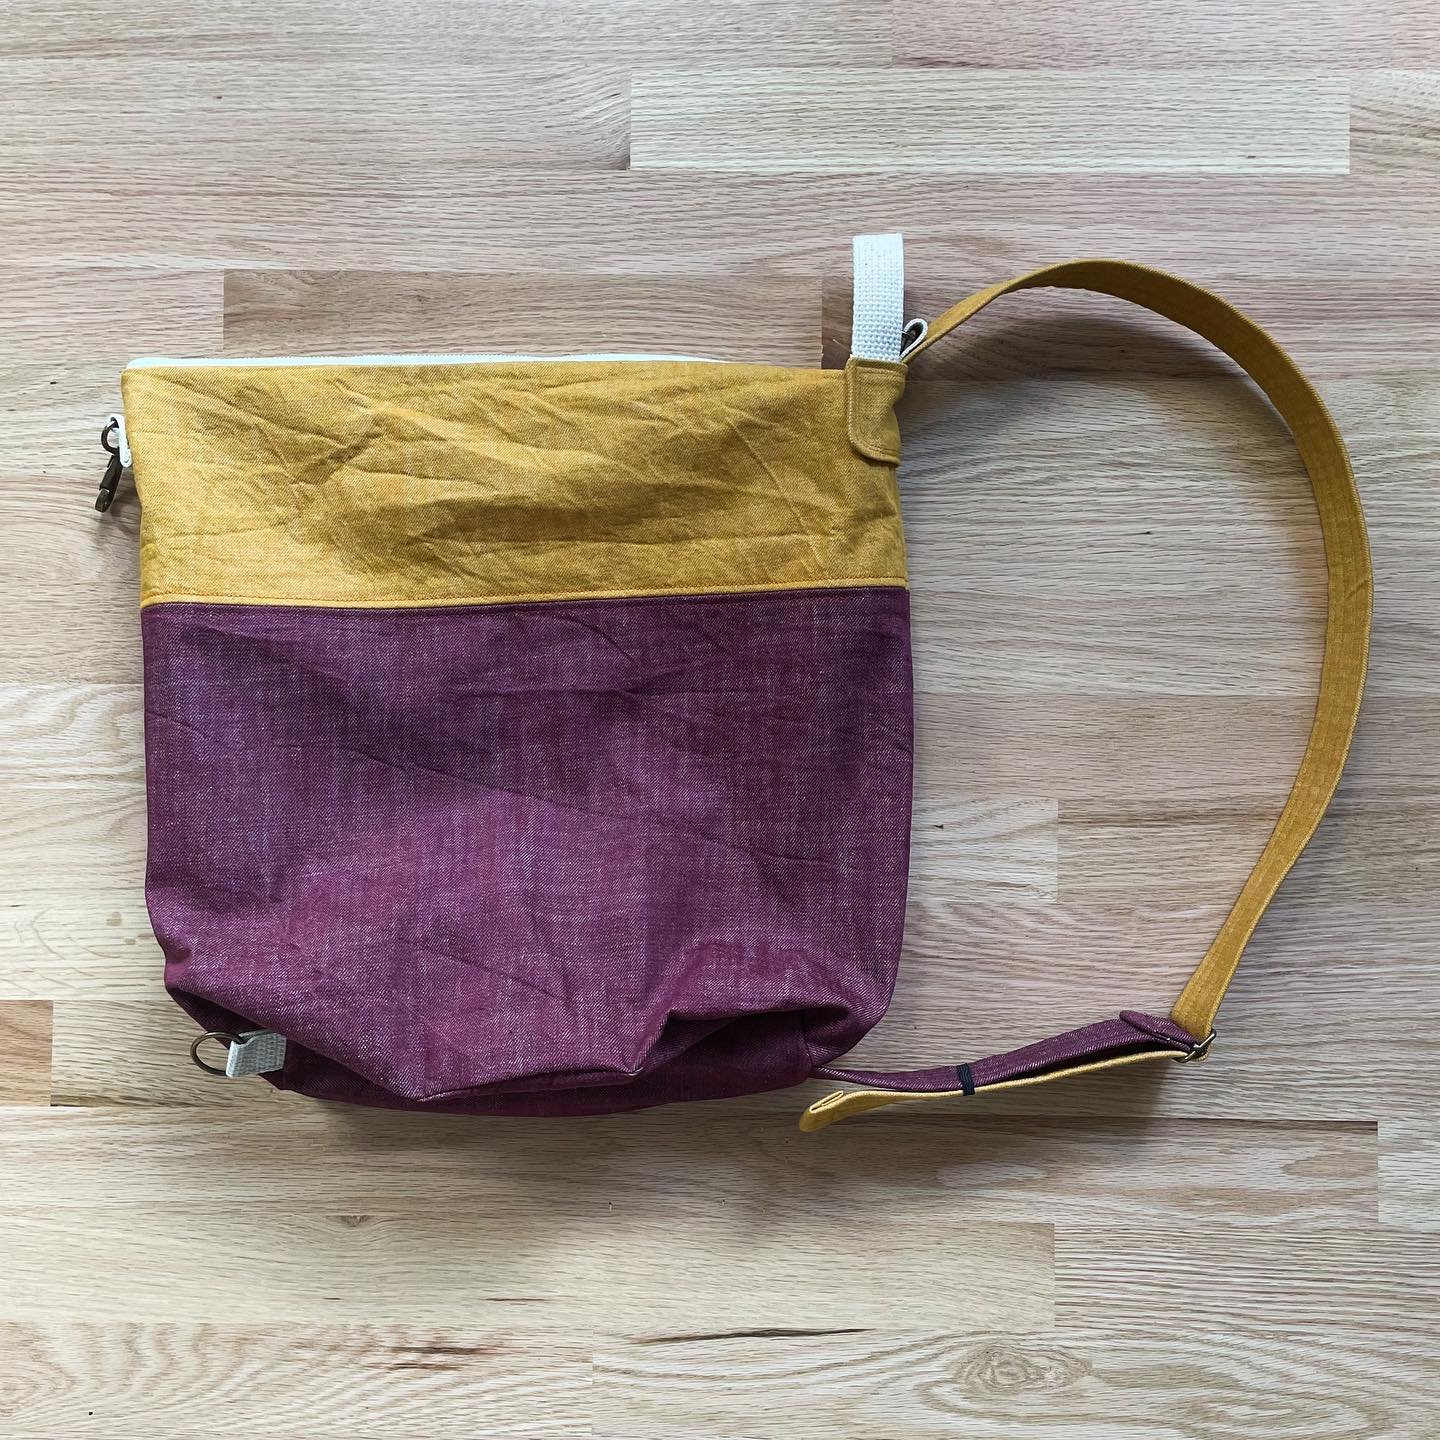
If you haven't already picked up the Lou Box Top, you can get it here. It's a great beginner pattern with six views and instructions for both knits and wovens. I've made a gazillion of these and wear them all the time. For this one, I decided to make the dip hem version because the added back length shows off the slit best. Here I'm wearing it with one of my other favorite patterns, the Knit Skirt from the book Sew U Home Stretch. Plus, I've got my DIY Fringe Clutch on hand to complete the look.
How to Make a Slit Back Lou Box Top
Note: This is a super simple change from the basic instructions so I'm going to skip over most of them and just tell you the changes. For this example, I made a woven top but you can do the same process for a knit. For knits, cut the back piece along the line for woven fabric and not on the fold.
In step 2, stitch center back seam from dot to about 12 inches above hem and backstitch. Press seam open. (To estimate the opening at the back, hold a tape measure at the back of your neck and let it hang down your center back. Find the preferred spot for the back opening and mark it on your back piece. I went for a few inches below the bra.)
Construct the rest of the top as usual. In step 10, prepare hem as instructed and press opening seam allowance .5 inch to wrong side. Topstitch around slit opening pivoting at corners.
And voila! You have a super trendy DIY Slit Back Top. If you make one and post on social media be sure to tag me and use #louboxtop. Happy Sewing!
Want to stay up to date on tutorials and pattern updates? Follow along on Bloglovin.