Perfect for summer picnics from the park to the beach, this blanket will protect and cushion you from the hard, wet ground and can stand in as a towel when you take a quick splash in the water. I like to think of it as a blanket-towel hybrid–the summer essential you never knew you needed. With one side terry cloth and the other a sturdy ticking stripe, this blanket is ideal for picnics, outdoor concerts poolside afternoons and beach adventures.
I've added a couple of great features to this blanket, corner pockets and roll-up ties. When you stow a rock or other heavy item in the corner pocket, it will hold the blanket down on windy days. For easy traveling, there are ties attached to one side so that you can roll up the blanket, tie a couple bows and be on your way. This blanket is really easy to make and only takes a few hours to complete. Skip the ties and corner pockets and it's even quicker! Plus it's the perfect excuse to take more afternoon picnics.
How to make a picnic blanket
SUPPLIES:
2 yards ticking or shirting fabric (54 inches wide)
2 yards terry cloth (45 inches wide)
thread
sewing machine
INSTRUCTIONS:
1. Cut ticking/shirting fabric 45 inches wide. From leftover ticking fabric, cut 4 squares 8 x 8 inches and 2 strips 36 x 2 inches.
2. Fold square on the diagonal and top stitch .25 inch from fold.
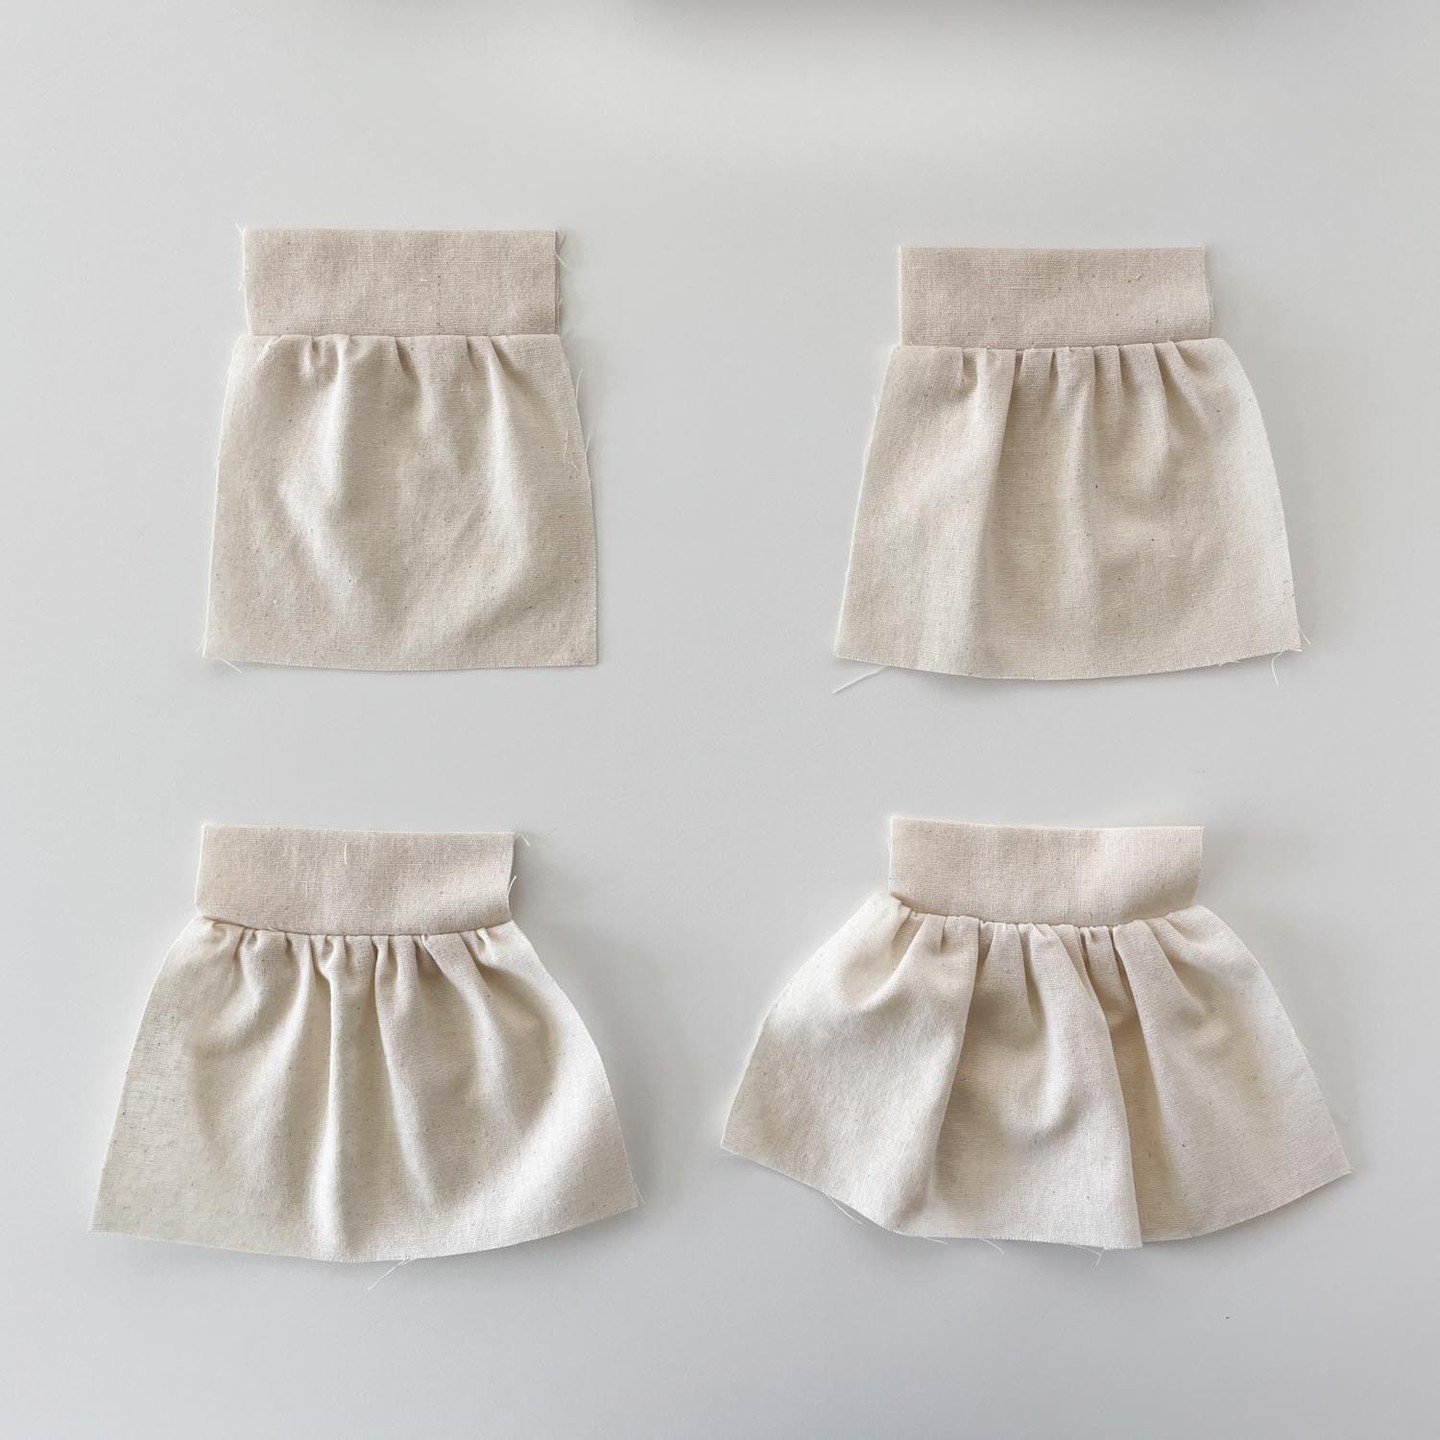
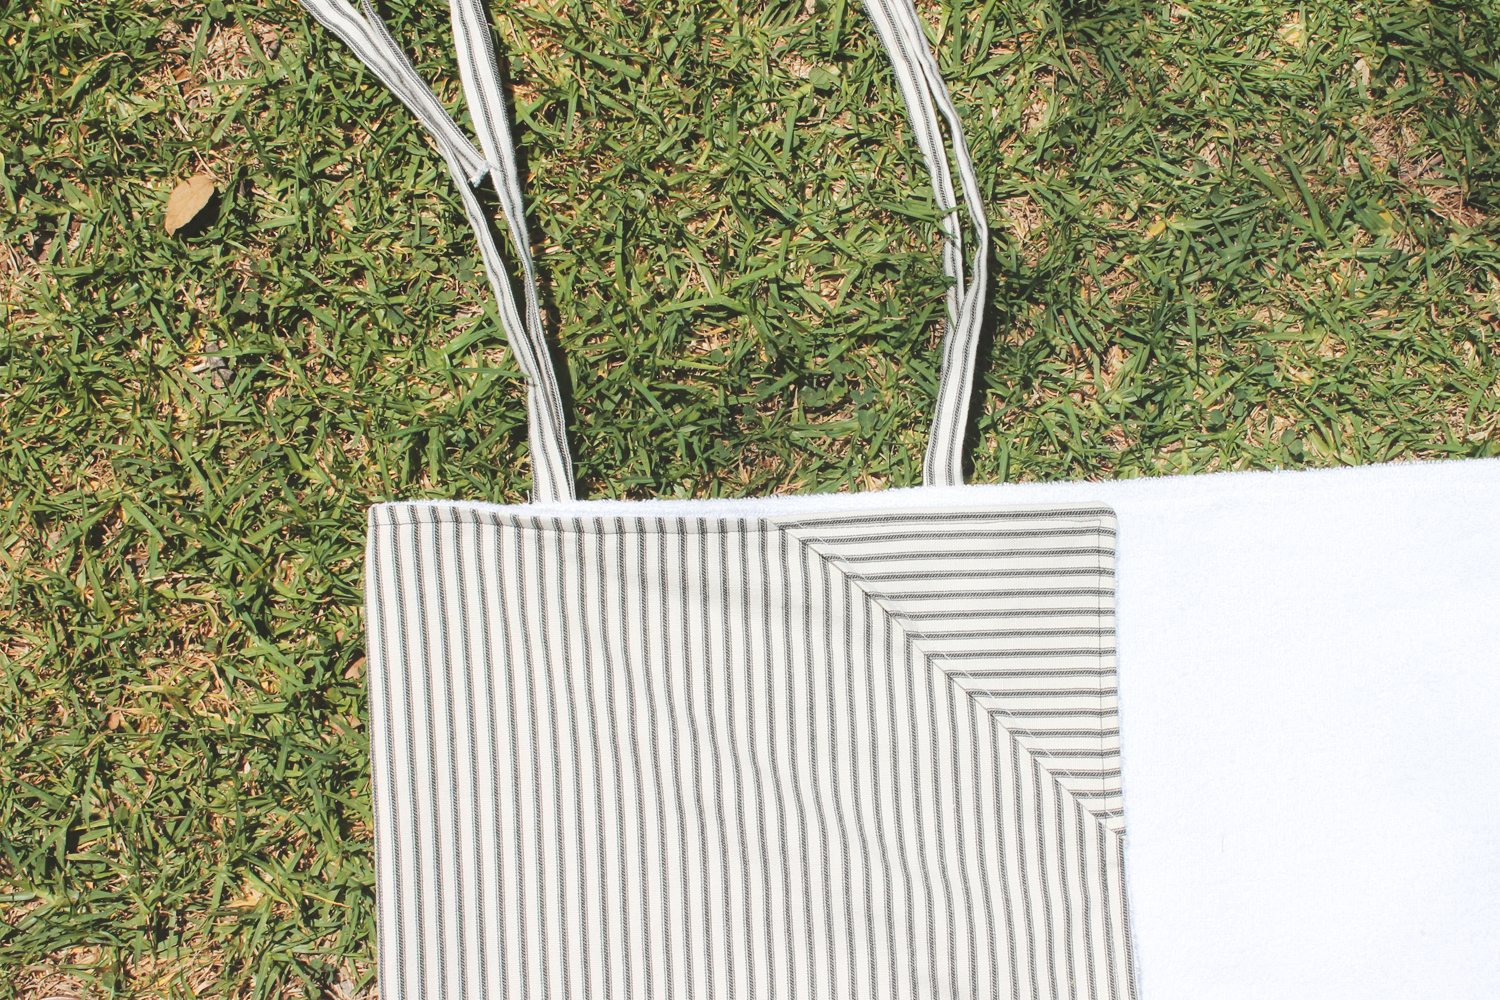
NOTE: If you're using a striped fabric, it looks cool to have the stripes going in opposing directions at the corners (see photo below). To make sure your corner pieces will work, turn the stack wrong side up with all the stripes in the same direction. Fold two squares from top left to bottom right. Fold remaining two squares top right to bottom left.
Pin squares to right side of ticking fabric at the corners, with raw edges aligned. Using a scant .5 inch seam allowance, baste in place.
3. Fold strips lengthwise with right sides together. Stitch leaving both ends open. Use a safety pin to turn the ties right side out and press. Finish raw ends using a tight zig-zag stitch.
Fold ties in half. On short end of ticking fabric, pin folded edge of tie to right side placing each tie 19 inches from corner. This will place the ties in the center third of the blanket. Using a scant .5 inch seam allowance, baste in place.
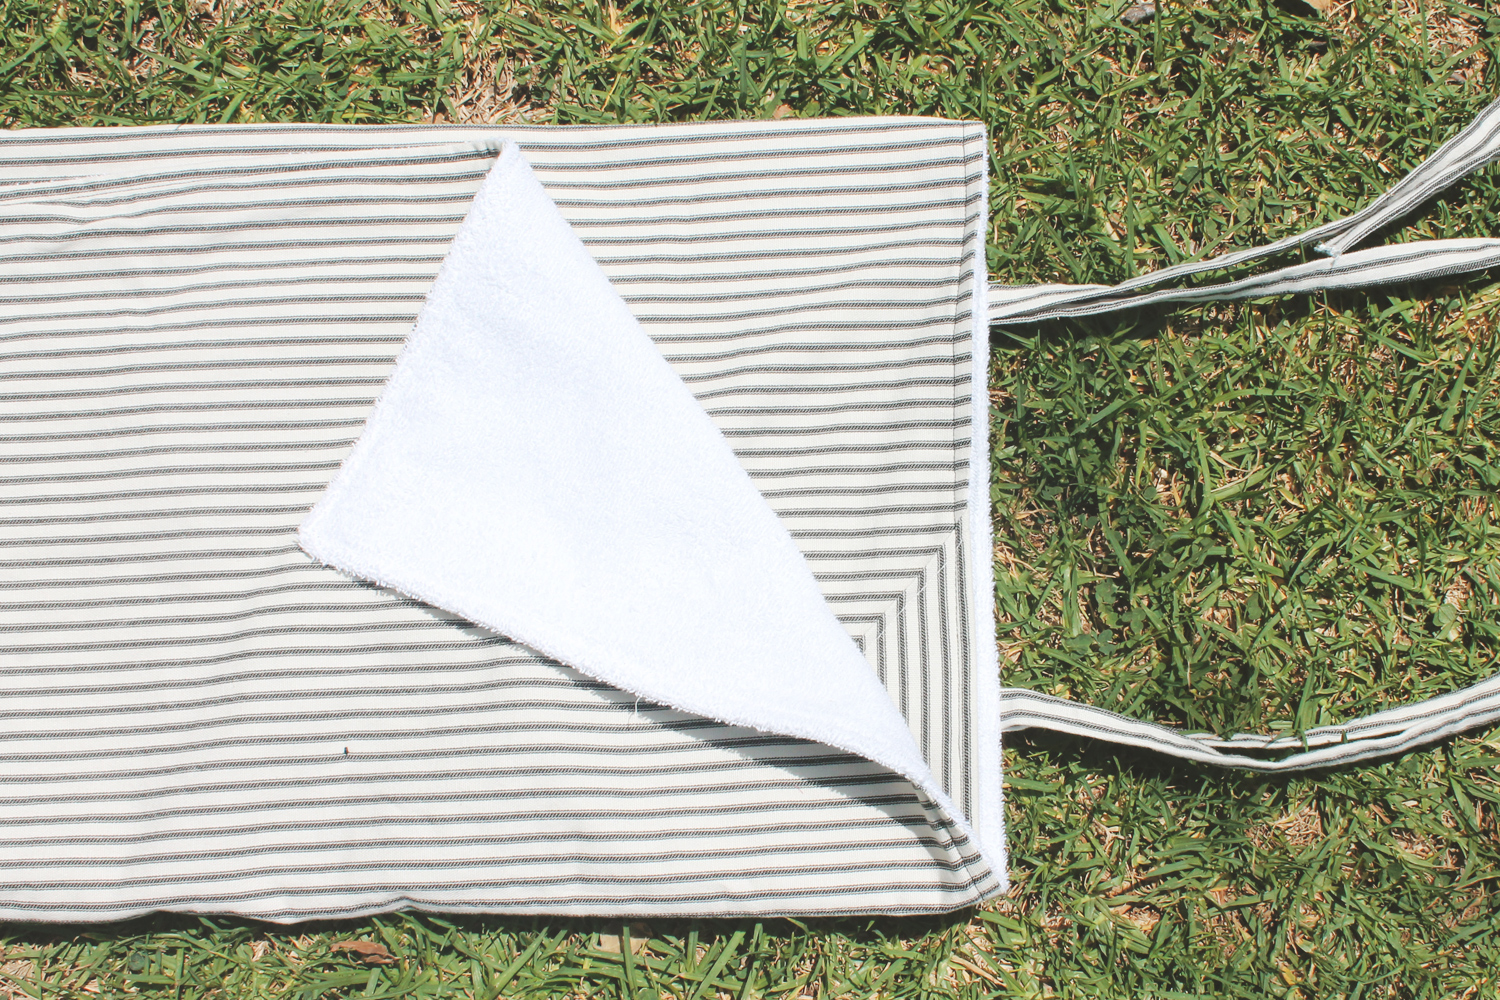
4. Place terry cloth and ticking right sides together. Using a .5 inch seam allowance, stitch around all edges, leaving an opening about 10 inches on one side. Turn right side out through opening.
5. Lay the blanket flat on the floor and smooth out any wrinkles. Pin layers together. Top stitch around outer edge. Sew evenly spaced bar tacks through all layers.
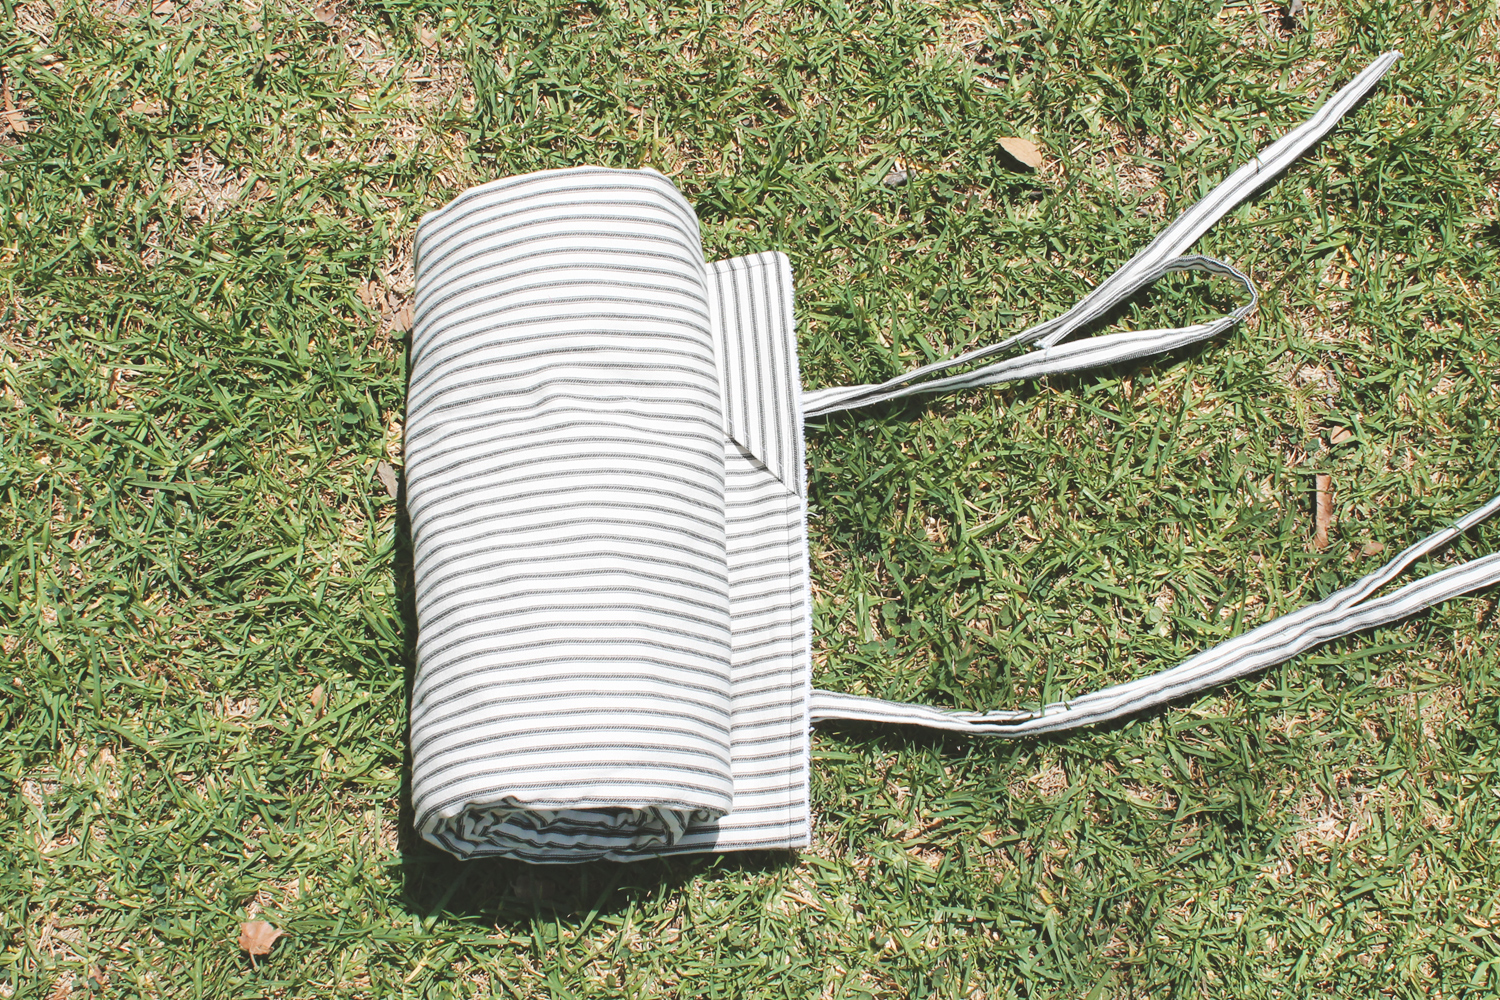
To fold the blanket, lay flat on the ground then fold lengthwise in thirds. Roll the blanket towards the end with the ties. Wrap the ties to the back side and tie bows to secure the bundle.
I hope that you enjoy this tutorial and find many opportunities for picnics, outdoor concerts and beach trips. Happy summer sewing!