PDF sewing patterns are relatively new to the sewing scene and while I LOVE them, I know that a lot of people don’t. I love the immediacy of being able to buy a pattern from the comfort of my couch, print it out and start my project right away. I also love that I have a digital copy of the pattern that I can save forever and print again and again. But I do recognize that a lot of the dislike of pdf patterns is from the need to print the pattern yourself. Today I’m going to share a few of my tips for printing and storing pdf patterns. (A lot of this stuff is just personal preference and you’ll need to find what works best for you. But, maybe some of these tips can help you find what works more quickly.)
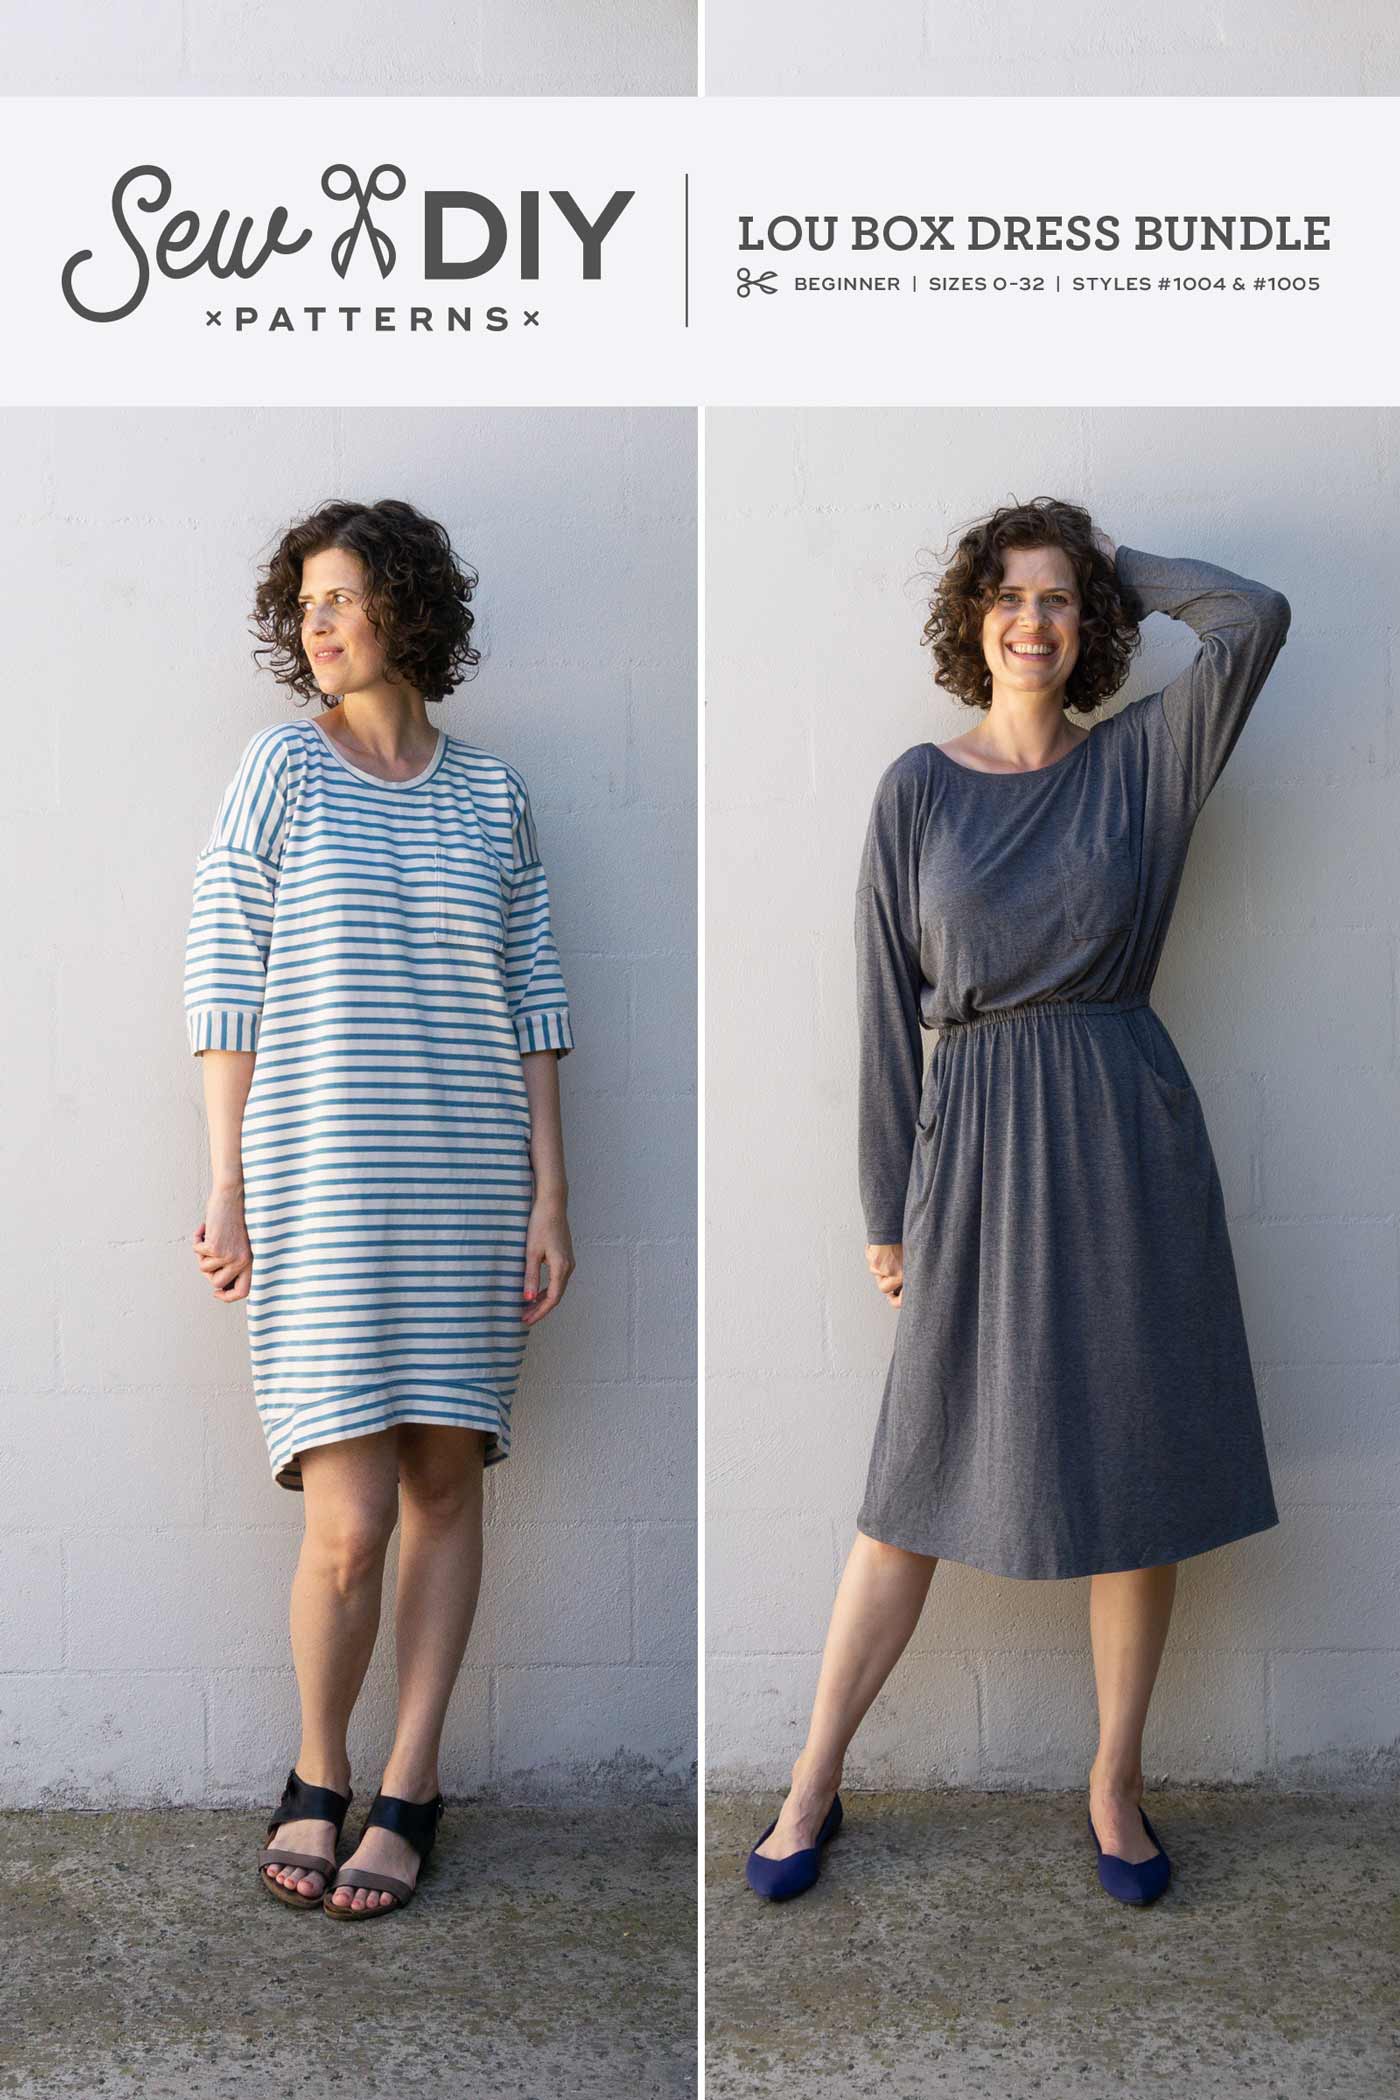
Sew DIY patterns come with a few different size formats for printing. First, there’s a Print At Home tiled pattern that will print on 8.5 x 11 (Letter) or A4 size paper. After printing, you trim off the edges and tape it together to make the pattern pieces. They also come with Copy Shop pattern files in A0 size and 28” wide by whatever length the pattern pieces require. In general, the 28” wide file is used in the US and the A0 is used elsewhere. Today, I’ll give some details on how to print, assemble and store these different file types.
PRINTING THE PATTERN AT HOME
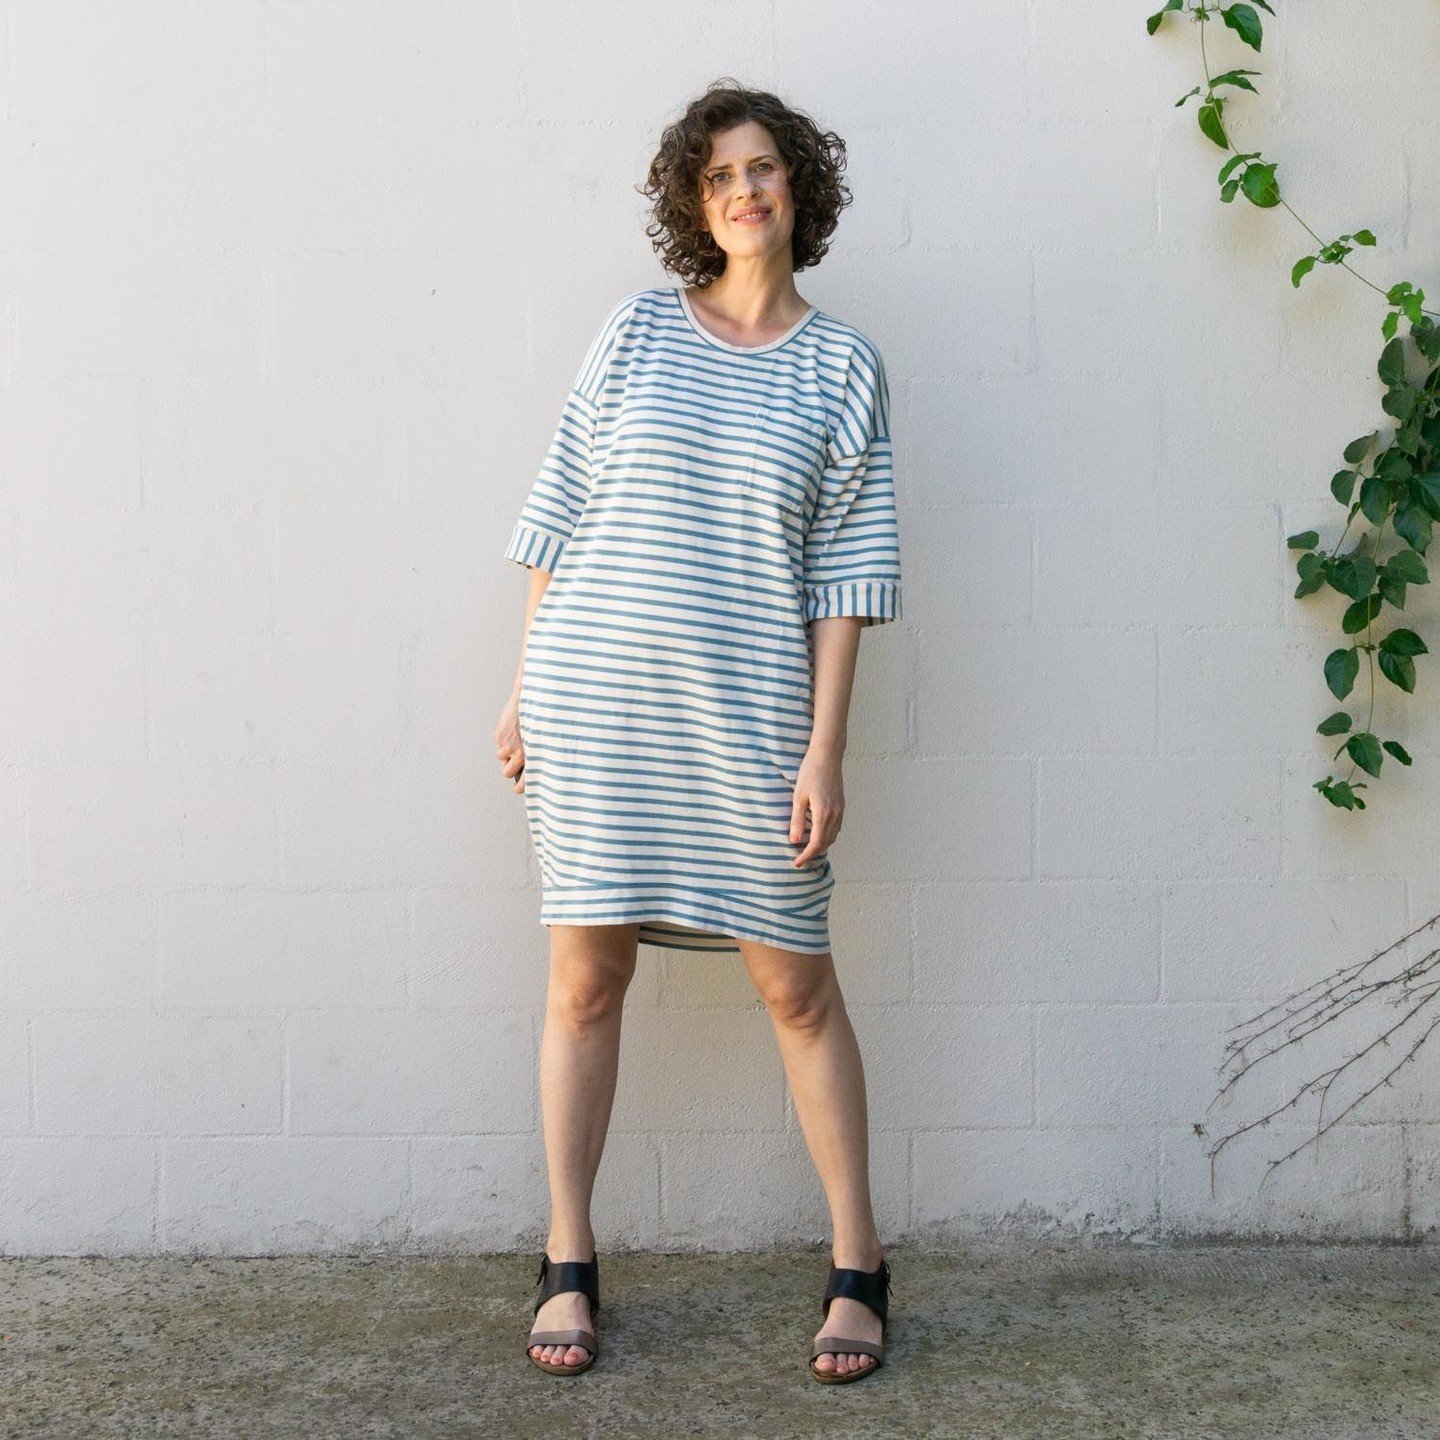
Select your size. The Lou Box Dress patterns have layered pdfs so (if desired) you can print only the size you need. If you have sewn the Lou Box Top before, then it is helpful to know that the sizing is exactly the same. The design of these dresses is intended to be loose and there is intentionally a lot of ease. If you are sewing with a knit fabric, you might like going down one size for a slightly slimmer fit. The knit samples modeled in the pattern photos are one size smaller than the size chart suggests. Consult the charts in the pattern instructions for more details on sizing and finished measurements.
Let's start printing! The most common way to print a pdf pattern is at home on a common inkjet printer. To do this, open up the Print At Home pdf using Adobe Reader or Adobe Acrobat. Select your size in the Layers palette (there is an image of this in the pattern instructions). Open the print dialog box and select “Actual Size” or “Scale 100%”.
In the past I had some problems with the printable area of my printer being too small for some patterns. I discovered that if I opened the “Page Setup” dialog box and selected my printer from the “Format for” box, then I magically had more printable area. With your settings sorted, print the first page of the document. Measure the test square and make sure it’s the size it should be.
What about the cost of at home printing? Ink can be really expensive and if you sew a lot of pdf patterns, you’ll go through a lot of ink. A few years ago I needed to replace my printer so I did research on what printer kind of home printer uses ink most efficiently. I ended up buying the Canon MG7520 and have been very happy with it. It's now sadly discontinued but if ink consumption is a concern, I highly recommend doing some research before you buy. My printer has 5 ink cartridges and even though I print a lot, I rarely need to replace them. I also bought a set of eco-friendly off-brand ink cartridges from Amazon and they have really lasted. Plus, they were super cheap. Do your research, read reviews and look for products that will last longer. That research time will pay off in the end.
For paper, I recycle as much as I can. Anytime I have a piece of 8.5x11 paper destined for the recycle bin with printing on just one side that is also relatively clean and wrinkle free, I throw it in my printer instead. I collect paper from work or things that come in the mail. I’m always checking to see if something has been printed on both sides and even if there’s just a little printing on one side, I’ll still use it. I probably buy one package of paper every 18 months because I’m able to use so much recycled paper.
Also, if a pattern has pages to the pattern with no printing (for example for a large gathered skirt), I just don’t print that page. Before I print the pattern, I click through to see if there are any unnecessary pages, then I skip those pages. My pattern will have a big hole in the middle after it’s assembled but if there was no information there, then I don’t really need paper there anyway.
What about the assembly? For the Lou Box Top Sewalong, I did a post about my method of assembling pdf patterns. I still use pretty much the same method except that I’ve swapped a utility knife for the old rotary cutter blade. A utility knife is generally about $1 at the hardware store and lasts ages. The more you practice cutting and taping (or gluing, if you prefer), the faster you’ll get. Personally, I like to watch tv while I tape patterns together. It makes it go really quickly and it can be a nice almost mindless task to do when your brain juices are running low.
To trace or not to trace. I generally don’t trace my pdf patterns that are printed at home. It just seems like an extra step, a waste of paper and more things to store. Instead, I just cut out the size I need. The exceptions are when I’m doing a pattern adjustment (like an FBA), if I know I’ll want to make it in multiple sizes or if I want to cut a pattern piece in one layer (instead of on the fold). This is totally personal preference. The great thing about pdf’s is that if I want to make it in a different size later, I can print it again.
There are also a lot of benefits to tracing if you don’t mind doing it. For instance, tracing paper is lightweight and easy to fold up for storage. It’s also transparent so you can see markings on both sides of the paper. Additionally, when you trace a pattern, it's really easy to increase or decrease the length. Sew DIY patterns are designed for a 5'6" woman. I'm 5'11" so I usually add 5" to the length of my dresses.
Storage. After assembling my pattern, cutting out my size and making my project, I fold up the pattern and put it in a clear plastic sheet protector. I then store the plastic sleeves in 3-ring binders. I make sure to have one pattern piece in the front that shows the pattern and size. If there’s not a convenient pattern piece, I write a note on a slip of paper and add it to the sleeve. When you use your patterns again, you can flatten them out by ironing them. Just make sure that you've emptied the water out of the iron and use a low setting.
If you don't happen to have tons of plastic sleeves and 3-ring binders sitting around and are looking to save money, try your local $1 store or thrift store. (I've also bought tape and glue sticks at the $1 store but the quality is sometimes so bad that they are essentially useless.) Other ways to store patterns include hanging them, rolling them (which I do with my large printed patterns) or instead of the plastic sheets, you can use envelopes and file them.
PRINTING THE PATTERN AT A COPYSHOP
The other option is to have the pattern printed at a copy shop. The copy shop pattern prints on one or more big sheets of paper instead a bunch of small ones that need to be taped together. For that there is an A0 size file and one that is 28” wide and very long. You can take the pdf files to a local copy shop and they will print it on a big sheet of paper (or 2). If you can find a local printer who prints architectural (CAD) documents they are likely cheaper than a place like Staples.
Another option is to use an online printer. I recently had patterns printed by PDFplotting.com. They are very cheap to print per page (A0 is just $1.20 per page) but there are shipping charges. So, if you don’t need instant gratification, you can save up a bunch of patterns and have them all printed at once. As I recall, my patterns arrived in less than a week. They arrived rolled up in a long triangle shaped box. I was really pleased with the quality and will definitely be ordering again. (If you're in the UK, you might try the website PrintYourPattern.com. I don't have personal experience with them but they specialize in patterns which is always reassuring.)
Before you send your pdf's off to be printed, make sure to double check the size in Adobe Acrobat by going to File > Properties. A dialog box will pop up with the page size in the bottom left. Another helpful resource about using copy shop files is this post from IndieSew.
Tracing. Now that you have this beautiful, professionally printed pattern in hand, it's time to decide if you want to cut or trace. Depending on the cost of the print and how confident you are in selecting a size will help you decide whether to cut or trace. For the Lou Box Dress, I recommend tracing because you might like to use one size for woven fabric and one size smaller for knits. The easiest way to trace is with a roll of tracing paper. Swedish tracing paper is excellent for sewists as you can actually sew with it. But it's pretty pricy. I bought this roll of medical tracing paper on Amazon in 2014 and have not run out yet. It's thinner than Swedish tracing paper but much, much cheaper.
DIGITAL PATTERN STORAGE
I know we just want to spend time sewing and don’t want to think about computer things. BUT. Digital storage is also very important. One of the best things about PDF patterns is that you can just print it out again. With a printed pattern, if it gets wet or damaged, it’s ruined and you’re out of money. So don’t get caught with a bunch of lost files when your computer crashes.
I highly recommend saving a copy of your digital patterns on a cloud storage service such as Evernote or Dropbox. I store my digital patterns on my computer, organized by pattern company and I also back them up to Evernote. If I ever have a major computer failure or if I’m just away from my computer and need to reference a pattern, I have access online to my whole collection.
That's it for today. Next week we'll start sewing our dress. Meanwhile, there's a lot of great information in the Lou Box Top Sewalong that you'll likely find helpful. Happy sewing!
LOU BOX DRESS SEWALONG SCHEDULE
DAY 1 RTW Inspiration Tues Jan 9
DAY 2 Fabric & Supplies Wed Jan 10
DAY 3 How to Print and Store PDF patterns Thurs Jan 11
DAY 4 How to Finish a Knit Neckline Mon Jan 15
DAY 5 How to Finish a Woven Neckline Tues Jan 16
DAY 6 How to Sew a Patch Pocket Wed Jan 17
DAY 7 How to Sew In-Seam Pockets with a Serger Thurs Jan 18
DAY 8 How to Sew Lou Box Dress 2 Scoop Pockets Mon Jan 22
Day 9 How to Sew Lou Box Dress 1, View A Sleeves Tues Jan 23
DAY 10 How to Sew Lou Box Dress 1, View B Sleeves Wed Jan 24
DAY 11 How to Sew Lou Box Dress 2 Waist Casing Thurs Jan 25
DAY 12 How to Sew a Hem Facing Fri Jan 26