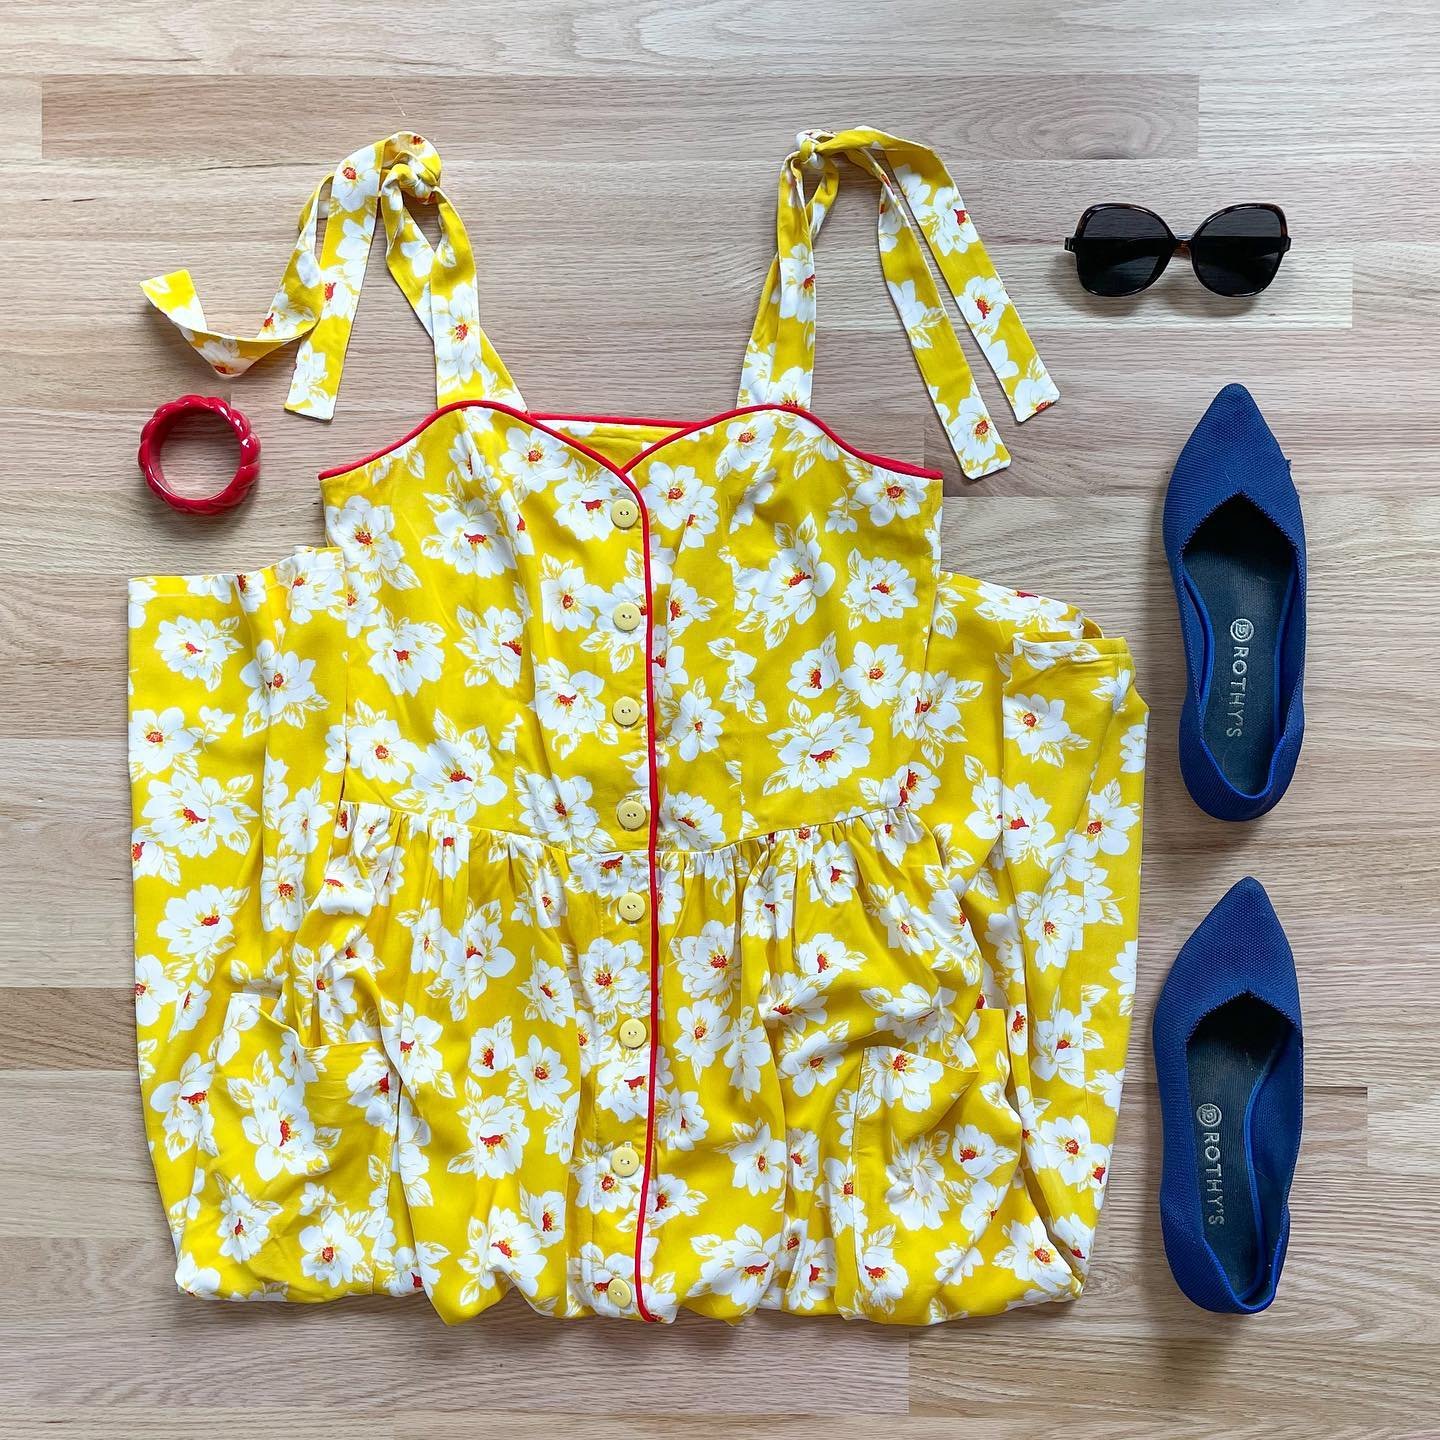
Today, I’m sharing a dress that I made on a total whim early last month. I’m calling it an impulse sew because I suddenly got the idea for it in my head and had to sew it up right away. Sometimes, an impulse sew can be quite successful, especially if you are using a pattern that you’ve sewn before. For this dress, not only did I use a pattern that I’ve made twice before but I also used fabric that was leftover from another dress I made. So, it’s kind of a leftover dress but I believe it’s absolutely fantastic. I’m so glad that when the idea popped into my head, that I scooped it up and ran with it.
Let’s start with the pattern. This is the Neenah dress from Seamwork magazine. Funny enough, even though this is my third time using the pattern, I’ve never actually used the pattern as designed. Each time, I’ve hacked it in some way. The first time I used the pattern, I made a scoop neck dress and the second time, I made a turtleneck top. It’s a really easy pattern to use and sews up very quickly. Perfect for an impulse sew! By the way, if you haven’t heard of Seamwork magazine before, it’s a monthly online magazine from Colette patterns. Each issue comes with a load of helpful articles and two sewing patterns. If you sign up using this link, you’ll get $3 off (and I’ll get a discount too).

For this dress, I made between a size medium and small. I used the medium for the front and the size small for the back. With my previous versions, I felt there was excess fabric in the back so made the adjustment this time. It’s kind of a cheaters way to do an FBA. I added 4” to the length of the body and 1.25” to the length of the sleeve. I also did a 5/8” square shoulder adjustment (standard for me). Also, in case it helps, I’m 5’11”, and bust/waist/hips are about 38.5/28.5/39.
The one mistake I made, was to not take note of the amount of stretch in the fabric. This fabric has significantly less stretch than the fabrics I’d used with this pattern before. To make up for that, I used a 1/4” seam allowance for the side seams. I only figured this out after basting the side seams and trying on the dress. It was just a wee bit tight, so I decided to adjust the seam allowance. I’m very glad that I did and the dress is now perfectly comfortable.

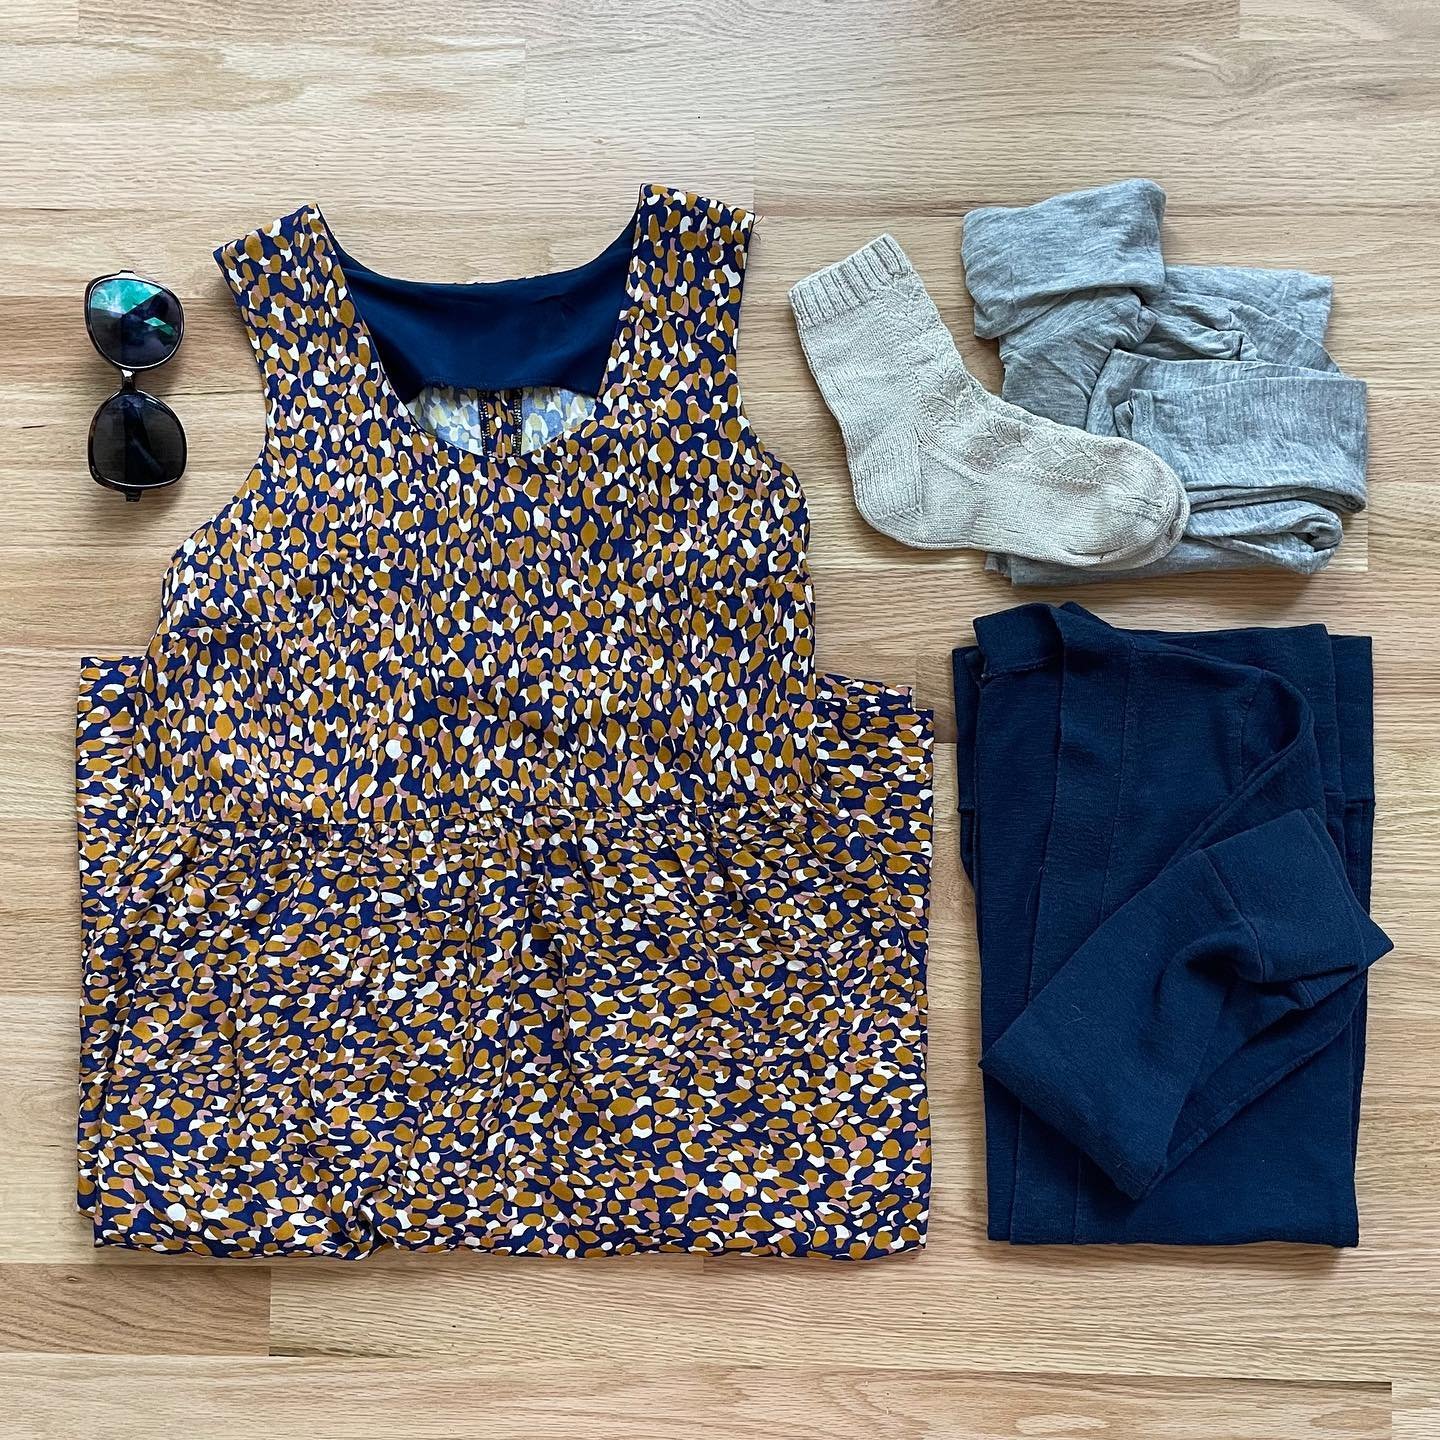
I was originally going to try to do the turtleneck but I was a little short on fabric. I did cut out a piece of fabric for the turtleneck that was just a tiny bit small but when I tested putting it over my head, I decided it was too tight and would not be comfortable. So, to finish the neck edge, I attached a strip of lightweight knit fabric and turned it to the wrong side to create a facing. Then, I topstitched the facing in place. I really like the clean finish it created. I decided to use a different fabric for the facing because this fabric is pretty thick.

If you are very familiar with my pattern catalog, then you may recognize this fabric from the photos of the Lou Box Dress 1. Yup! Same fabric, very different dress. I made that first dress a good three years ago and this leftover piece has just been sitting around ever since. At last, I discovered its destiny! The fabric is a heavy cotton knit that was gifted to me by The Fabric Store when they had a shop in LA.

I really love this dress and I think it will make a great transitional piece. I was planning to take it with me on a trip to Italy this month but sadly, I’ve had to postpone/cancel the trip. I really like taking a knit dress in this style with me when I travel because it’s so comfortable to wear but is more stylish than sweats. In fact, the first time that I made this pattern, it was for a dress to take on vacation.
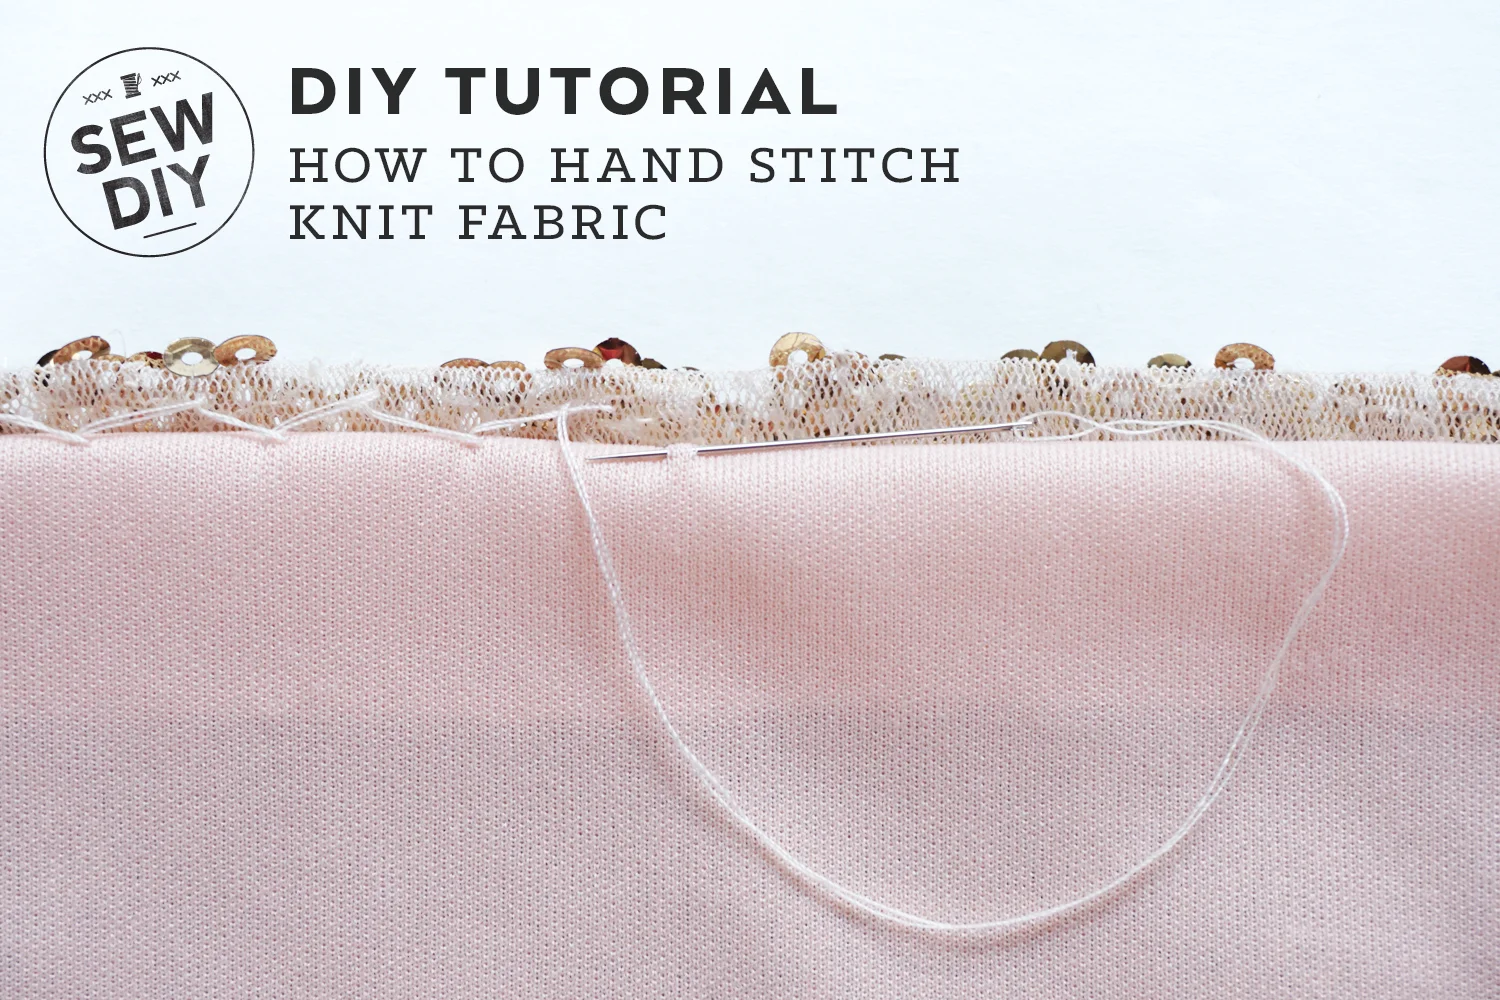
I have quite a few posts about sewing with knit fabric and you can check them out in the links below. Happy sewing!