Every sewist knows that the sewing machine is your number one bff. But did you know that the iron is your close #2? Yes! Almost as important as stitching is pressing. A proper press can mean the difference from a shabby garment and one that is looks super professional. Here are a few tips that I've learned along the way to press your me-made garments and avoid damaging them along the way.
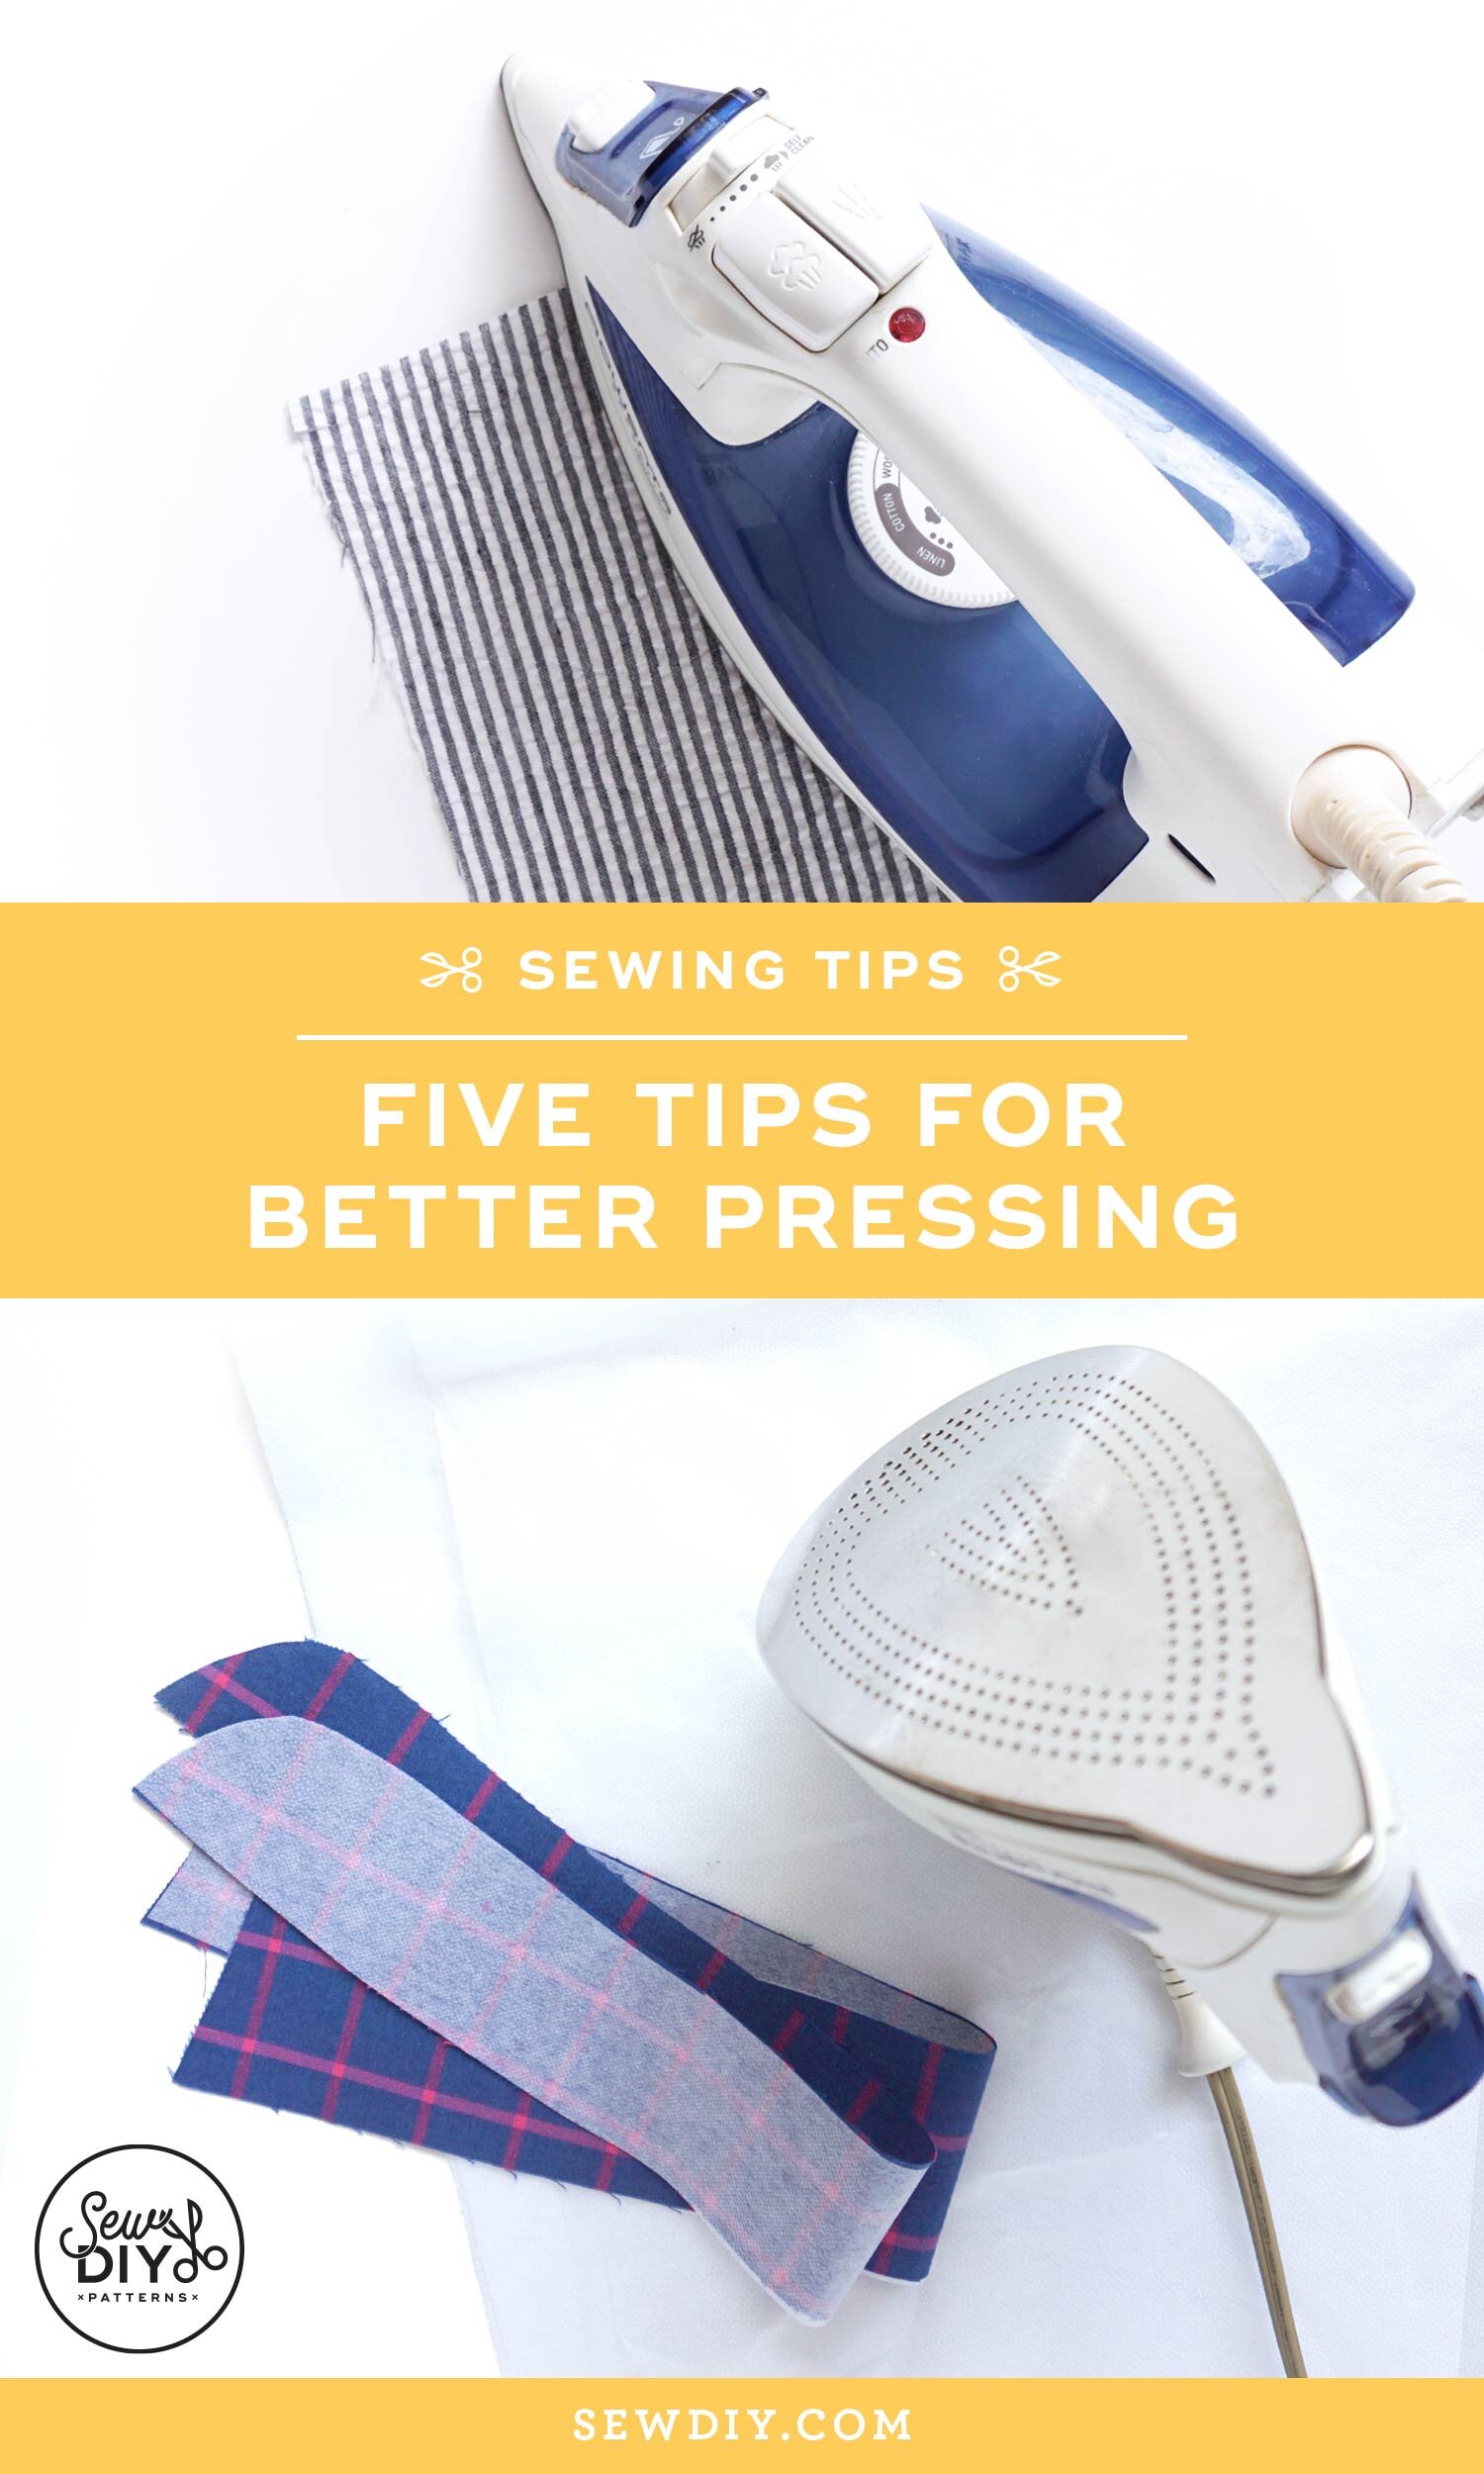
5 Sewing Tips for Better Pressing
1. Test the iron on a scrap of fabric first to find the right heat level
It can be so easy to burn or even melt your fabric. It’s happened to the best of us. So before you ever touch iron to fabric, test out different heat and steam levels on a scrap of the fabric.
In general, I’ve found that the heat recommendations for fabric type listed on my iron are correct. But it’s always best to start with a low heat and work your way up, especially when you don’t know the fiber content or are working with synthetic fabrics. You’ll know that the iron is warm enough when you can press a crease in the fabric or remove a crease. I was recently ironing a linen dress and to remove the wrinkles, I had to turn the dial all the way up to the linen setting (duh!). I rarely use the iron that hot but sometimes the fabric requires it.
2. Use a press cloth
If you have a really delicate fabric, use a press cloth to protect it from the iron. The press cloth creates a barrier between your project and the iron, reducing the amount of heat and steam that hit the project. Simply lay your project on the ironing board then place the press cloth on top and press away. I often use an old kitchen towel for this but that can be hard to see through. Alternately you can use a piece of silk organza as a press cloth (great tips for making one here). You’ll not only feel fancy but you’ll be able to see through the sheer organza and make sure your project isn’t wrinkled.
3. Be gentle
Just as fabric can be burned or melted it can also be warped or stretched when pressing. Even though we call this activity “pressing” you really don’t need to press with the iron at all. Let the weight of the iron be the only pressure put on the fabric and don’t add to it. Save those muscles for the gym! :) If you think you might be using too much pressure with your iron, try to adopt an up and down motion, lifting your iron from place to place instead of sliding it.
4. Press every seam after sewing
When sewing woven fabrics, it’s important to press each seam after you sew it. Pressing your seams flat (either open or to the side as the pattern requires) will help it fit better with the next part of the garment. If the seams are not pressed flat, you risk getting wrinkles and bubbles when it’s stitched to another piece of fabric.
Bonus tip: When I took a quilting class years ago, the instructor recommended pressing the seam itself to set the stitching before pressing it open. This is known as “setting” them seam and is supposed to sink the thread into the fabric. I don’t really know if it makes a difference but it can’t hurt right?
5. Use tools to help press the tricky stuff
UPDATE: Make sure to check out my post all about pressing tools.
If you sew regularly, there are a few pressing tools that are worth the investment. I was lucky enough to inherit my tools. Over the years, I’ve slowly learned how to use them and I’m always impressed by how well they create a nice flat press on tricky seams. The tailor’s ham is a rounded cushion that is used instead of the (flat) ironing board to press a curved seam. They come in different sizes and you can even make your own.
The sleeve ironing board is a smaller ironing board that makes it easy to press small tubes like sleeves. I use it all the time and not just for sleeves.
The clapper is a really cool tool that I only recently learned how to use (from this amazing post). It’s just a wooden block but rather ingenious. If you have a fabric that is difficult to press flat but sensitive to heat, do a little press, remove the iron then pop the clapper on top of the fabric trapping the heat and steam inside. Because you’re not continuing to add heat, the fabric won’t burn but trapping it there will result in lovely flat seams.
I hope that you found these tips helpful in your sewing journey. You can pin the image above to save this post for later and then explore the shop below for patterns to help you practice your sewing skills and expand your handmade wardrobe.