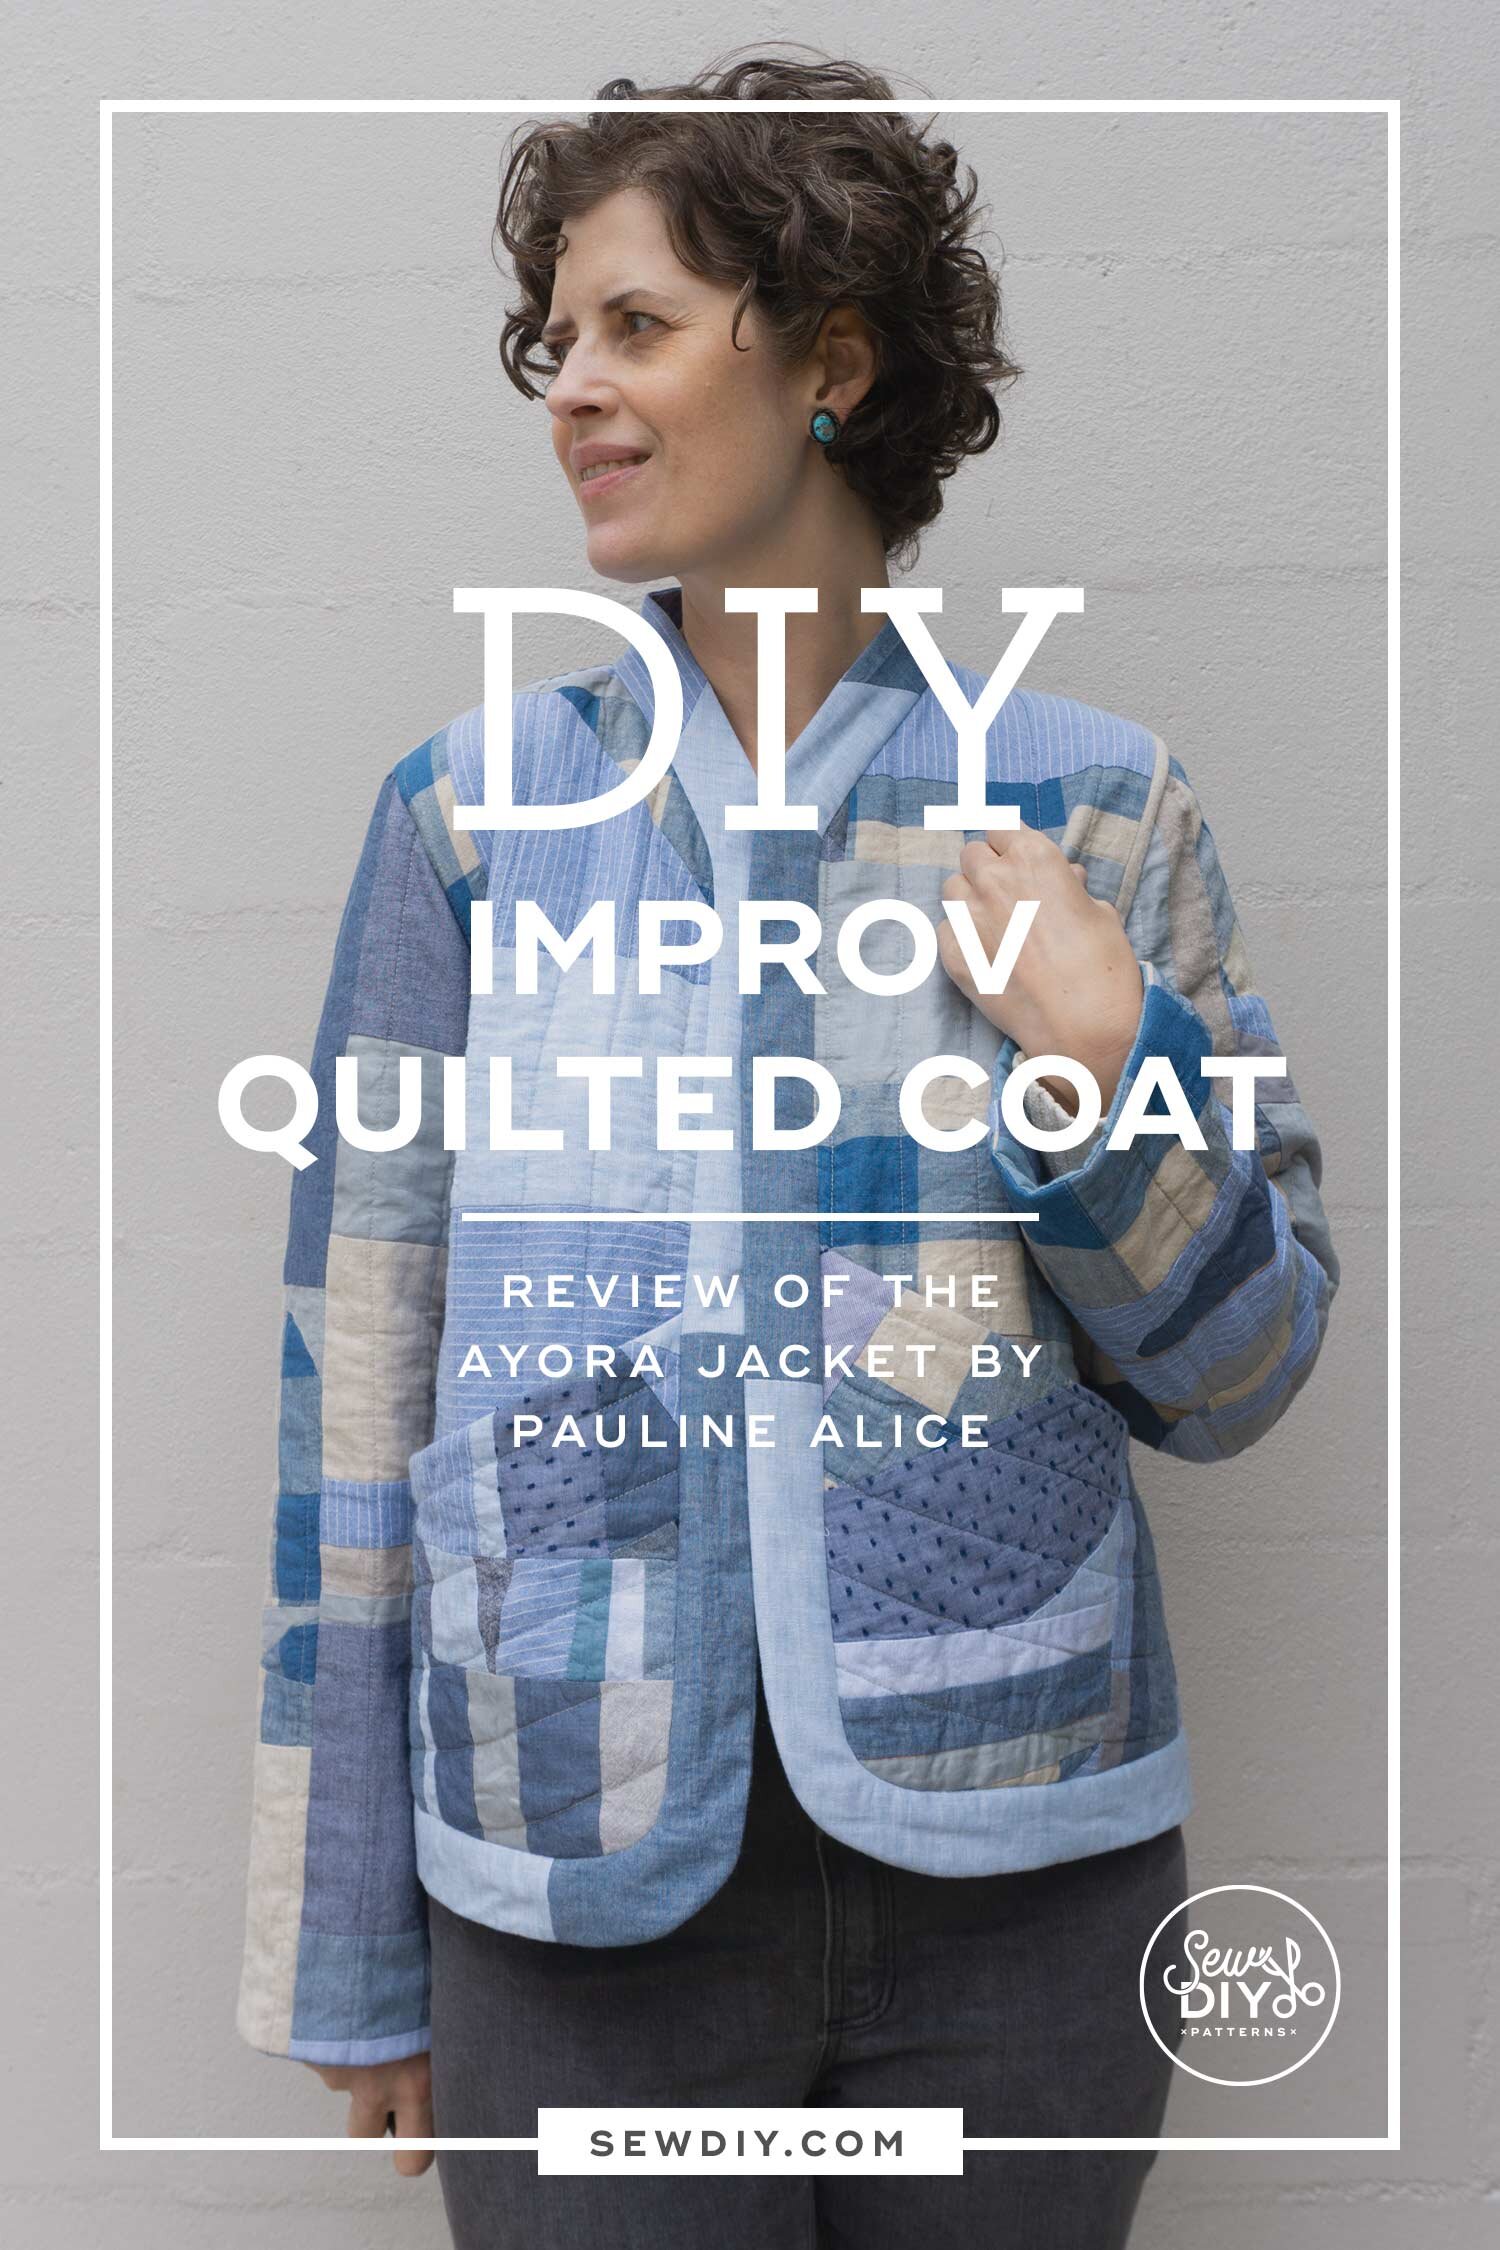
My quilted coat is finally done! I've been working on this baby for at least five months now. And honestly, I don't think I ever want to make a quilt coat again. Well, if I used pre-quilted fabric then I would consider making a quilt coat again. But, I think one is enough for me. And this is really a beautiful of coat so I will be calling it my masterpiece and hopping off the quilt coat bandwagon.

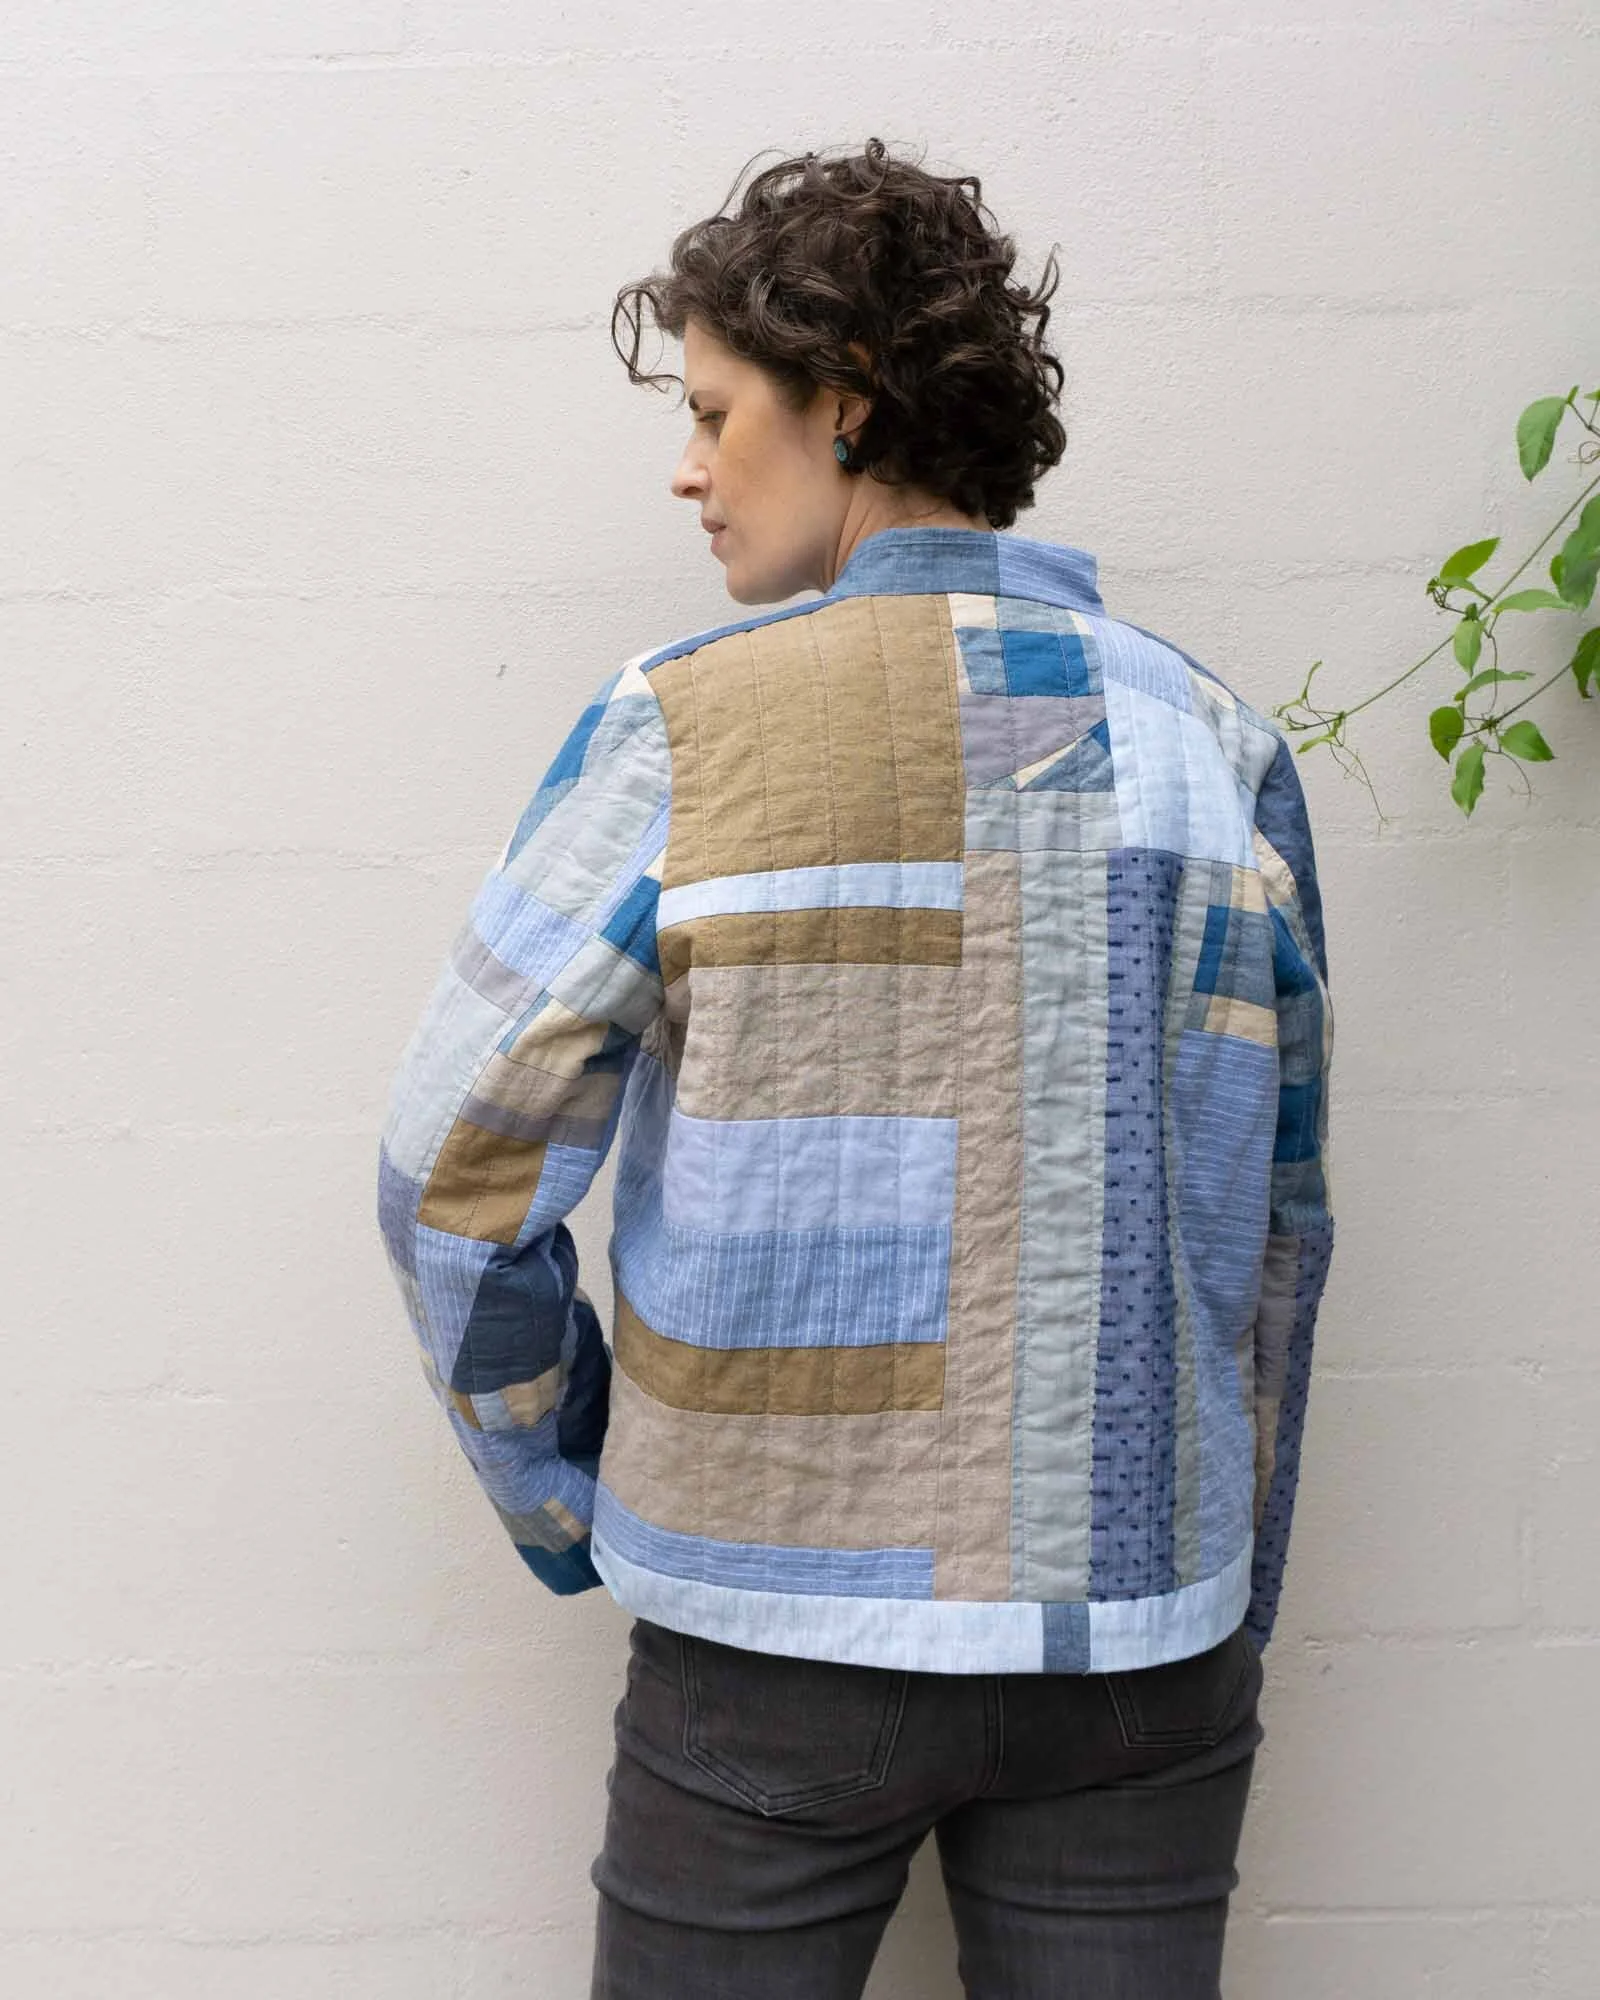
For this coat, I used all scrap fabric and my personal method of improvisational piecing. My method is all about being in the moment, reducing the number of decisions I have to make and maximizing the usage of my scraps. When I'm making an improv quilt, I just keep stitching fabric pieces together without worrying too much about the shape they'll create. To make a coat though, I had to consider what part of the coat my quilted pieces would become. The thing I love most about my method of improv piecing is how relaxing it is to not have to make decisions. So, the process of piecing scraps to make a coat just felt tedious and sometimes a little frustrating. Which is probably why it took my 5+ months to finish!


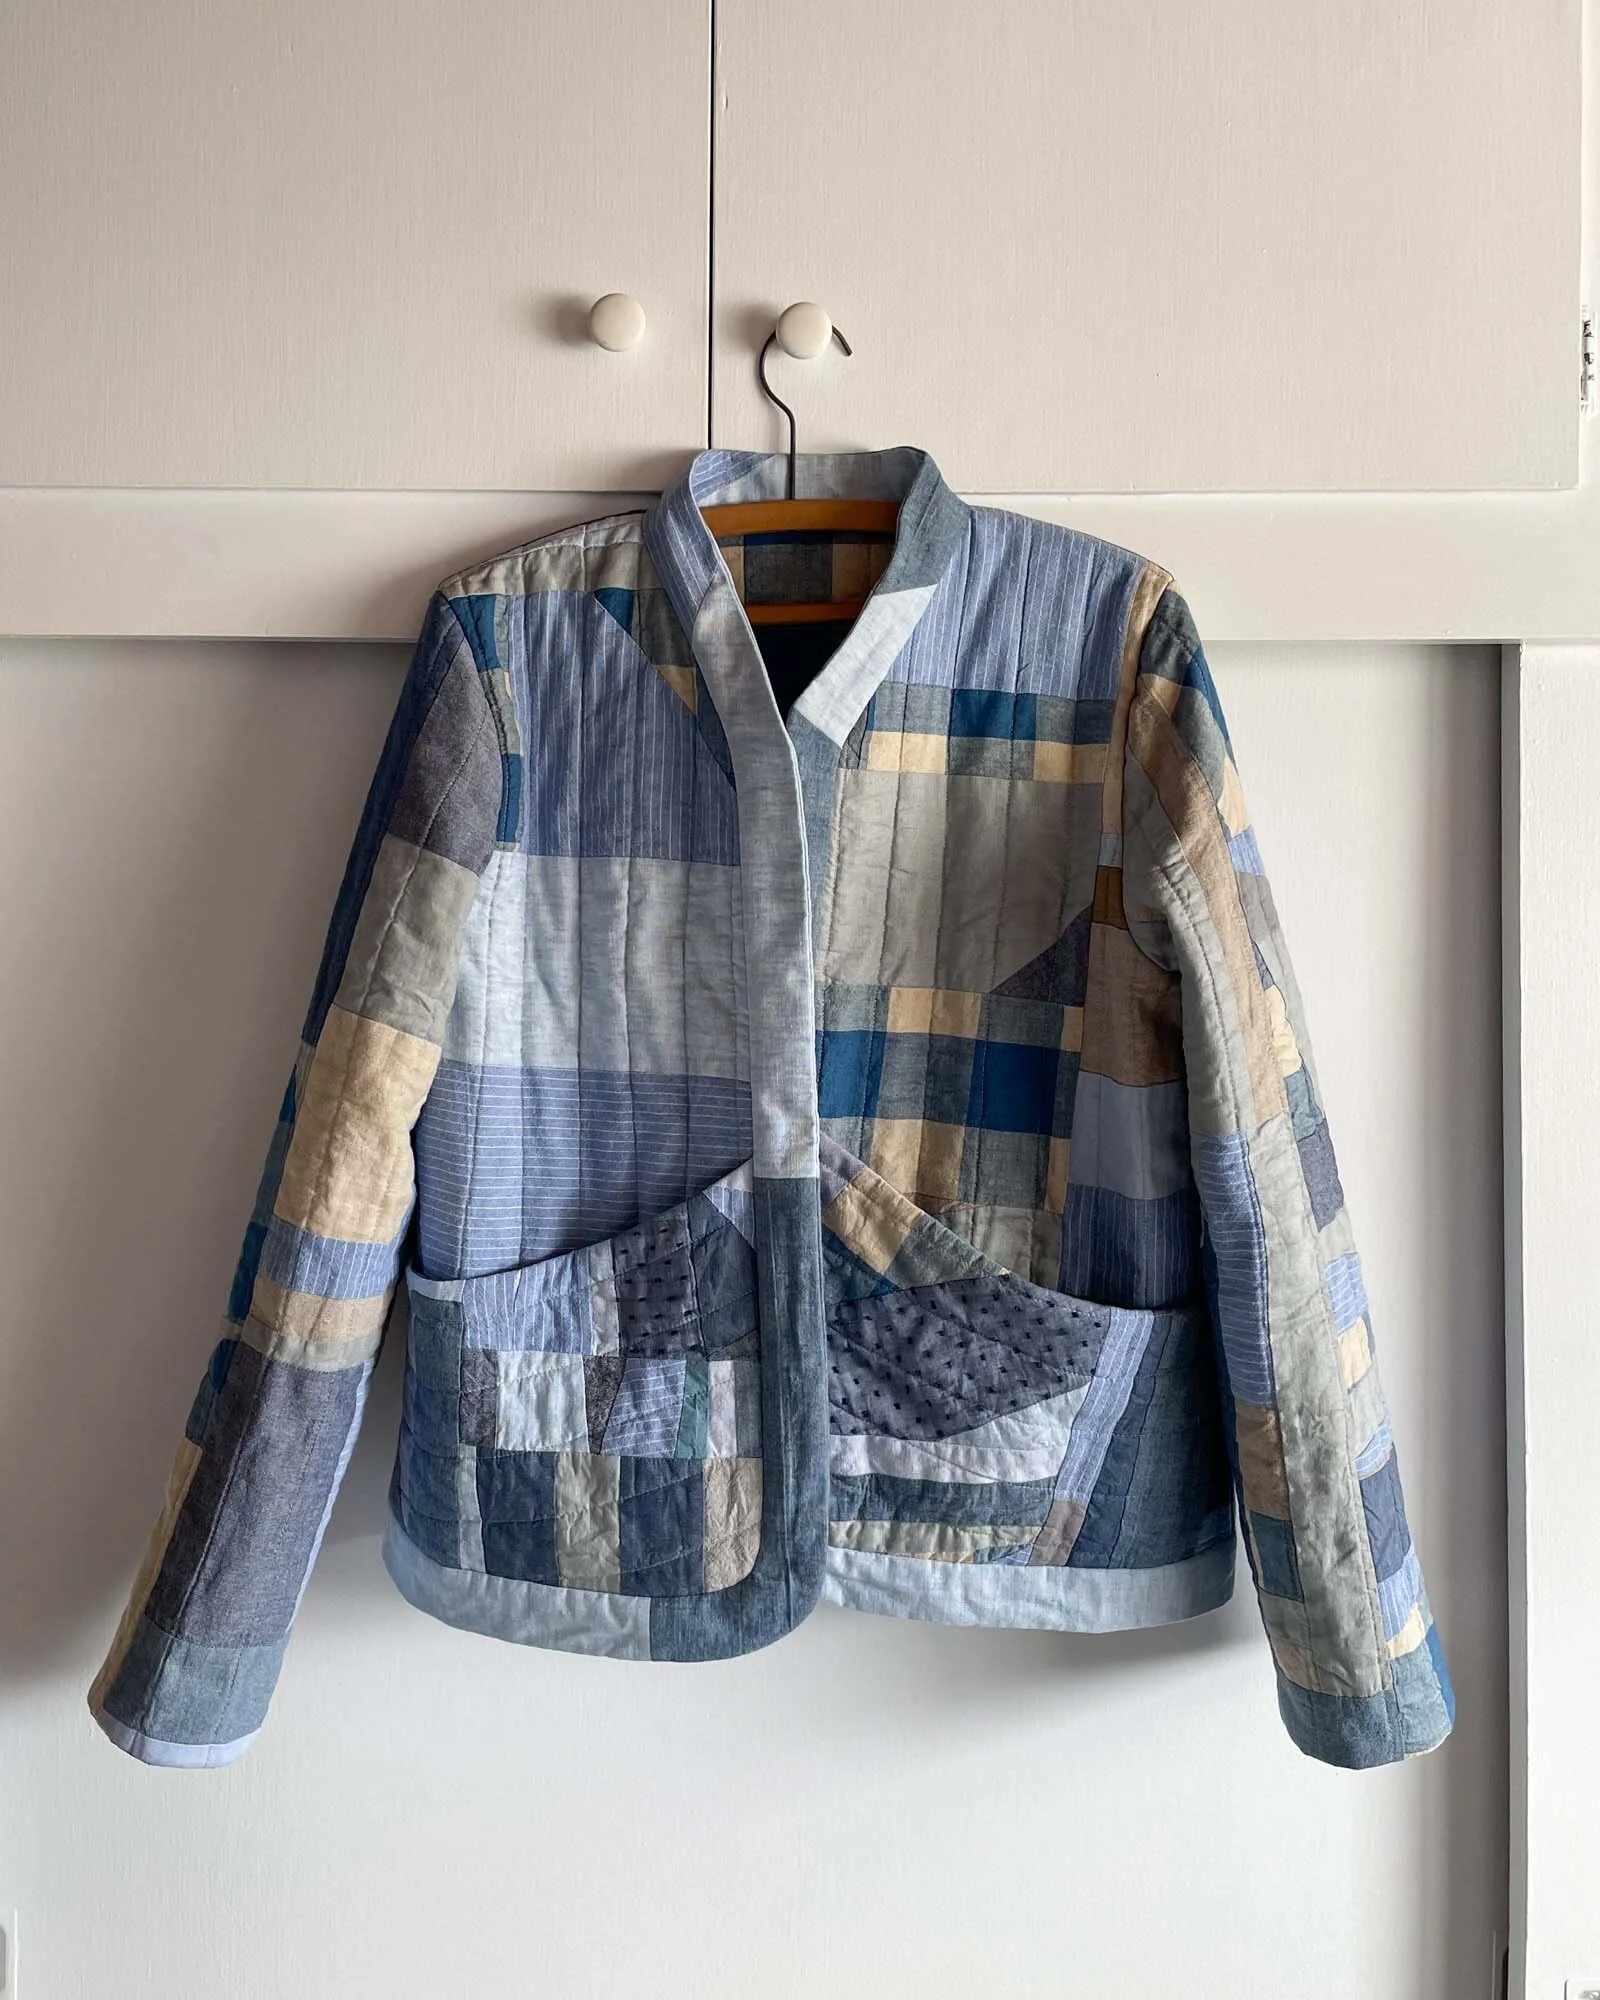
For this coat, I used the Ayora Jacket pattern by Pauline Alice. This was my first time using one of their patterns and it went pretty well. I would definitely buy another pattern, if one struck my fancy. I really liked the details of this design, the big curved pockets in the front and the facing all around the opening and hem.
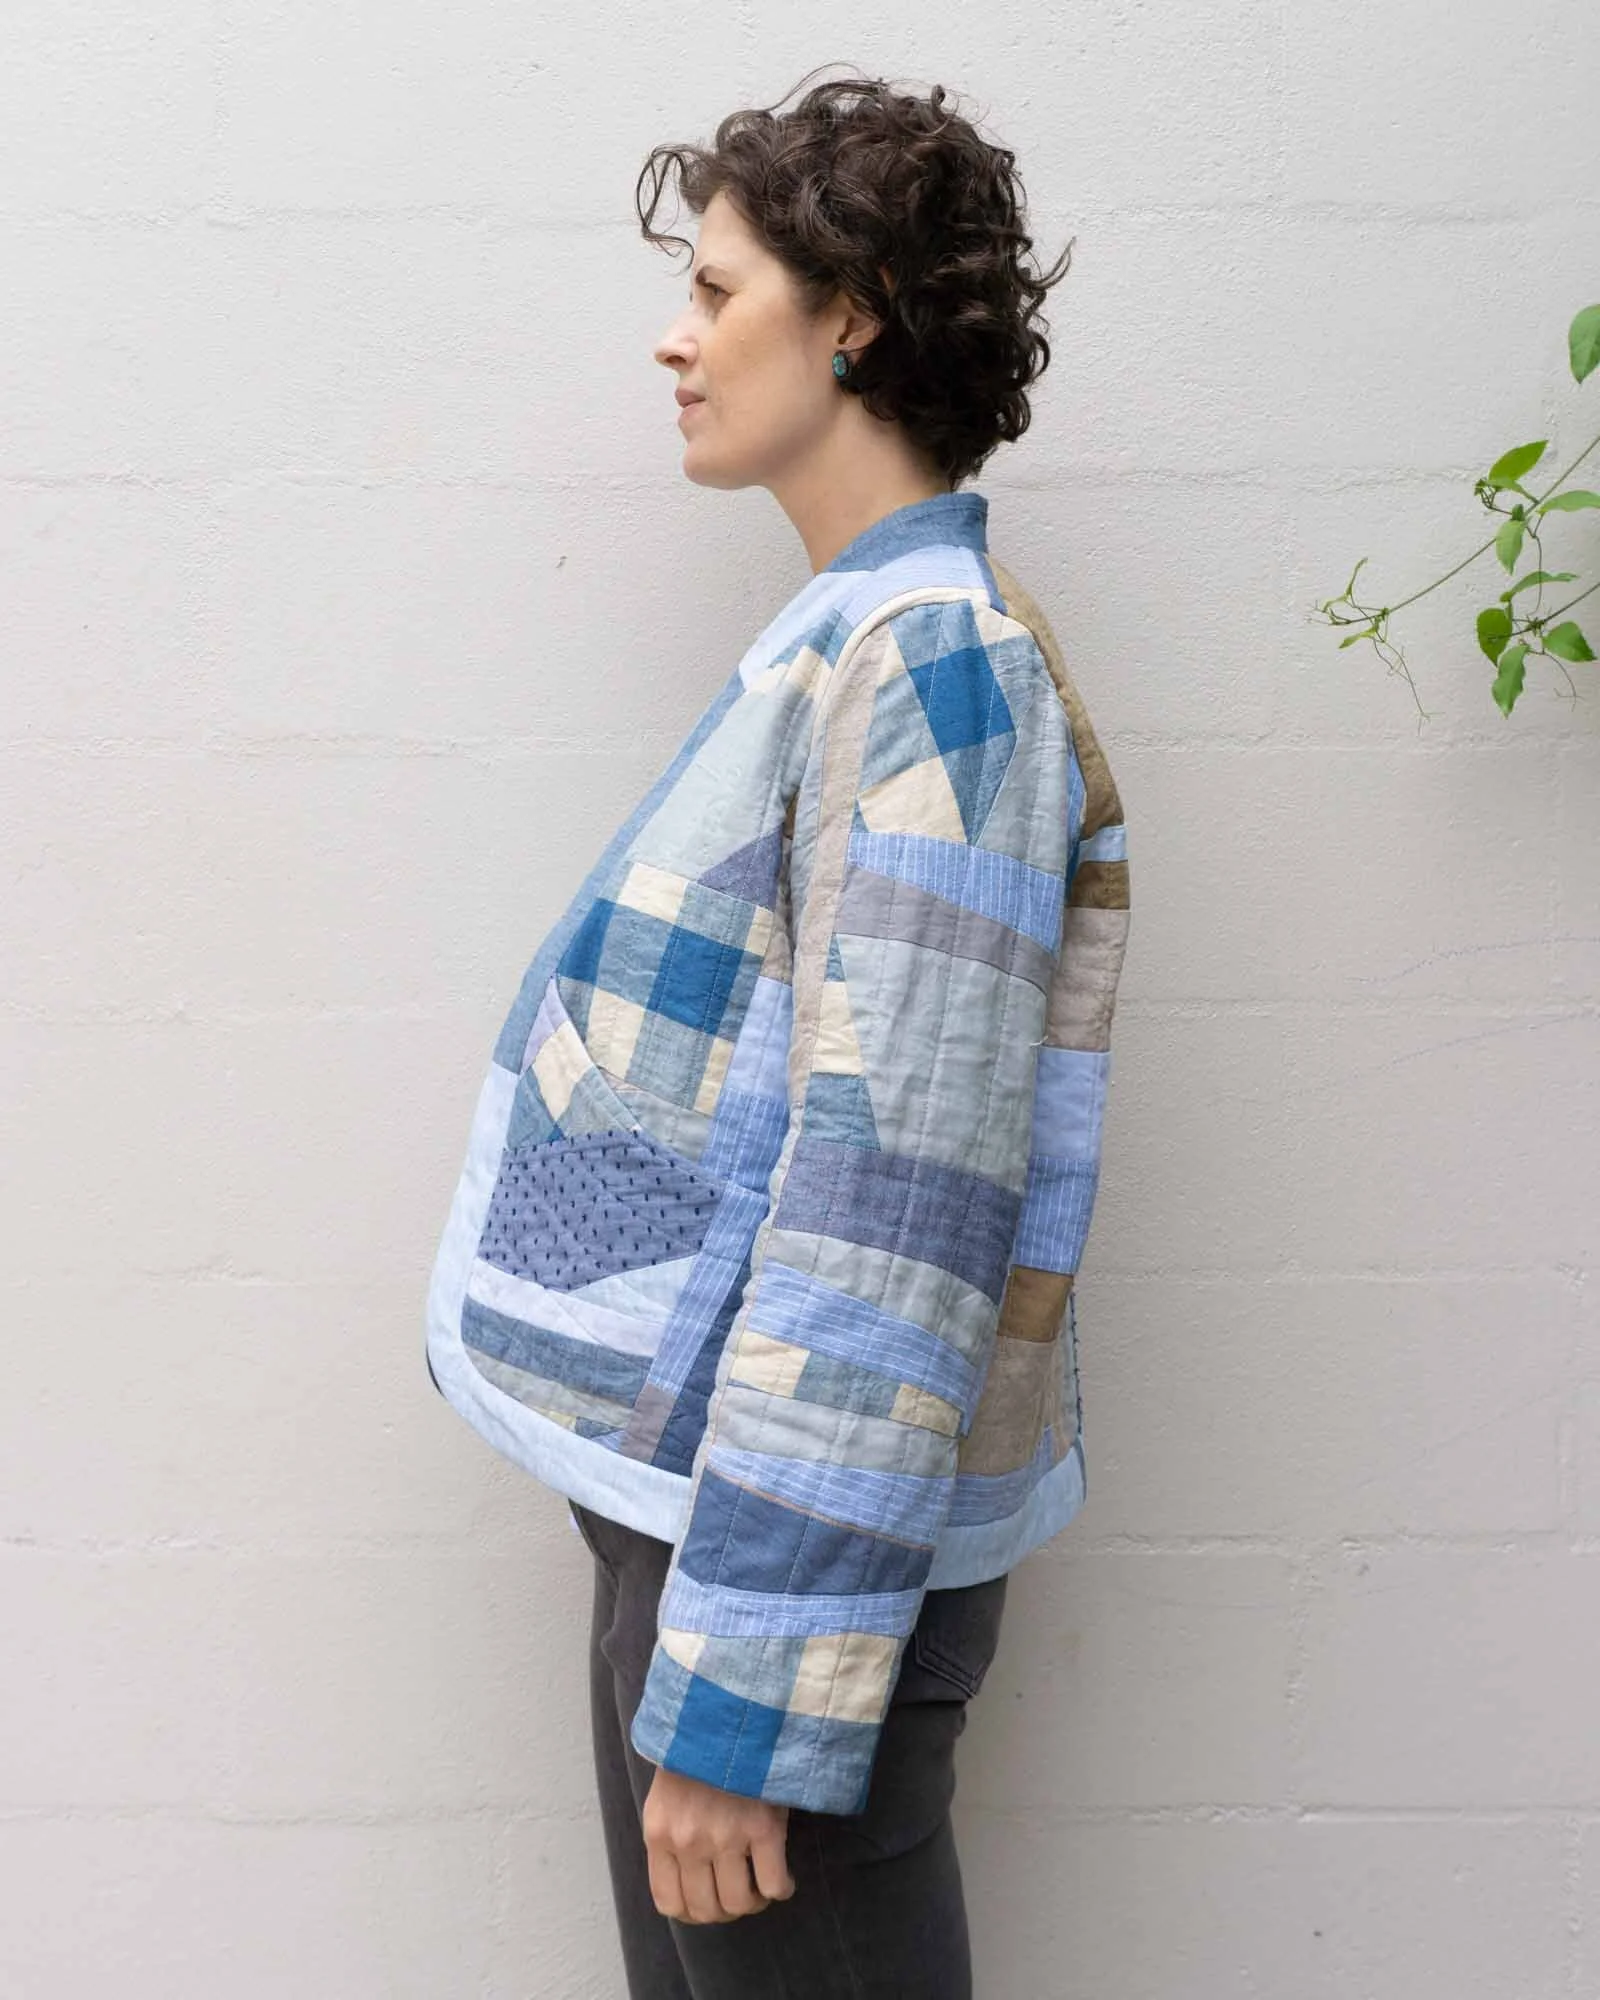
When I posted on IG about my plans to use this pattern, I got a few warnings from people who had used it that it was small in the shoulders and too short in body and sleeve length. So, I compared the finished measurements of the pattern to a puffer jacket that I have and like the fit of. To be on the safe side, I ended up doing a pretty major adjustment to increase the height of the armscye. This added width under the arm as well as the height. I also did a slight square shoulder adjustment and added 2" in length to the body and about 1.5" to the sleeves. For the sleeves, I cut them as long as possible after quilting and then after everything else was constructed, I decided how short I wanted to cut them.
It probably would have been a better idea for me to just make a muslin before fussing with all of that, because in all honesty, I may not have needed to adjust the armscye. But, I just couldn't find a fabric in my stash that would make a suitable muslin. So, I went with the backup method of comparing to an existing garment. The fit of my finished coat is definitely not too small but part of me wonders if I'd like it even more if it was more snug.

For reference, my measurements are roughly 39/29/39. So, I made a size 44 to match my bust measurement. I'm 5'11" so I normally add length. The design of this jacket is intentionally cropped and I went for a high hip length. I also normally do a square shoulder adjustment. I also have relatively narrow shoulders. If you have broad shoulders then I would definitely compare the armscye measurements to a jacket that you like the fit of.
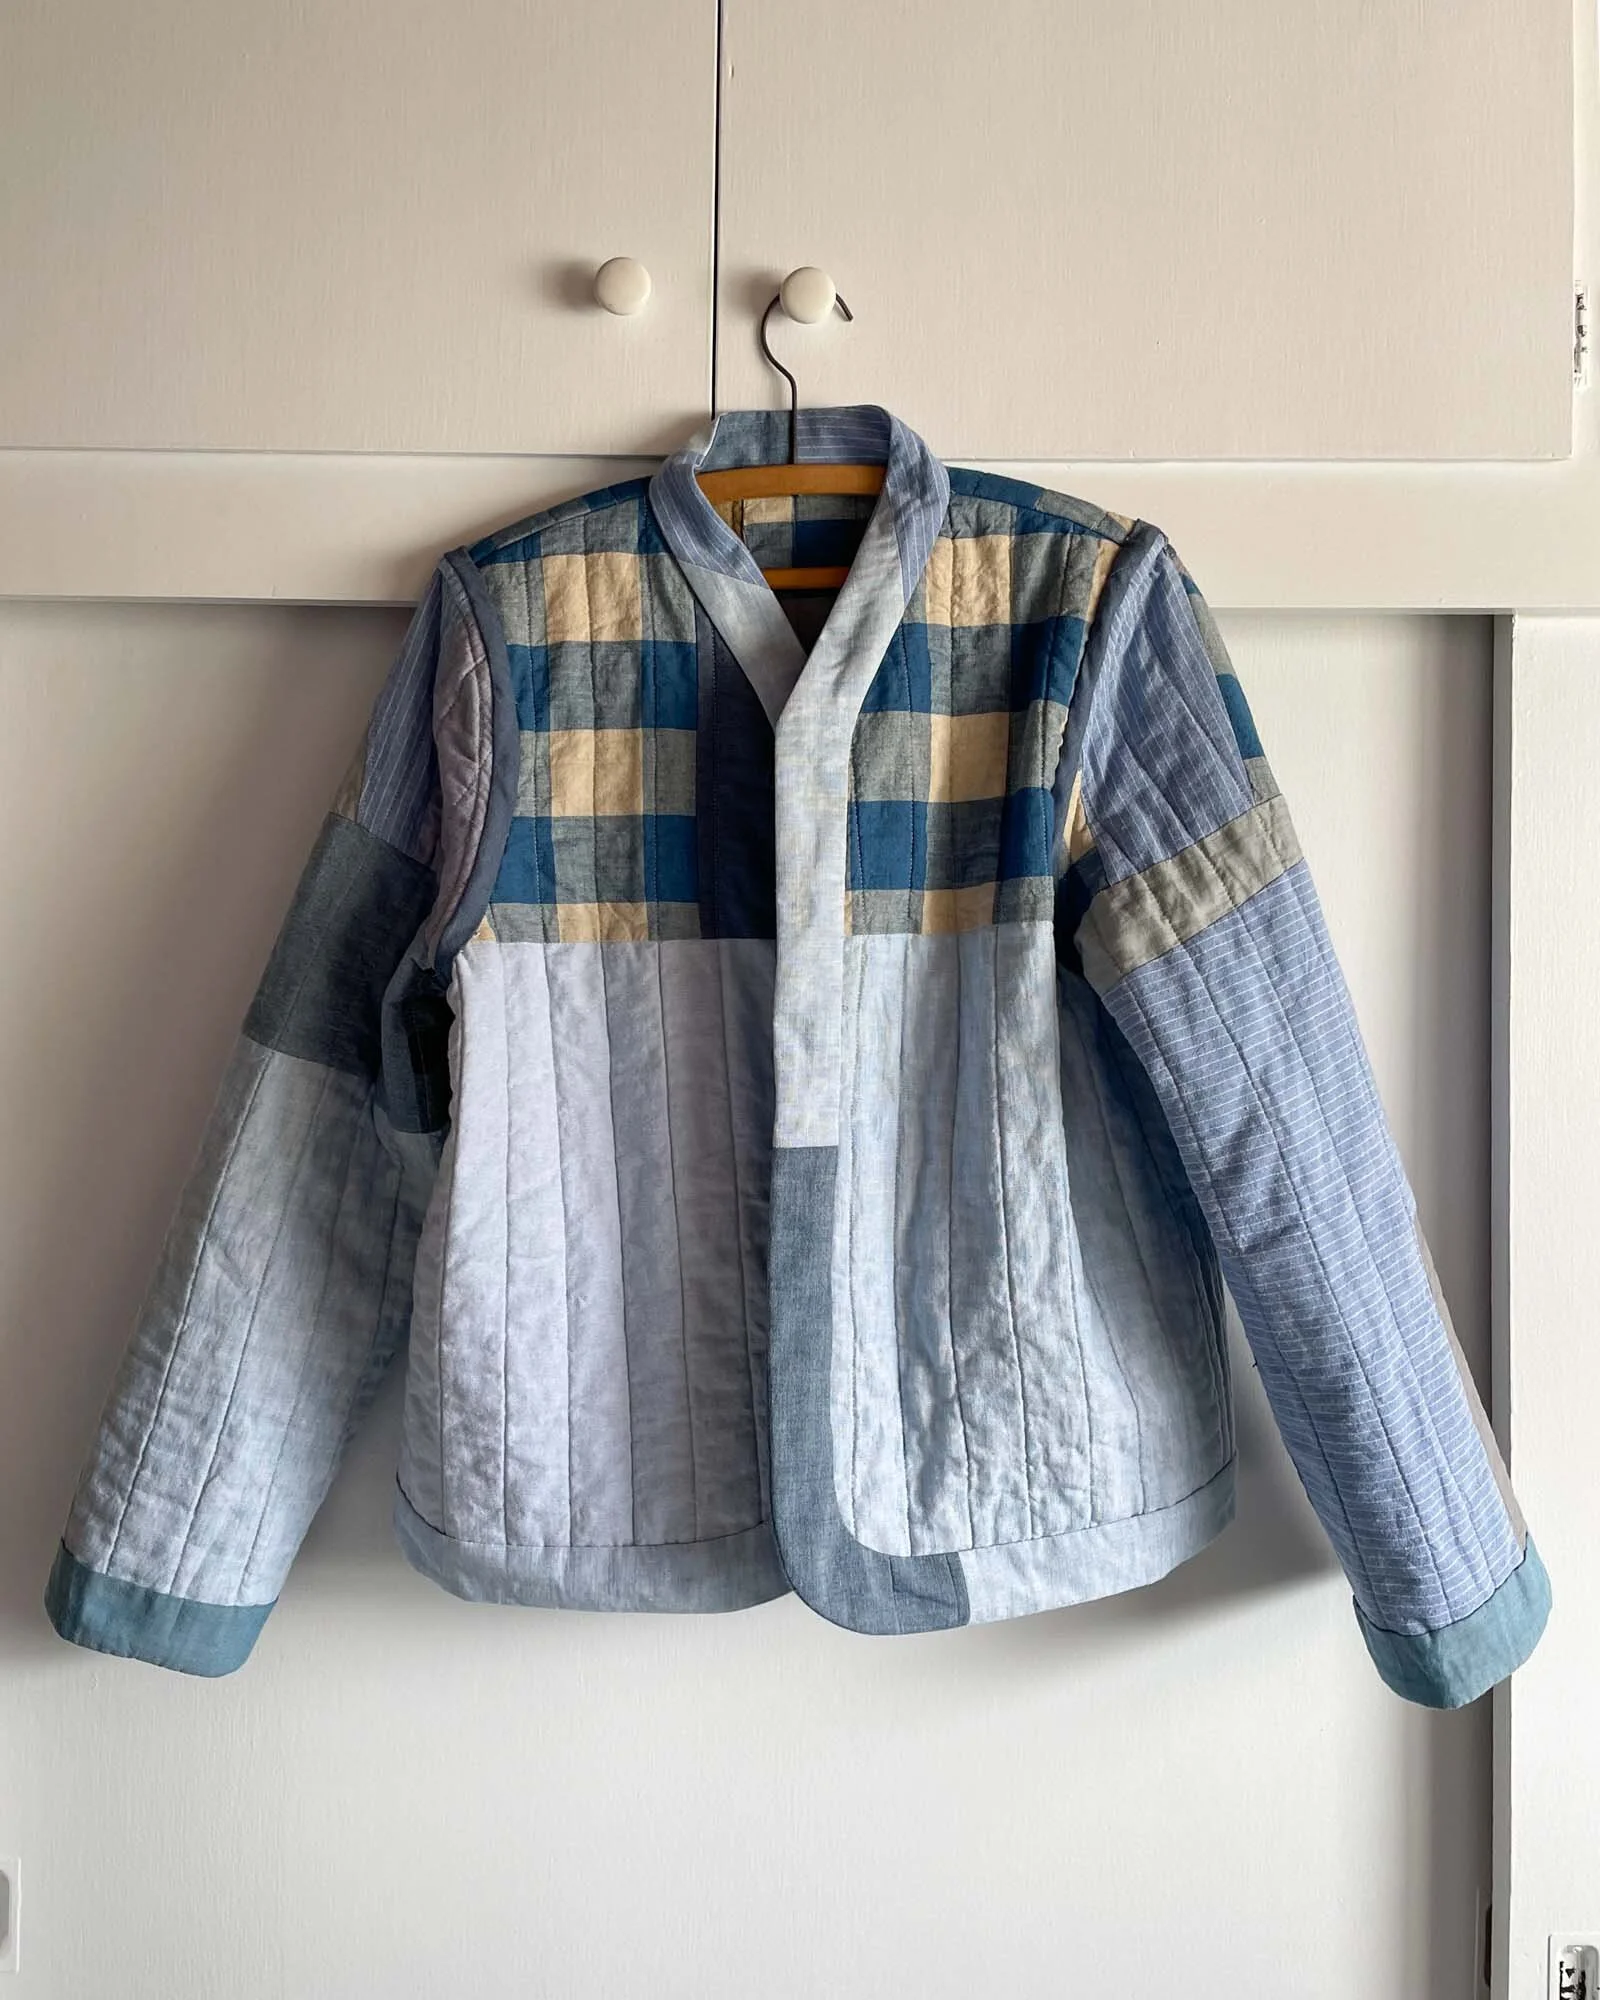

The fabrics in this jacket are mostly cottons leftover from other garments over the years. The coat is reversible but I'm treating the side with the pockets as the outside. For the interior lining (shown above and below), I used larger scraps of fabric. I don't have many scraps leftover over from this color grouping but I am in the process of piecing the rest together. Maybe there will be enough to make a pair of quilted slippers or a quilted sunglasses case.


Because I'd sewn garments with these fabrics I was pretty confident that they'd all been pre-washed. I was worried about the coat being too small and shrinking after washing so I went through a kind of complicated pre-washing/cutting process. (I researched pre-washing batting and it just looks like a complicated mess. So I did not prewash my batting. The batting is a cotton so there is risk of it shrinking. Polyester batting should not shrink very much.) First, I pieced a front and a lining for each pattern piece that were a few inches larger than the pattern all sides. Then I quilted those and serged around the raw edge. Next I washed the pieces and hung them to dry. (In part, they were hung to dry because I didn't have a working dryer at the time.) Then, finally I used the pattern pieces to cut my quilted fabric to size.
Construction went really well. Many of the seams are finished with bias binding that is first stitched by machine to the seam allowance and then folded to cover the raw edge and hand stitched in place. It was a LOT of hand stitching. So that took quite a few nights of watching tv and stitching. I accidentally stitched my front and back shoulders with wrong sides together so the bias binding is visible on the "outside" of the coat. I'm calling it a design choice.😉 The other change I made was to stitch the sleeve facing so that it's on the inside of the jacket. If you go by the pattern, it would turn to the front which I do think is a nice design element.
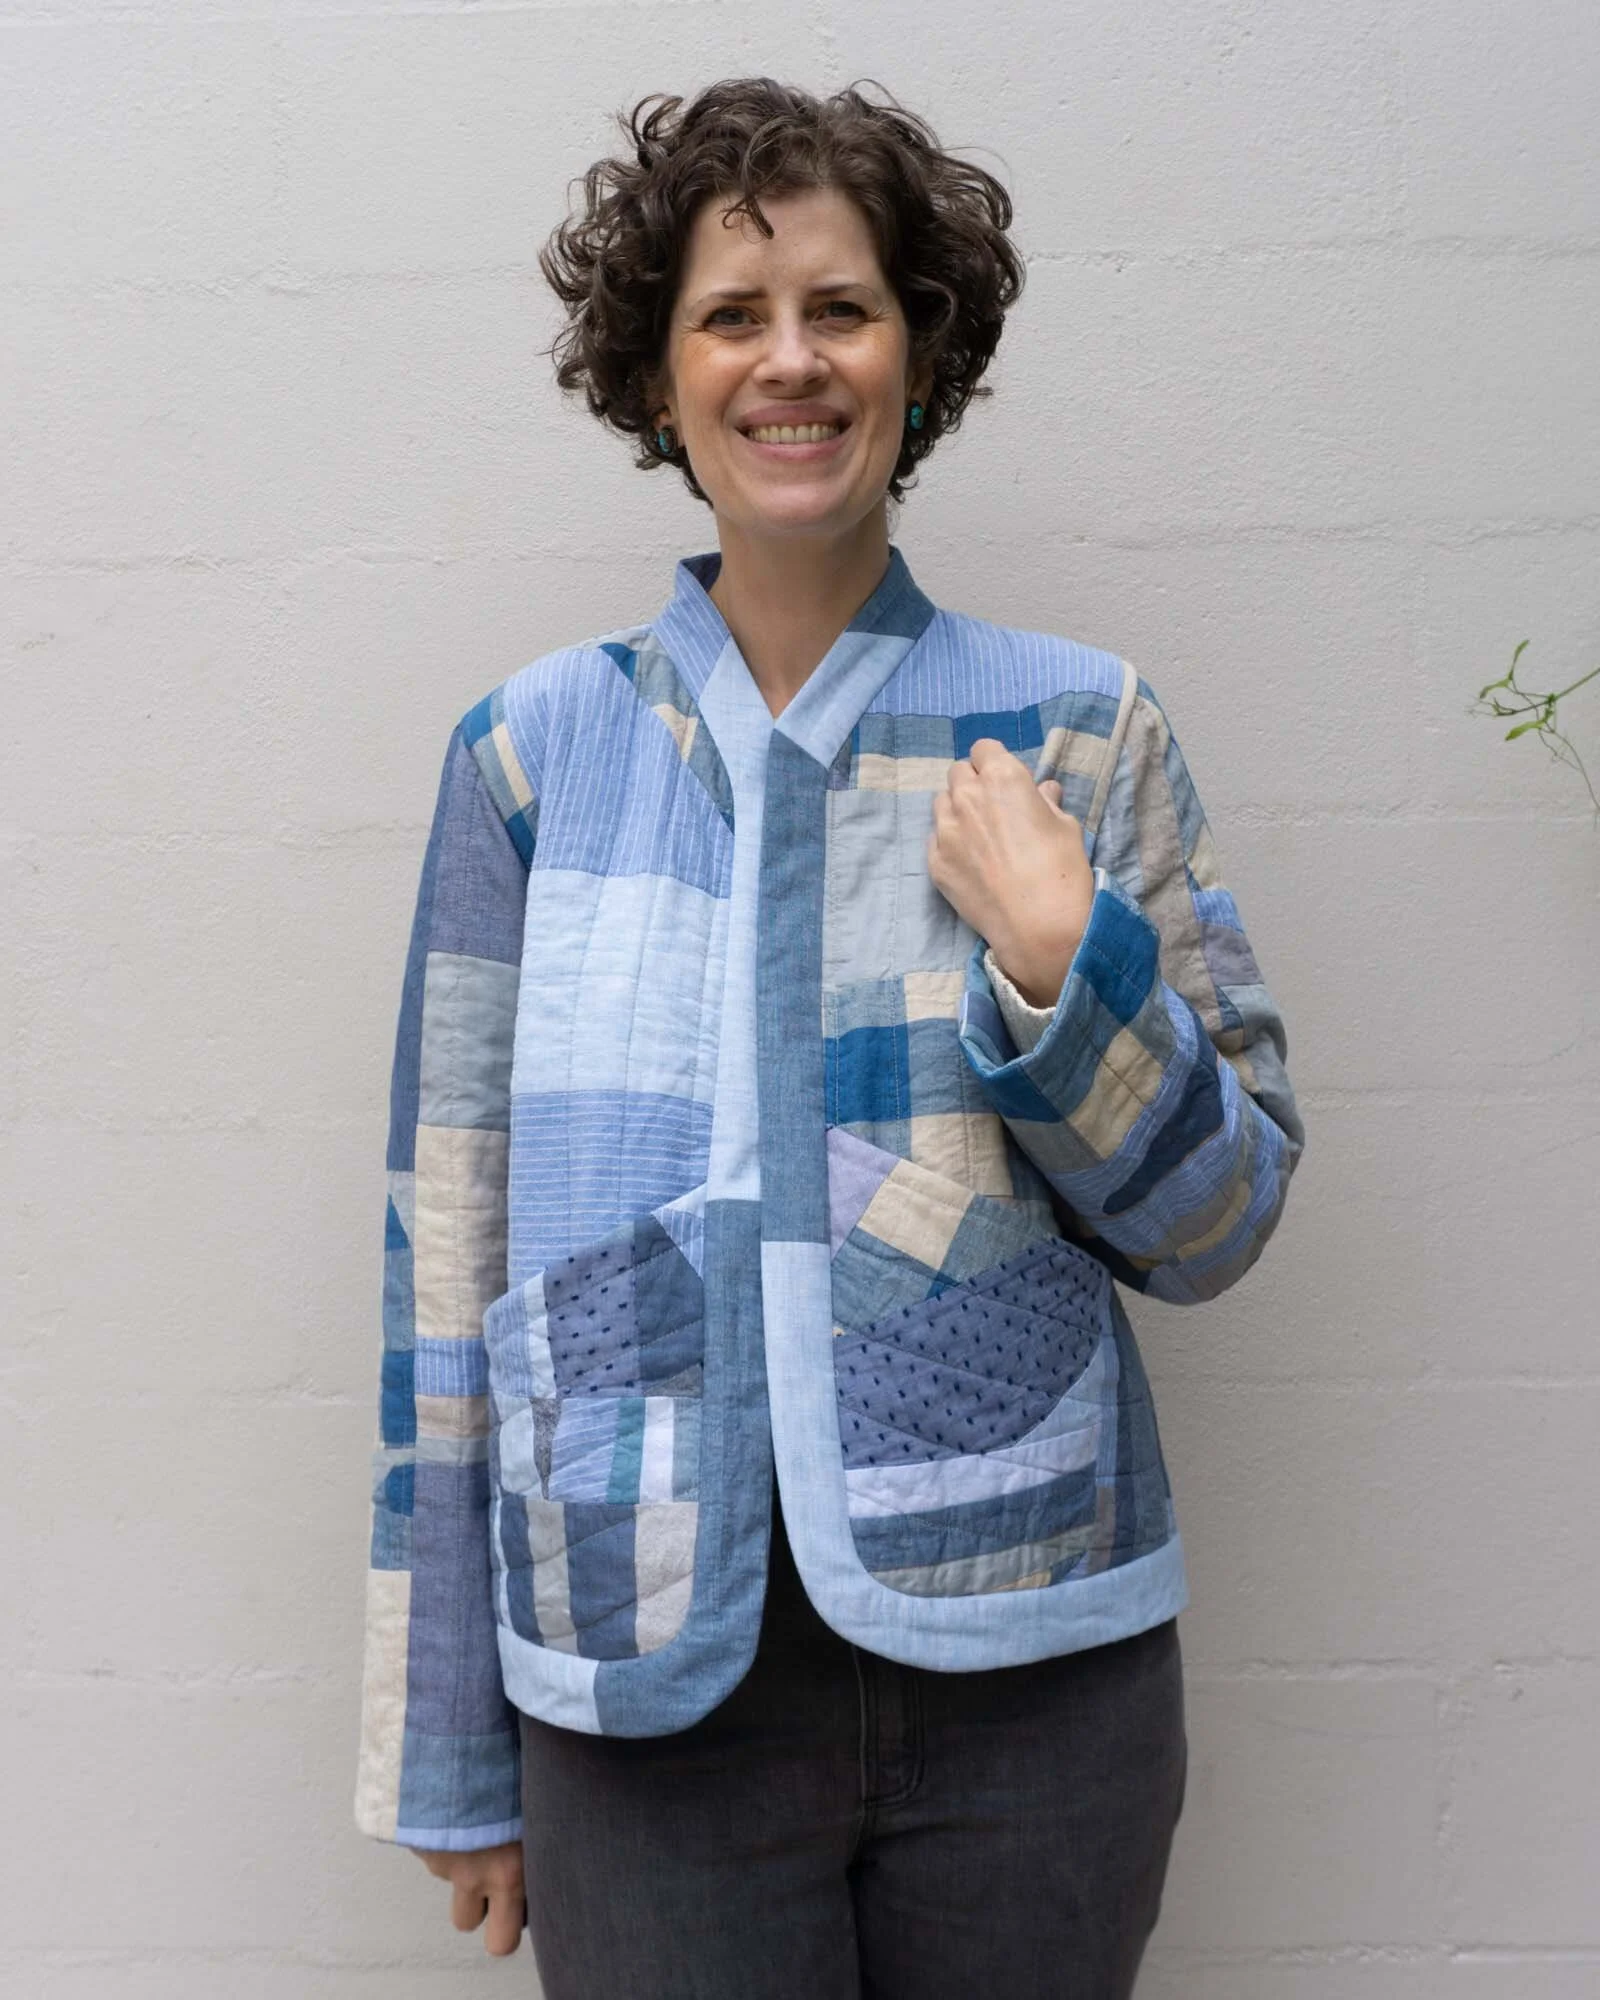
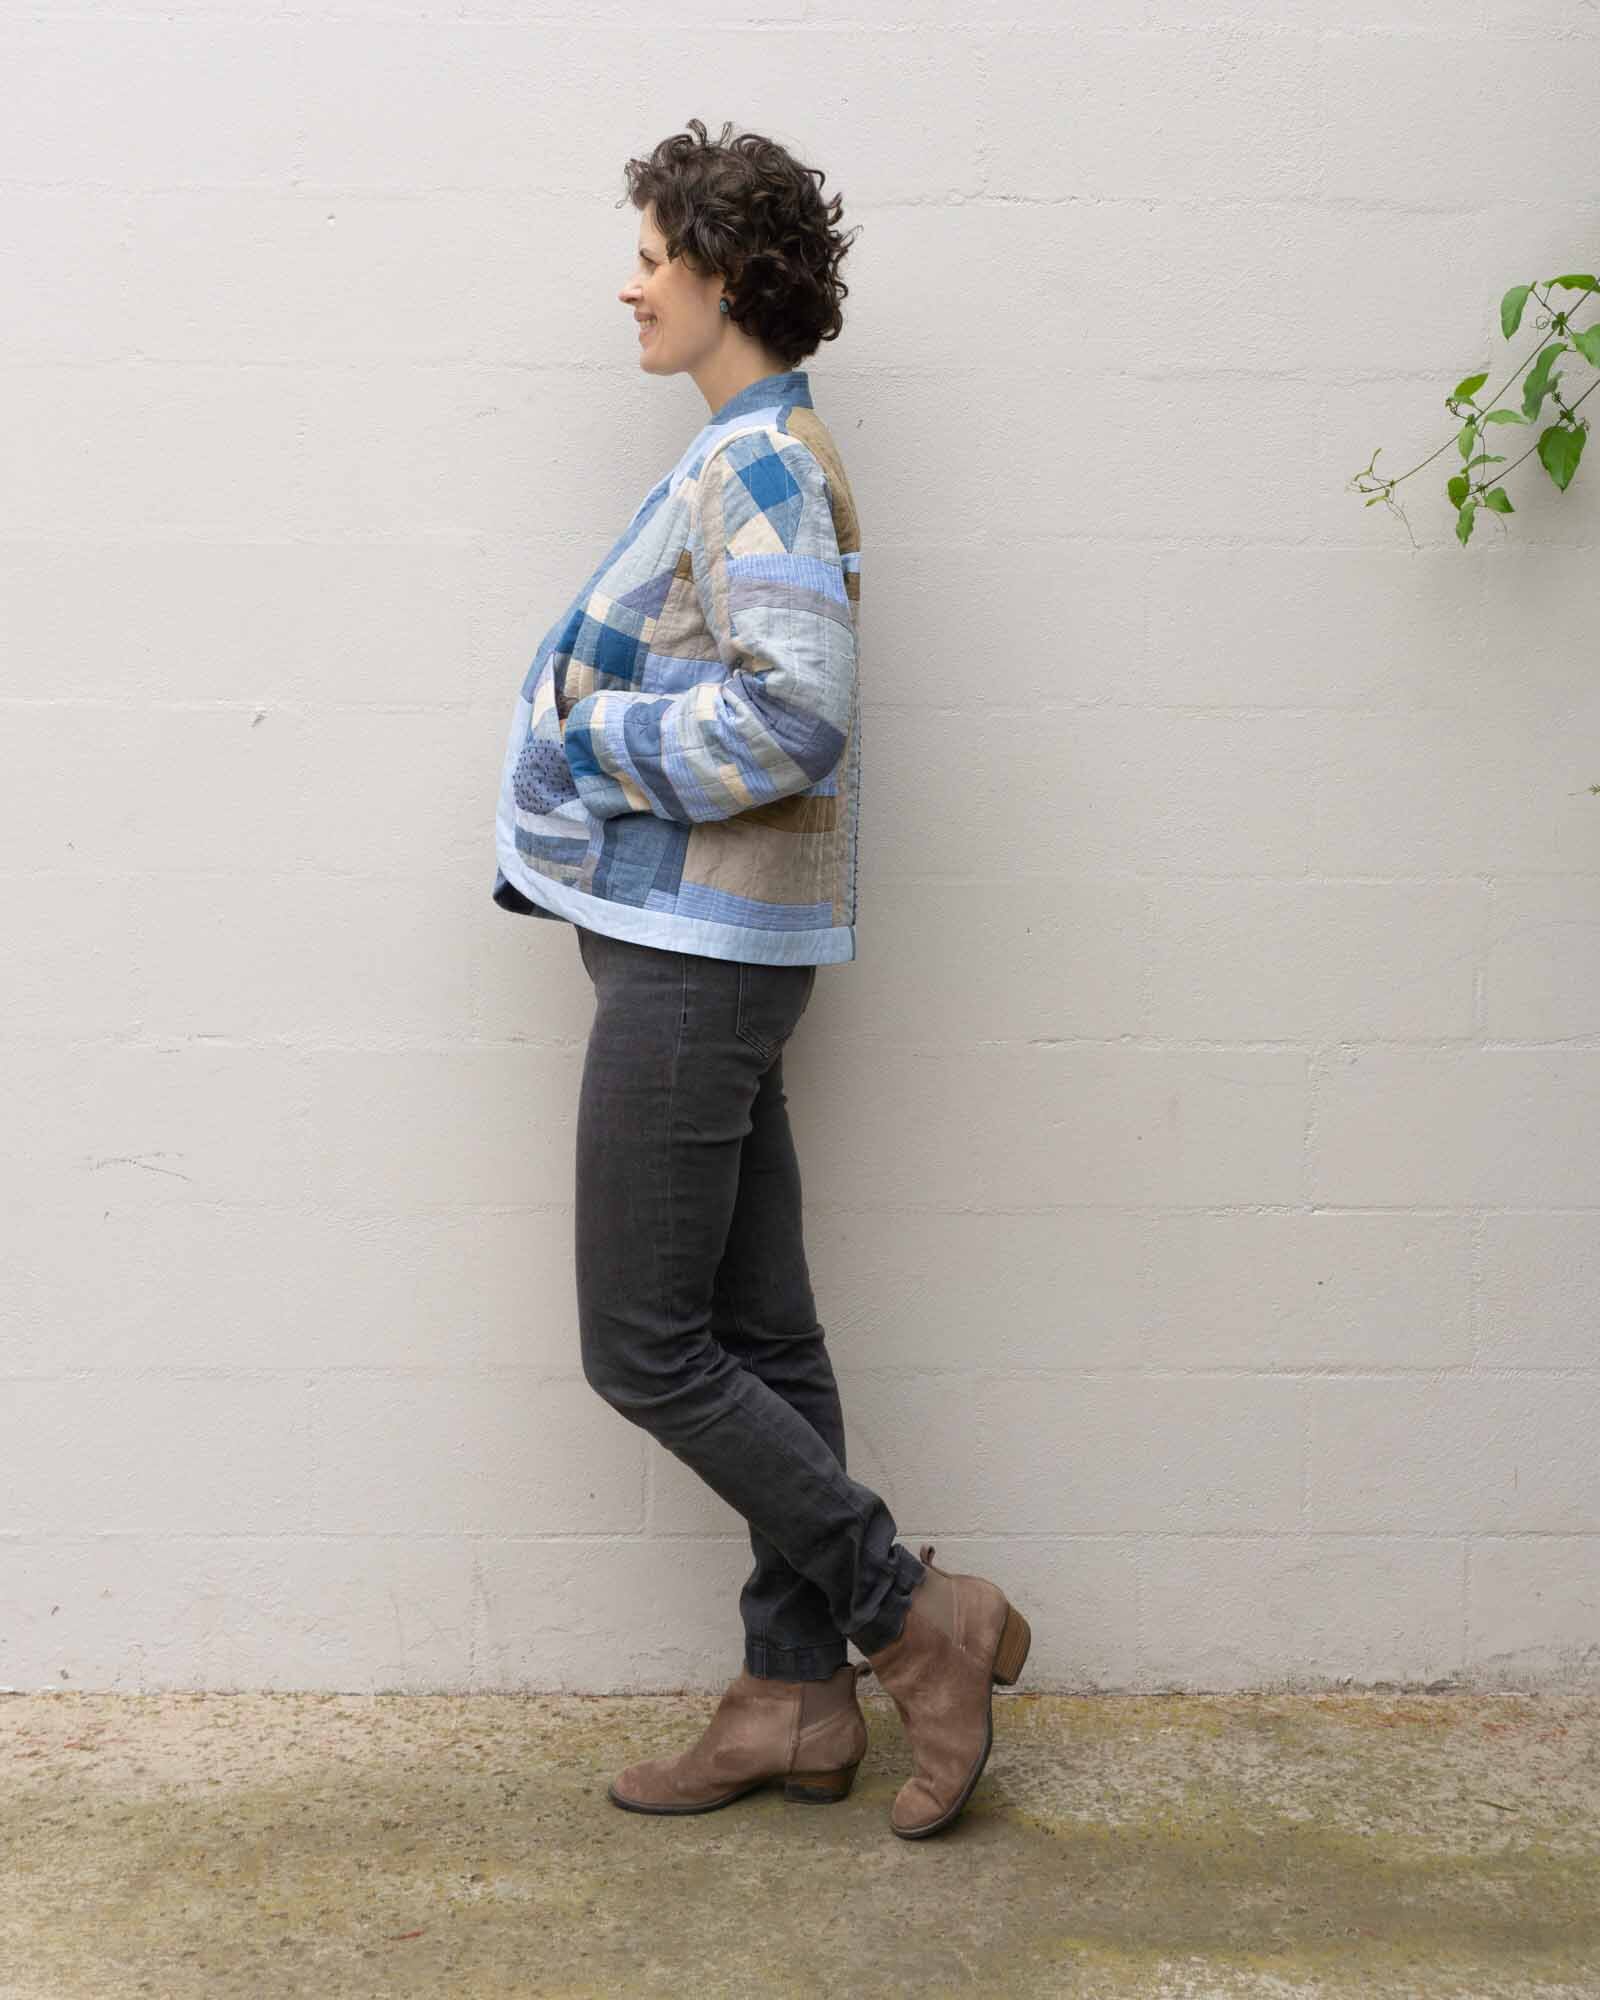
I was really worried that by the time I finished the coat it would be too hot to wear it. But, the weather has stayed fairly cool and when I took these photos yesterday, I definitely needed a coat. I'm pretty happy with how it turned out. It is rather a statement piece and I don't know if I'd wear it out very often. I think it's more of a coat to enjoy at home and stay cozy.

If you are interested in learning my method of improvisational piecing, I have an e-course all about it. The course is designed for garment sewists and will teach you how to turn your scraps into quilts. You'll learn my unique method of improv piecing plus all the skills you need to sew and quilt your own quilt. You can learn more about it here. Happy sewing!