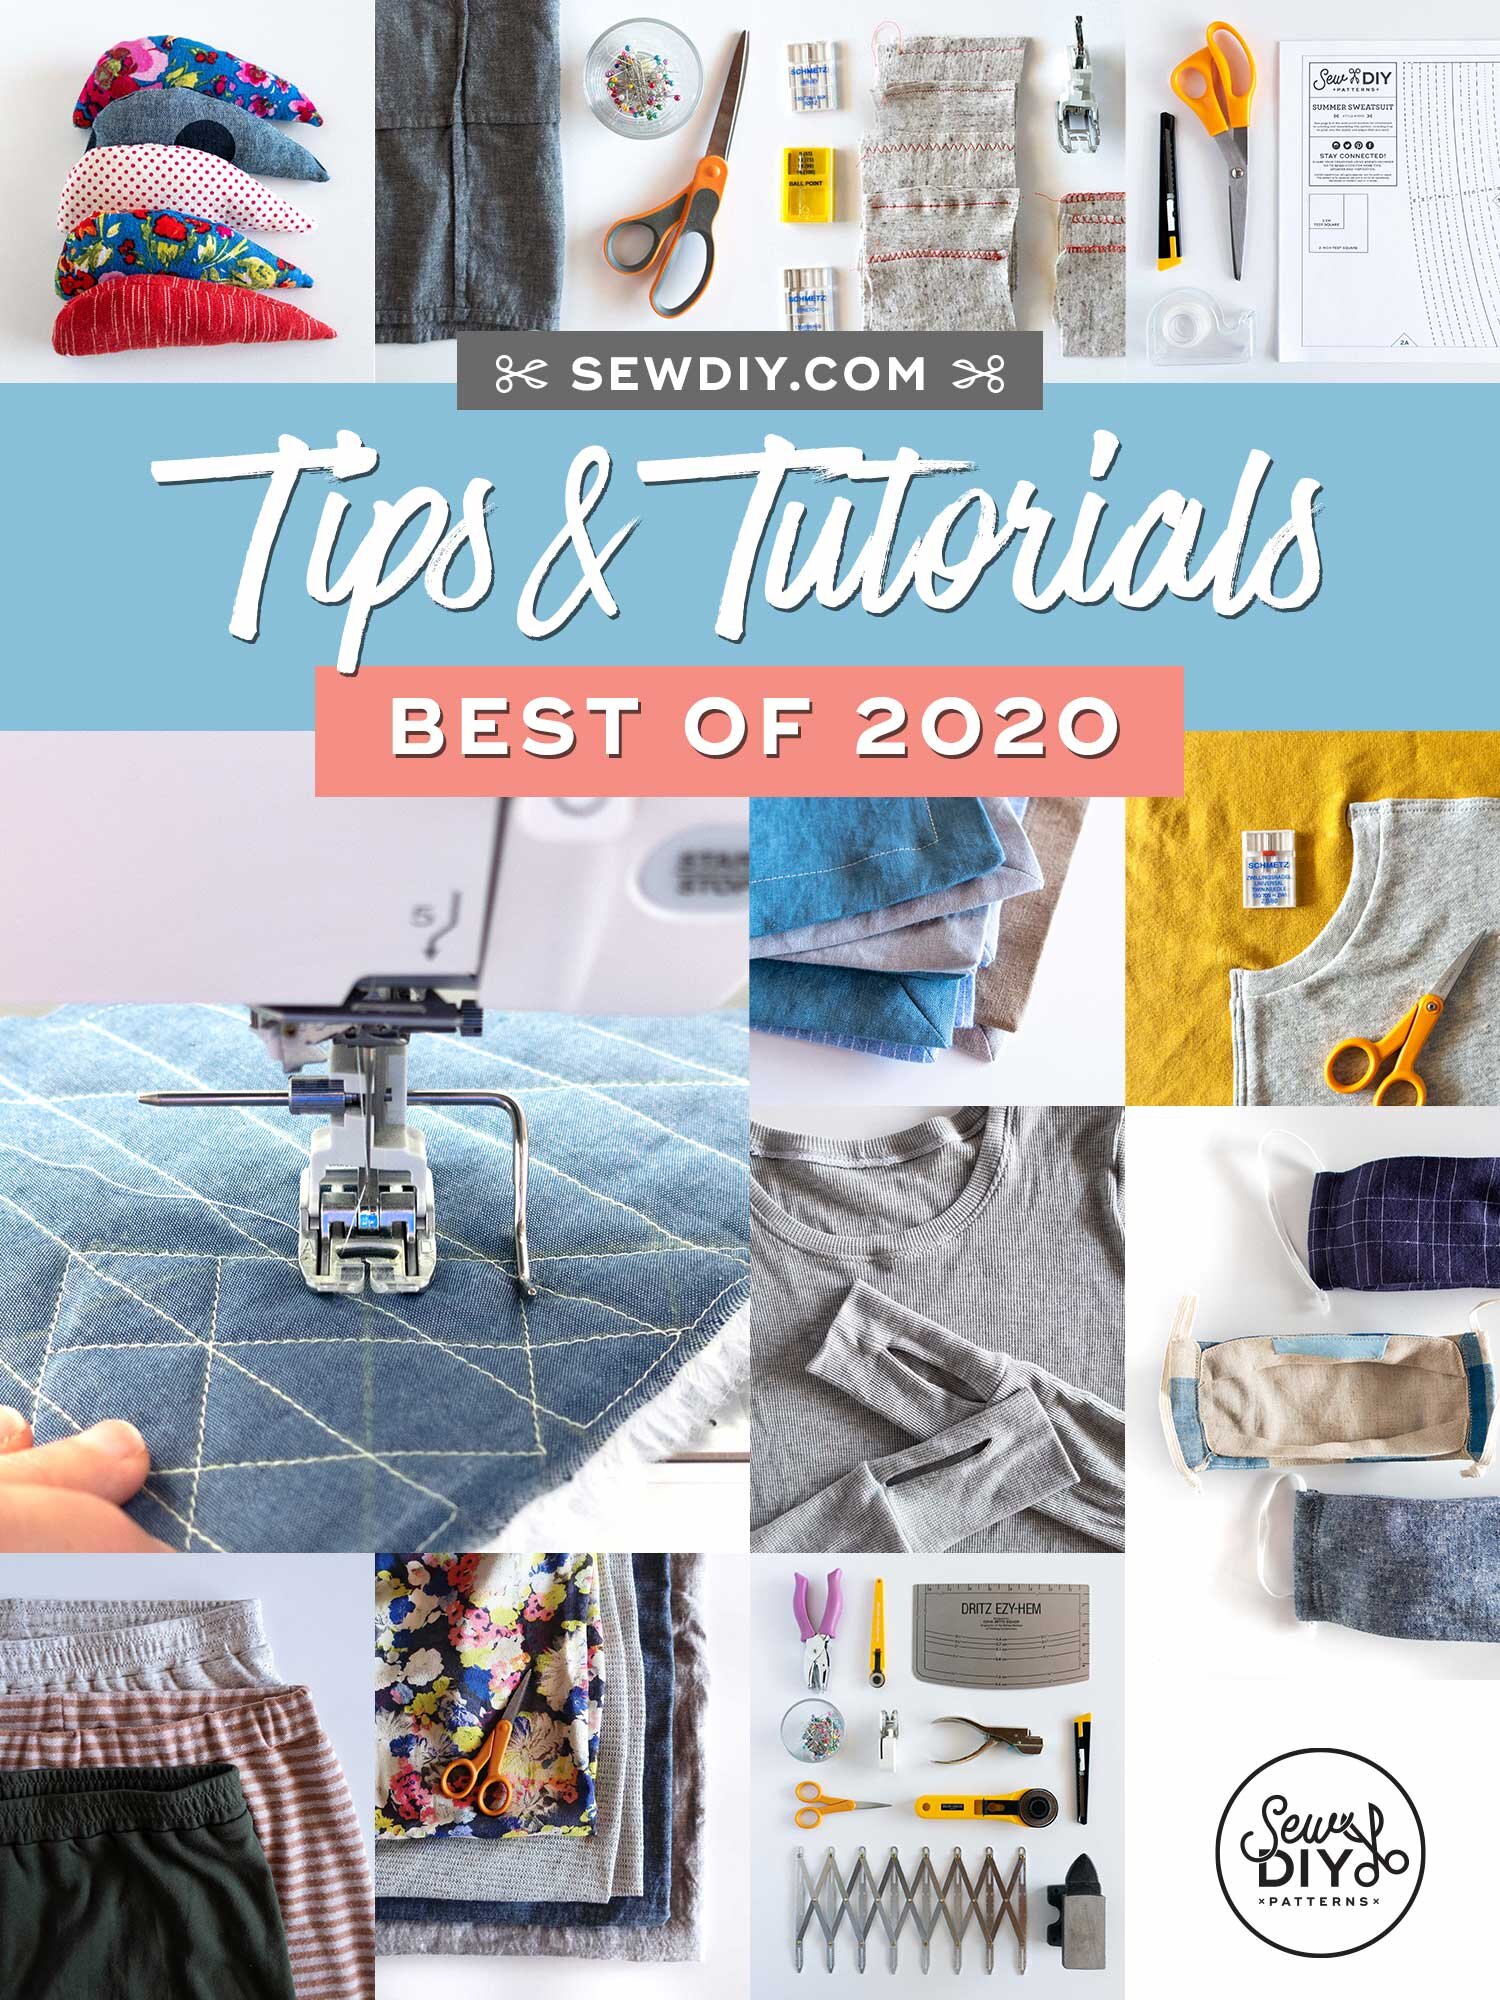
It’s the end of another year and, as always, that means looking back and reviewing what we’ve done. This year has been one unlike no other. I live in Los Angeles and have been under varying degrees of lockdown since March. I’m so grateful that I have this craft, this practice, this hobby and business that I can do at home. It’s kept me busy and engaged, reduced my stress and I can’t imagine what I’d be doing without it. Perhaps I’d become an intense crocheter?
This year, I continued making about one video a week for my YouTube channel. I really enjoy making the videos and sharing about sewing but boy do they take a lot of time. In the new year, I may cut back to every other week to make room for other projects, like new patterns and classes.
But enough about next year, it’s still 2020! Down below I have a recap of every tutorial and tips blog post from 2020. There are a lot of great ones in there. Most recently, I did a series of tutorials for gifts to sew using your scrap fabric. There are posts about how to sew a french seam and a hong kong finish as well as posts with my favorite tools for making different kinds of garments. Plus, a number of sewalong posts as well. This year saw the release of three new patterns and the an update to two existing patterns. Check out the patterns in the shop.
If you want to explore even more tutorials, I’ve revamped my tutorials page to include more posts and be better organized. There is a TON of content over there. Check it out here. Or, if you’re looking for something specific, there’s a search bar in the sidebar of the blog. If I don’t have a tutorial for your sewing question, you can make a request via my contact page. I love hearing from you. Happy sewing!
Sewing Tutorials from 2020
In this video tutorial, I’ll show you how to sew a pair of quilted bootie-style slippers with a lining. I’m using my Quilted Slippers pattern which I released back in June. It’s been one of my most popular patterns and it’s a really fun one to sew. It’s a small project and great for using scrap fabric, like I did here. This project also makes a great gift. The pattern is drafted for a wide range of sizes from US Women’s 4 up to a US Men’s 14.
Today, I'm very excited to bring you a tutorial for the apron that first got me obsessed with sewing way back in the '90s. I learned how to sew this simple apron in my high school sewing class when I was about 15 years old. I immediately fell in love with sewing and made an apron for all my relatives that Christmas. I still have the apron I first made, way back then. I'm happy to say that I still use and wear that original apron and it's held up remarkably well. You can get a peek of it in the video below.
In today’s YouTube video, I'm continuing my series of videos using fabric scraps to sew handmade gifts, with a tutorial for sewing a reusable flower tote. This is a great tote to take to the farmer's market and reduce your plastic use. Plus, it's also a really nice way to wrap flowers as a gift. Use this tote to give flowers as a hostess gift or, because it's 2020 and we're all social distancing, you can also leave the flowers wrapped in this tote at your friend's door. After the flowers are spent, they'll still be able to use and reuse the tote.
In today’s YouTube video, I’ll be showing you how to sew a 3D style face mask quickly and easily. I know there are a million mask sewing tutorials are out there and that I’m basically 8 months late to the game. I was really intrigued by the 3D face mask design but not thrilled with the lengthy construction process that a lot of tutorials use. I want to sew these masks as quickly as possible so that I can move on to sewing more fun things. So, after reading a lot of blogs, watching videos and doing some experimenting, I figured out the fastest process for sewing these masks. These masks have just one pattern piece and an optional nose bridge. Along the way, I’ll let you know the steps you can skip and why you may not want to skip them.
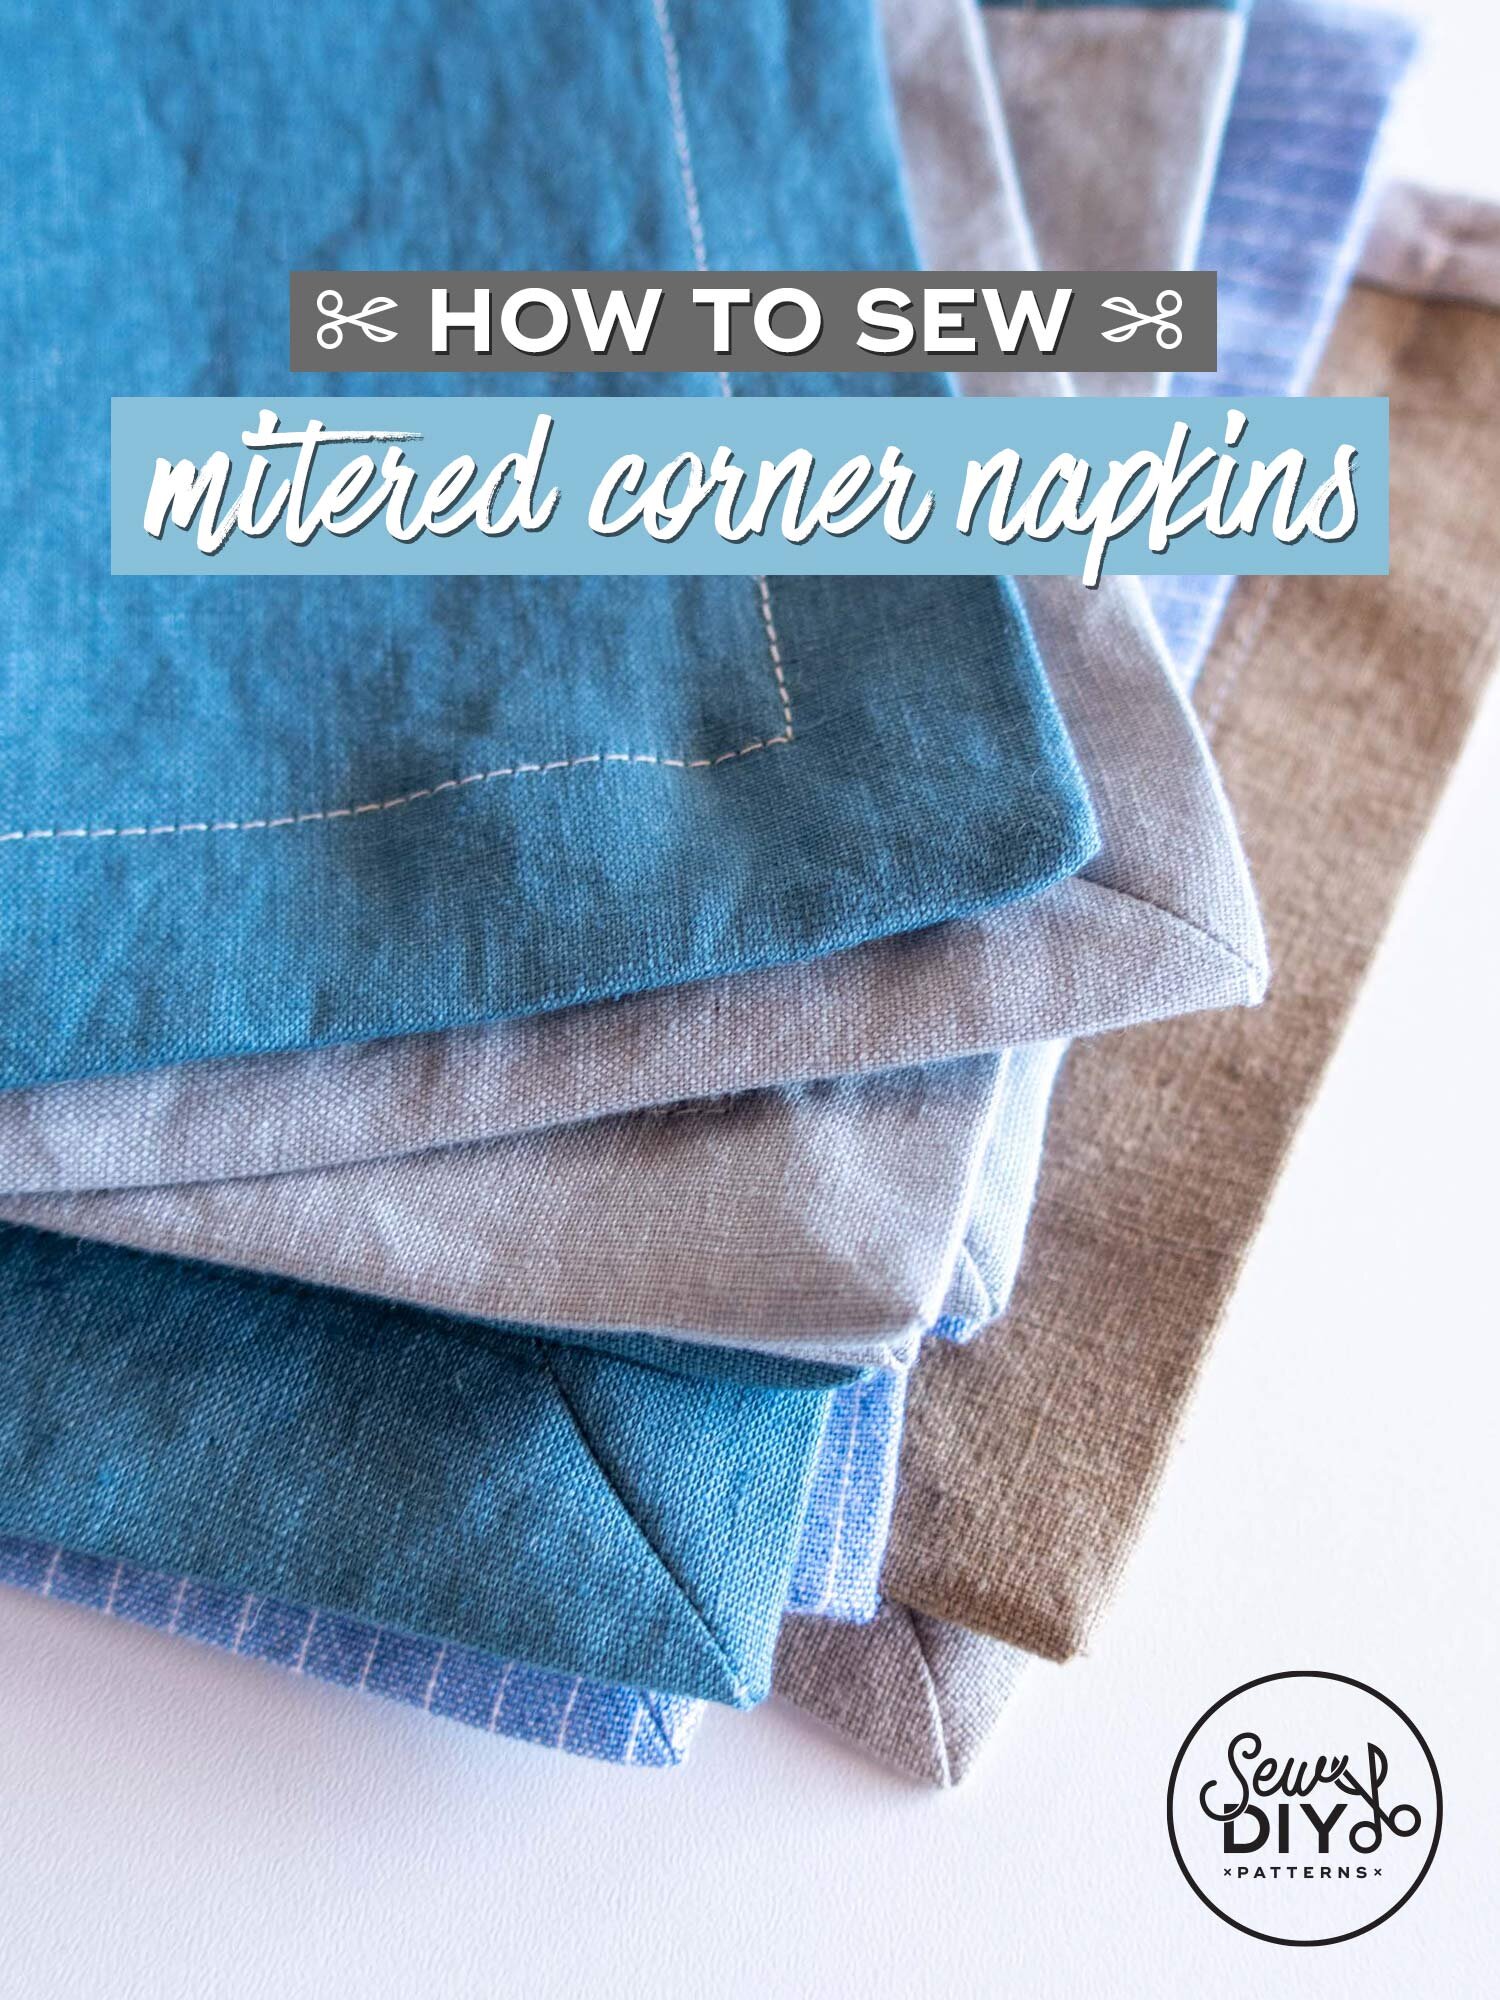
Leading up to the holidays, I’m going to be sharing a few tutorials for sustainable and useful scrap busting projects that are perfect for gift giving. Today’s video tutorial is the first in the series and it’s probably the most simple and most useful of all the projects. In this tutorial, I’ll be showing you how to sew your own mitered corner napkins using scrap fabric. Using a cloth napkin instead of paper disposable napkins is a great way to reduce waste and live a more sustainable lifestyle. Plus, when you use scrap fabric, these napkins are basically free to make. Read on to watch the video and learn how to make these luxurious and earth friendly napkins.
Hello sew-friends! In today’s YouTube video, I’m showing the step by step process of sewing a cardigan (mostly) using a serger. This is a really quick project and the perfect garment to add to your Fall wardrobe. I love wearing cardigans as a lightweight layer throughout the year and I’ve been wearing this one practically non-stop since I finished sewing it. I haven’t even trimmed some of the threads yet! You might recognize this cardigan as part of my nine piece Work-From-Home mini capsule wardrobe. I like that it’s just as comfortable as a robe but feels like I’m actually getting dressed. Read on to watch the video tutorial and learn more about this cardigan.
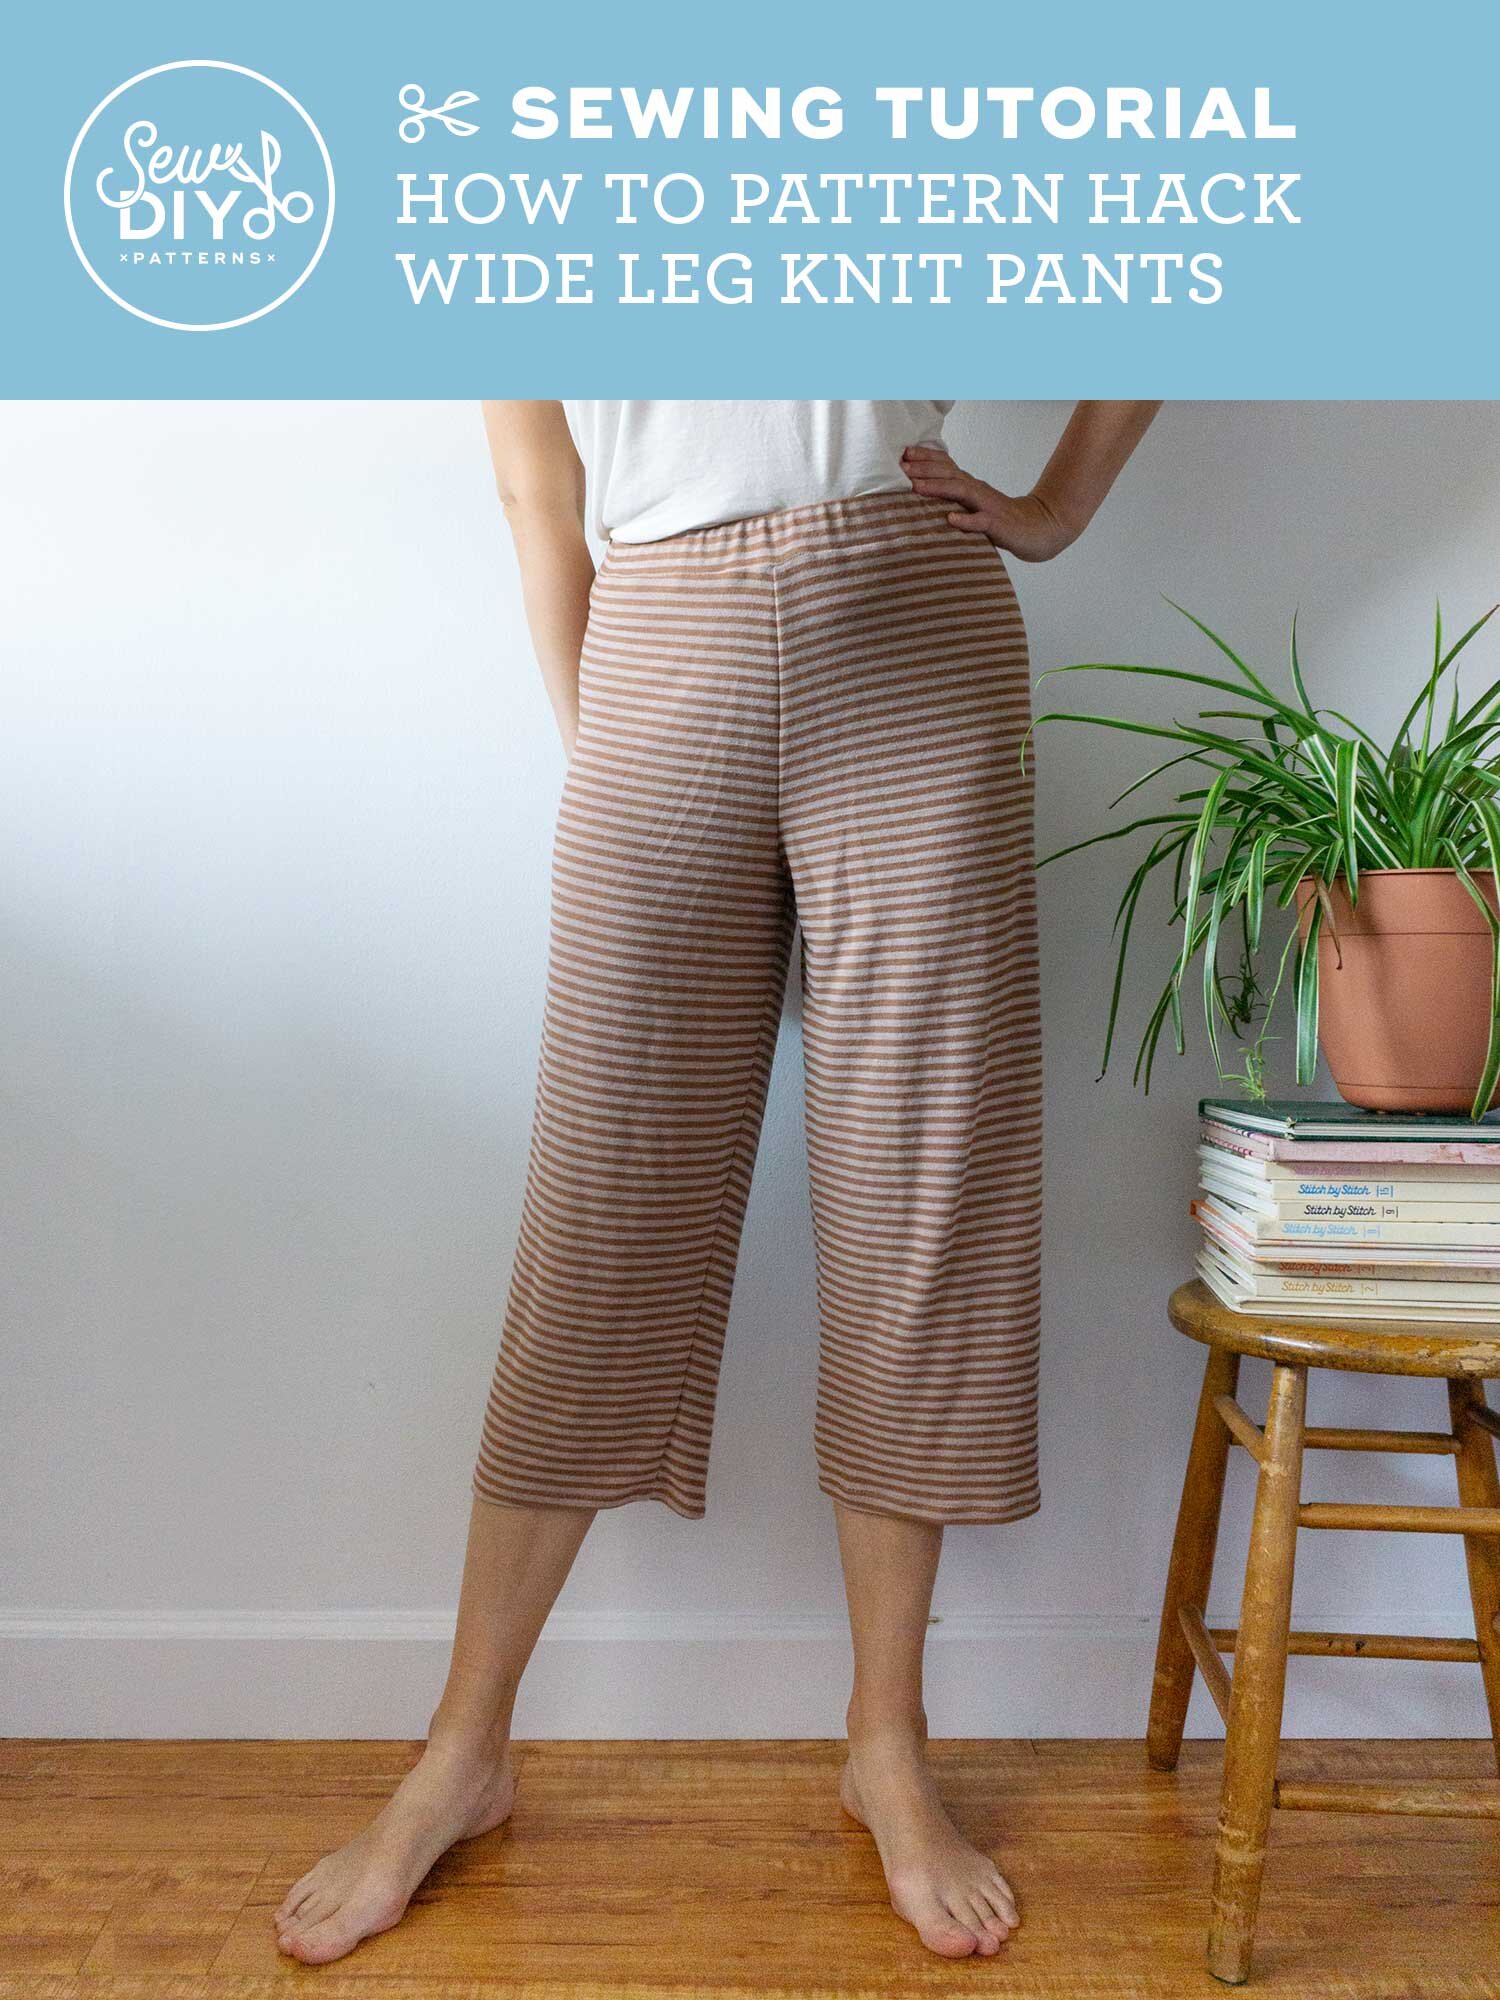
Hello sew-friends! Today, I have another hack to the Summer Sweatsuit pattern. Last week, I shared how to convert the shorts pattern into jogger style pants and today I’ll show you how to hack the pattern to make wide leg knit pants. This is a comfy, relaxed silhouette, perfect for lounging around. Depending on the type of fabric, they could even look a bit stylish. Read on to learn more.
Hello sew-friends! In today’s YouTube video, I’m talking about fabric stretch percentage. If you've ever sewn a pair of leggings or a swimsuit, then you know how important stretch can be in your handmade garments. Read on and watch the video to learn all about fabric stretch, why it’s important, a bit about fabric stretch terminology and, most importantly, how to calculate fabric stretch percentage.
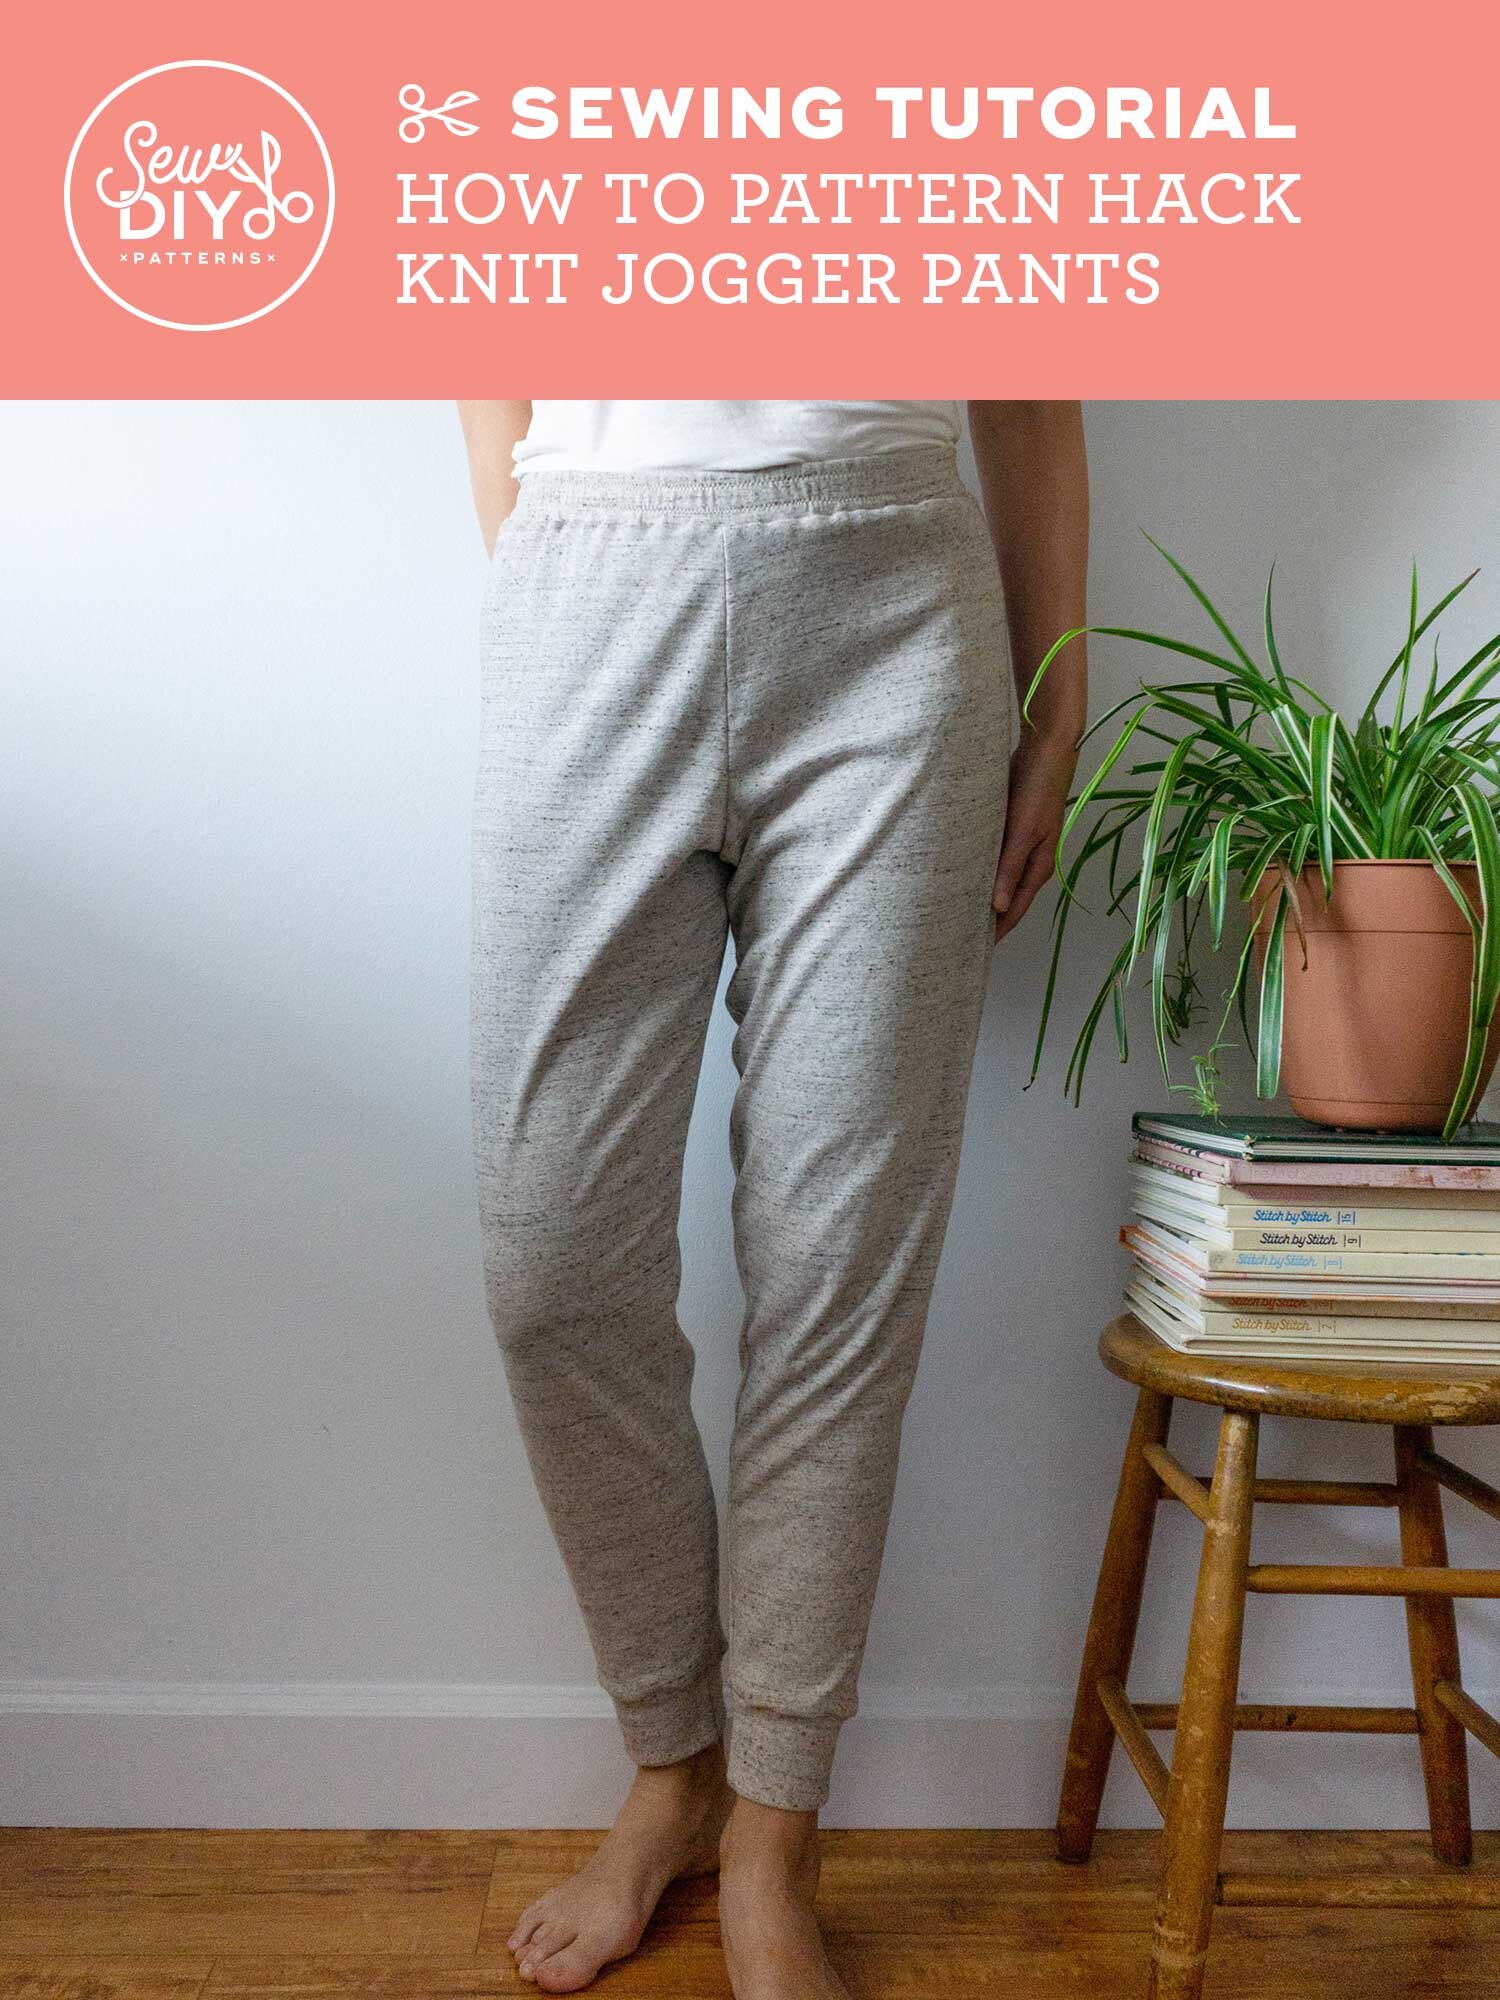
Today, I’m very excited to be bringing you a cool-weather friendly hack to the Summer Sweatsuit pattern. The Summer Sweatsuit was designed to be worn on the hottest days of the year, but that doesn’t mean that it’s not a useful pattern to have in your stash all year round. In today’s blog post, I’ll show you how to adapt the pattern to create your own knit jogger pants sewing pattern. Read on to learn how to hack the pattern to get your own custom jogger pants pattern.
Hello sew-friends! The Summer Sweatsuit sewalong is continuing with another video! Both the tank top and shorts from the Summer Sweatsuit are fairly easy to sew, so I decided to just do one video about each. Last week, I showed you how to sew the knit sweat shorts and this week will be the racerback tank top. I'll be reviewing the pattern pieces, and showing the step-by-step process of sewing the racerback tan top.
To learn more about the Summer Sweatsuit, check out the introductory blog post. To buy your own copy of the pattern, head over to the shop.
Hello sew-friends! The Summer Sweatsuit sewalong is starting off with a video! Both the tank top and shorts from the Summer Sweatsuit are fairly easy to sew, so I decided to just do one video about each. This week, I’m showing you how to sew the knit sweat shorts and next week will be the tank top. I'll be reviewing the pattern pieces, chatting a little bit about fabric and most importantly, showing the step-by-step process of sewing the shorts.
To learn more about the Summer Sweatsuit, check out the introductory blog post. To buy your own copy of the pattern, head over to the shop.
Today’s post is exclusive for people who have purchased the Tasi Draft-It-Yourself pattern. If you own the pattern, the password to watch the videos can be found at the bottom of page 4 of the instruction booklet. If you have problems or questions, please email us at help@sewdiy.com.
In this video tutorial, I’ll show you how to quilt your own fabric to make garments, bags or home accessories. In the video, I’m making my Quilted Slippers pattern but the same techniques work for other projects as well. I will share a variety of tools you can use to mark quilting lines on your fabric and then demonstrate a couple of ways to quilt the fabric to the batting. The Quilted Slippers are a great project for using scraps of leftover fabric and for introducing yourself to quilting.
Hello friends! This post is for all of you with the Draft-it-Yourself Tasi Robe and Jacket pattern. I’ve been making a variation of this pattern for years and this month, I decided I wanted to make a really classic robe for my Dad for Father’s Day. I haven’t been to a fabric store since February so I shopped my stash and found a navy gingham cotton. I also had some braided navy piping which I decided to use to create classic piped edge robe.
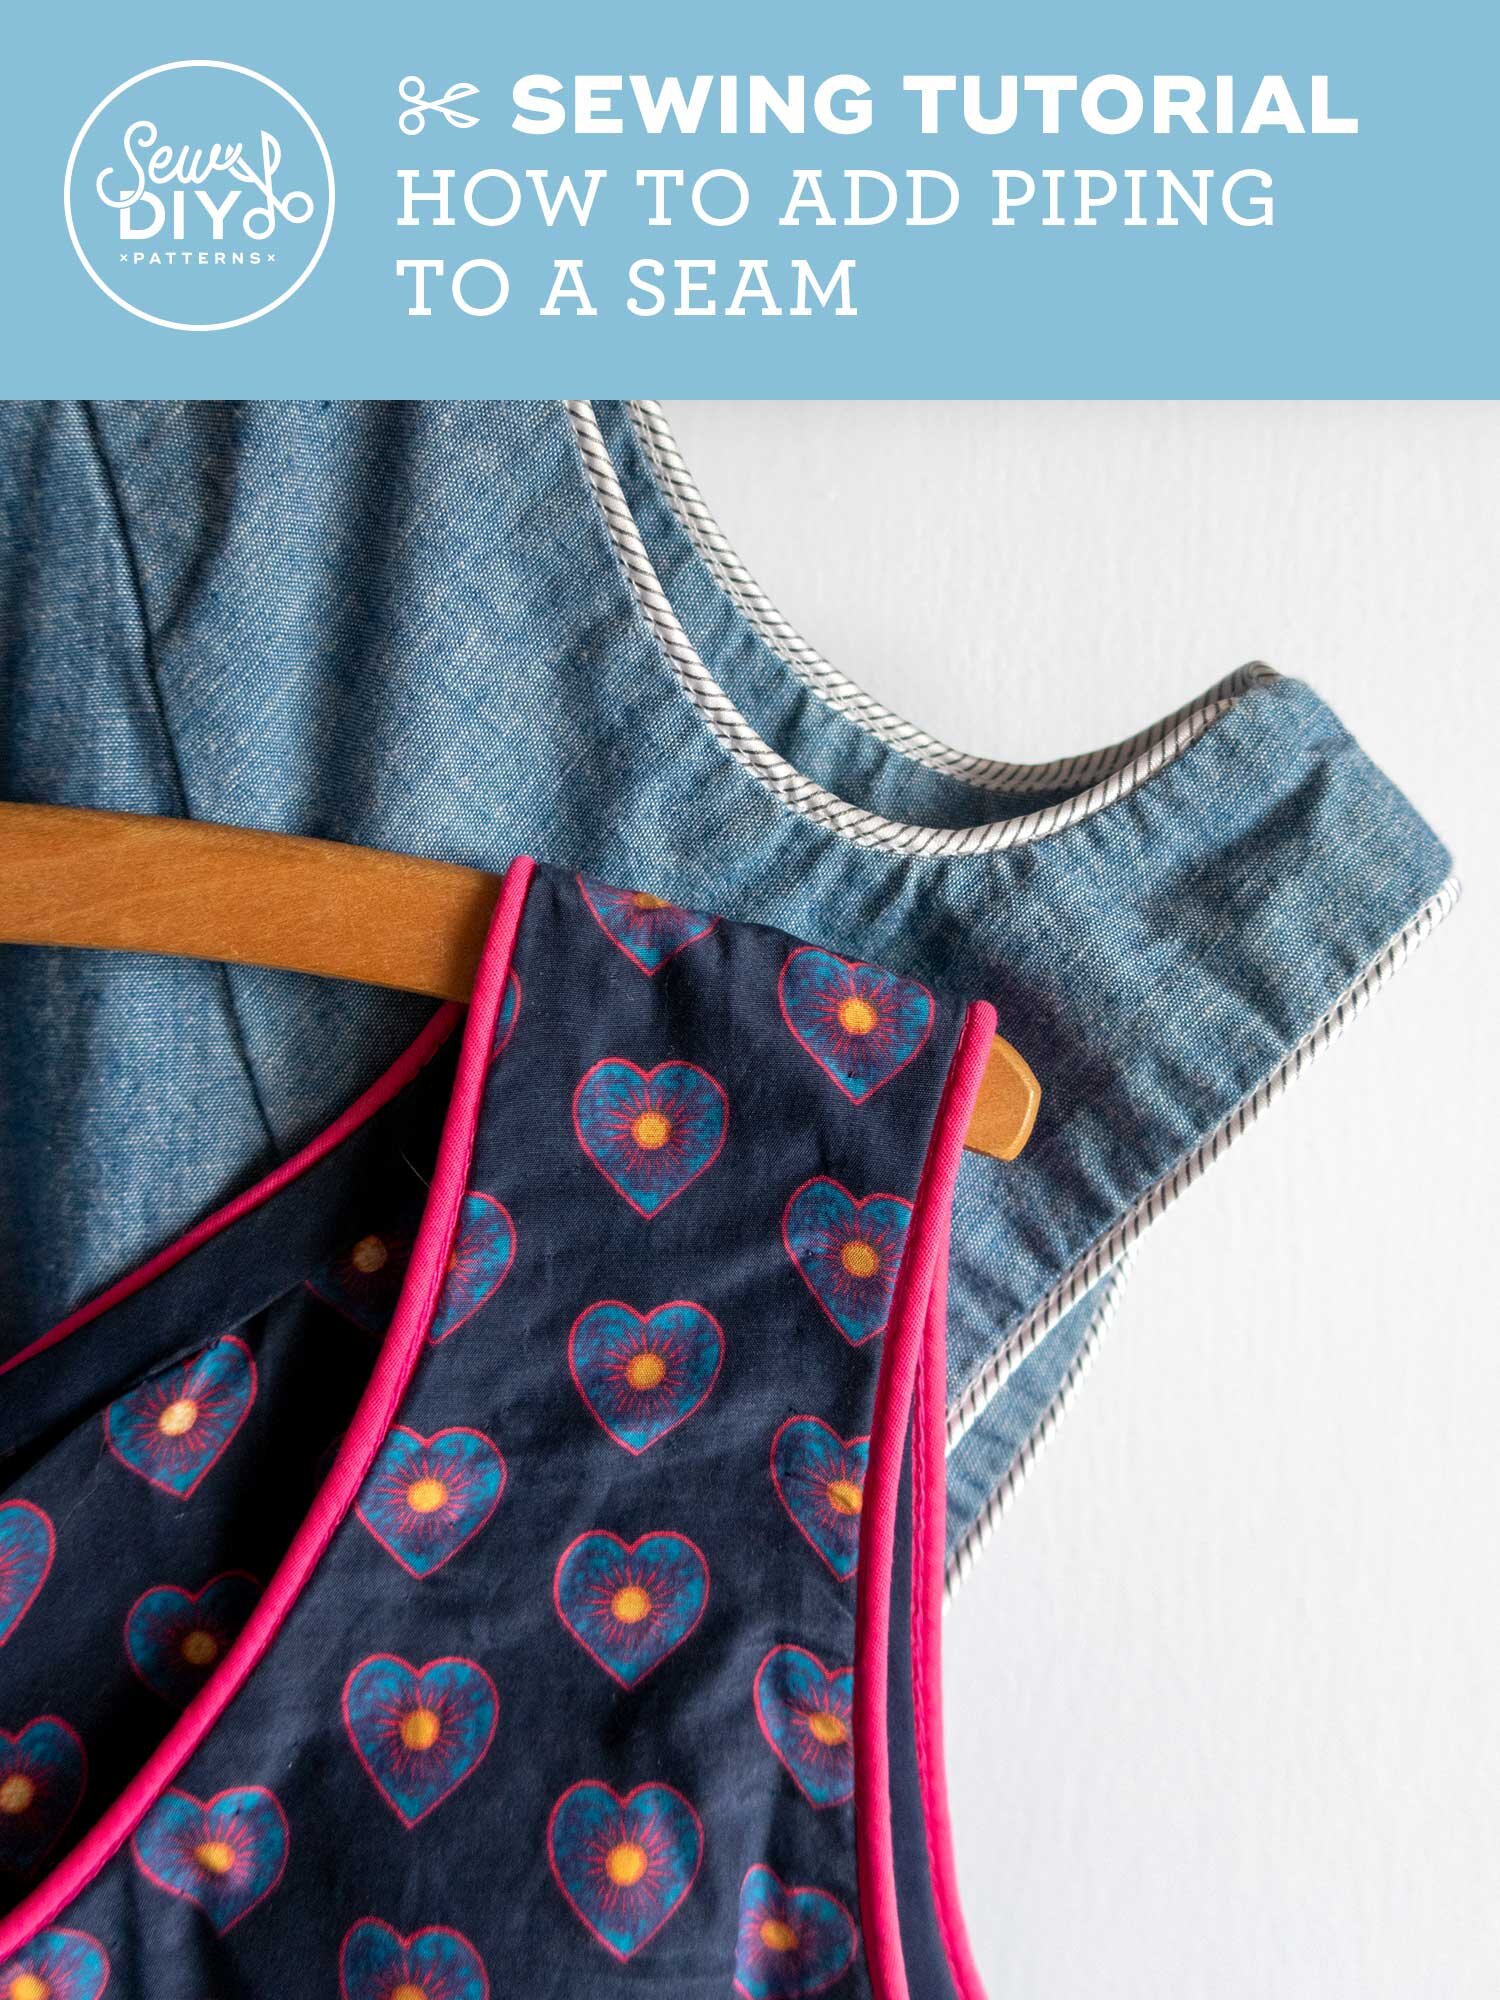
To get that really classic robe with a piped edge look, you’ll want to add piping to the center front opening, the seam between the cuffs and sleeves and to the pockets. Adding piping to the cuffs is pretty straightforward but you’ll need to do some adjustments to the drafting for the front band and the pockets. If you’ve never sewn with piping, make sure to check out this blog post to learn how.
In today’s video, I’ll be showing you how to sew piping into a seam. Piping is a great way to add an extra bit of detail to your garments or home decor items. Plus, it’s fairly easy to do. In this video, I’ll be showing you how to sew piping using a zipper foot to a flat piece of fabric and one that is in the round. Alternately, you may be able to buy a special piping foot to use when stitching piping.
One of my intentions with my new Tasi Robe or Jacket pattern was to create a garment that embraces the ethos of slow sewing. When appropriate I recommend doing hand finishes and today, I’ll be sharing tips for finishing your Tasi with French seams or a Hong Kong finish. Both methods take more time but they create a really beautiful finish. The one big-ish challenge with using these finishes on the Tasi is the right angle of the underarm seam. But, I've figured out some modifications to make these techniques work for this pattern and minimize any bulk at the underarm.
These methods are not appropriate for all fabric. I recommend using French seams when sewing lightweight fabrics like rayon, cotton or silk. Generally, these would be used for the robe, view A. The jacket (view B) works well when sewn in medium to heavy weight fabrics which makes it a great opportunity for using the Hong Kong finish. To learn more about my fabric recommendations for these patterns, check out this blog post. Let’s get started!
In today’s video, I’ll be showing you how to sew a Hong Kong seam finish. The Hong Kong finish is a variation of a bias bound seam finish. This method works will with medium to heavy weight fabrics. This seam finish is similar to a bias bound seam except that the raw edge of the bias tape is not tucked in on the back side, creating a very flat finish. It’s a simple seam finish to sew and creates a really beautiful look on the inside of your garment. It’s also a great opportunity to use your most beautiful bias tape.
In today’s video, I’ll be showing you how to sew a french seam. The french seam sewing method stitches the seams and finishes them in a two step process. In this method, you will stitch each seam twice, enclosing the raw edge of the fabric on the second pass creating an attractive and clean finish. This is a simple method to sew and well worth mastering.
Can I confess something? I used to hate sewing French seams. It just took forever and I always ended up with bits of thread showing on the right side of the garment. It’s very possible that in my impatience, I was skipping the very important trimming step. But over the years, I’ve figured out how to sew this seam finish without going crazy. I actually enjoy sewing it now and rarely feel impatient to move on to the next project.
Last week on YouTube, I did a live sewalong for the Lela Skirt sewing pattern. This elastic waist pattern is one of my all time favorites. I first designed it back in 2014 and then re-released it last year with new views and updated sizing. The skirt is very simple to sew and comfortable to wear. The pattern comes with three hem styles, two length and three pocket styles for a total of 18 different design combinations. As you’ll discover in the video, it only takes about 90 minutes to sew this skirt from start to finish, making it perfect for summer sewing.
Today is the first day of the second annual I Love my fabric virtual party! So, in celebration and in the hopes of helping you organize your fabric, today’s video is devoted to fabric folding. I know kind of boring but, trust me, it is key to a well organized stash. This method of folding can be used when storing fabric in either drawers or shelves. The main benefit is that you can see all of your fabric stash at a glance. Nothing will get hidden underneath something else. The bonus benefit is that the fabric will have fewer wrinkles.
Hello! Today I’m very excited to share my latest Ali Sweatshirt hack AND you can download the pattern piece for FREE. A few weeks ago, I was working on a color blocked version sweatshirt, using the color blocking worksheet that comes with the pattern. I figured out where I wanted my gold and grey colors but then discovered that I didn’t have enough of the gold fabric for full length sleeves. As I was pondering what to do, it occurred to me that I could make a short sleeve sweat shirt. And just like that this hack was born. Sometimes, the best ideas come from dilemmas.
Today, I’m sharing how to sew the kangaroo pocket of the Ali Sweatshirt. I really love the functionality of the kangaroo pocket. I designed it to be pretty big, with the intention that you can easily fit your phone inside, because after all, what else are we carrying around all the time? If you have a little practice sewing and topstitching knits, then this pocket is really not challenging to sew. And it’s definitely worth the time spent for it’s style and functionality.
I used to be really scared to sew knit fabrics but after a lot of research and a lot of practice, I love sewing with knits. One misconception is that you need to have a serger (aka overlocker) to sew knit fabrics when in fact most conventional machines come with a variety of stitches that are made for sewing knit fabric. In this video, I share the tools you need to sew knit fabric, some tips for preventing your fabric from stretching and demonstrate the stitches available on a conventional sewing machine that can be used to sew knit fabric.
Scraps can often be one of the biggest struggles for sewists. We spend so much time selecting and caring for our fabric, that it can feel sad and wasteful to just throw the scraps away. I’m very passionate about sustainability and creating less waste so today, I’m sharing 101 ways to use your scrap fabric. There’s a whole slew of ideas, organized into categories, so that you can skip to the section that sounds most fun to you.
These projects run the gamut from quick and fun to more involved and labor intensive. Where applicable, I’ve linked to existing tutorials on my blog. Otherwise, you should be able to find a tutorial via a quick internet search. Or, let your creativity run wild and create your own pattern.
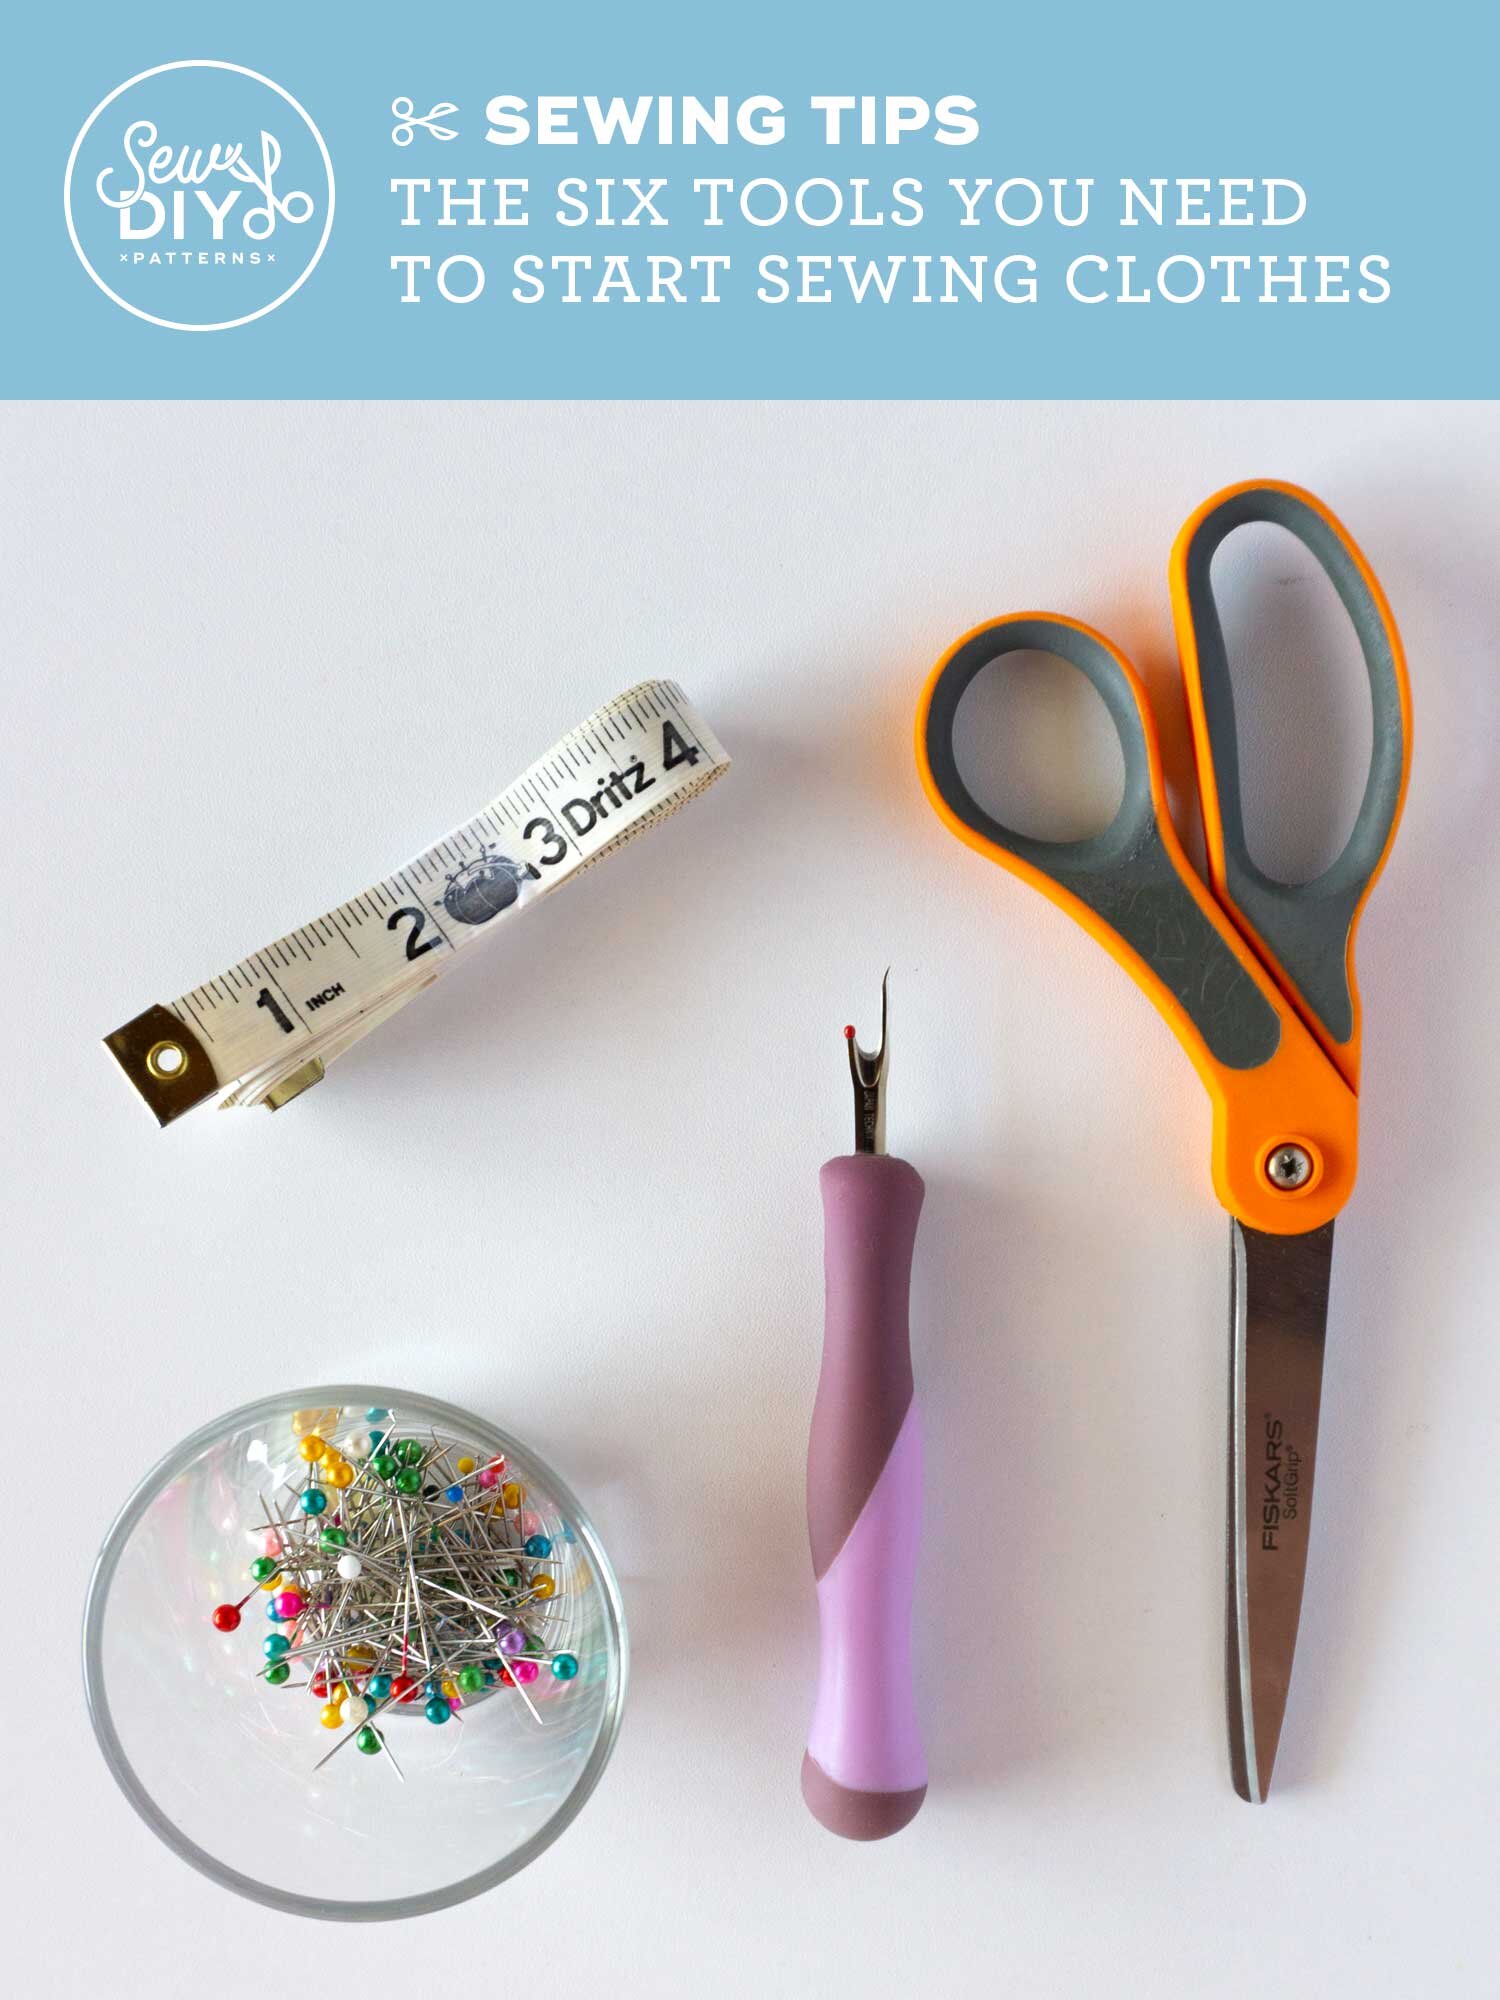
With the start of the new year, people often take on new adventures, including sewing. Yay! I was asked on Instagram a few times recently what sewing machine I recommend for beginners, so I thought I'd go ahead and share all the tools you need to start sewing your own clothing. And don’t worry, there are only six tools that you absolutely need. I’m a big fan of minimalism and not buying things you don’t need. Click through to watch the video explaining my picks and get links to my fave products.
Winters are hard on me because my hands and feet always get cold very easily. Nighttime can be especially challenging. I solved my cold feet issue with layers of socks and a warm rice bag (tutorial here). But my hands still get cold while reading in bed. I’ve always dreamed about having a long sleeve shirt or sweater that covered my hands. Finally, at the end of last year, I decided that it was time that I just made myself a long sleeve shirt with thumbhole cuffs.
For this hack, you can use any long sleeve shirt, dress or sweatshirt pattern that is designed for knit fabrics. You’ll want to use knit fabric with some stretch for this fabric so that your hands will be nice and comfy as you move about. Watch the video and then check out the diagrams for how I drafted these cuffs.
Sewing Tips from 2020
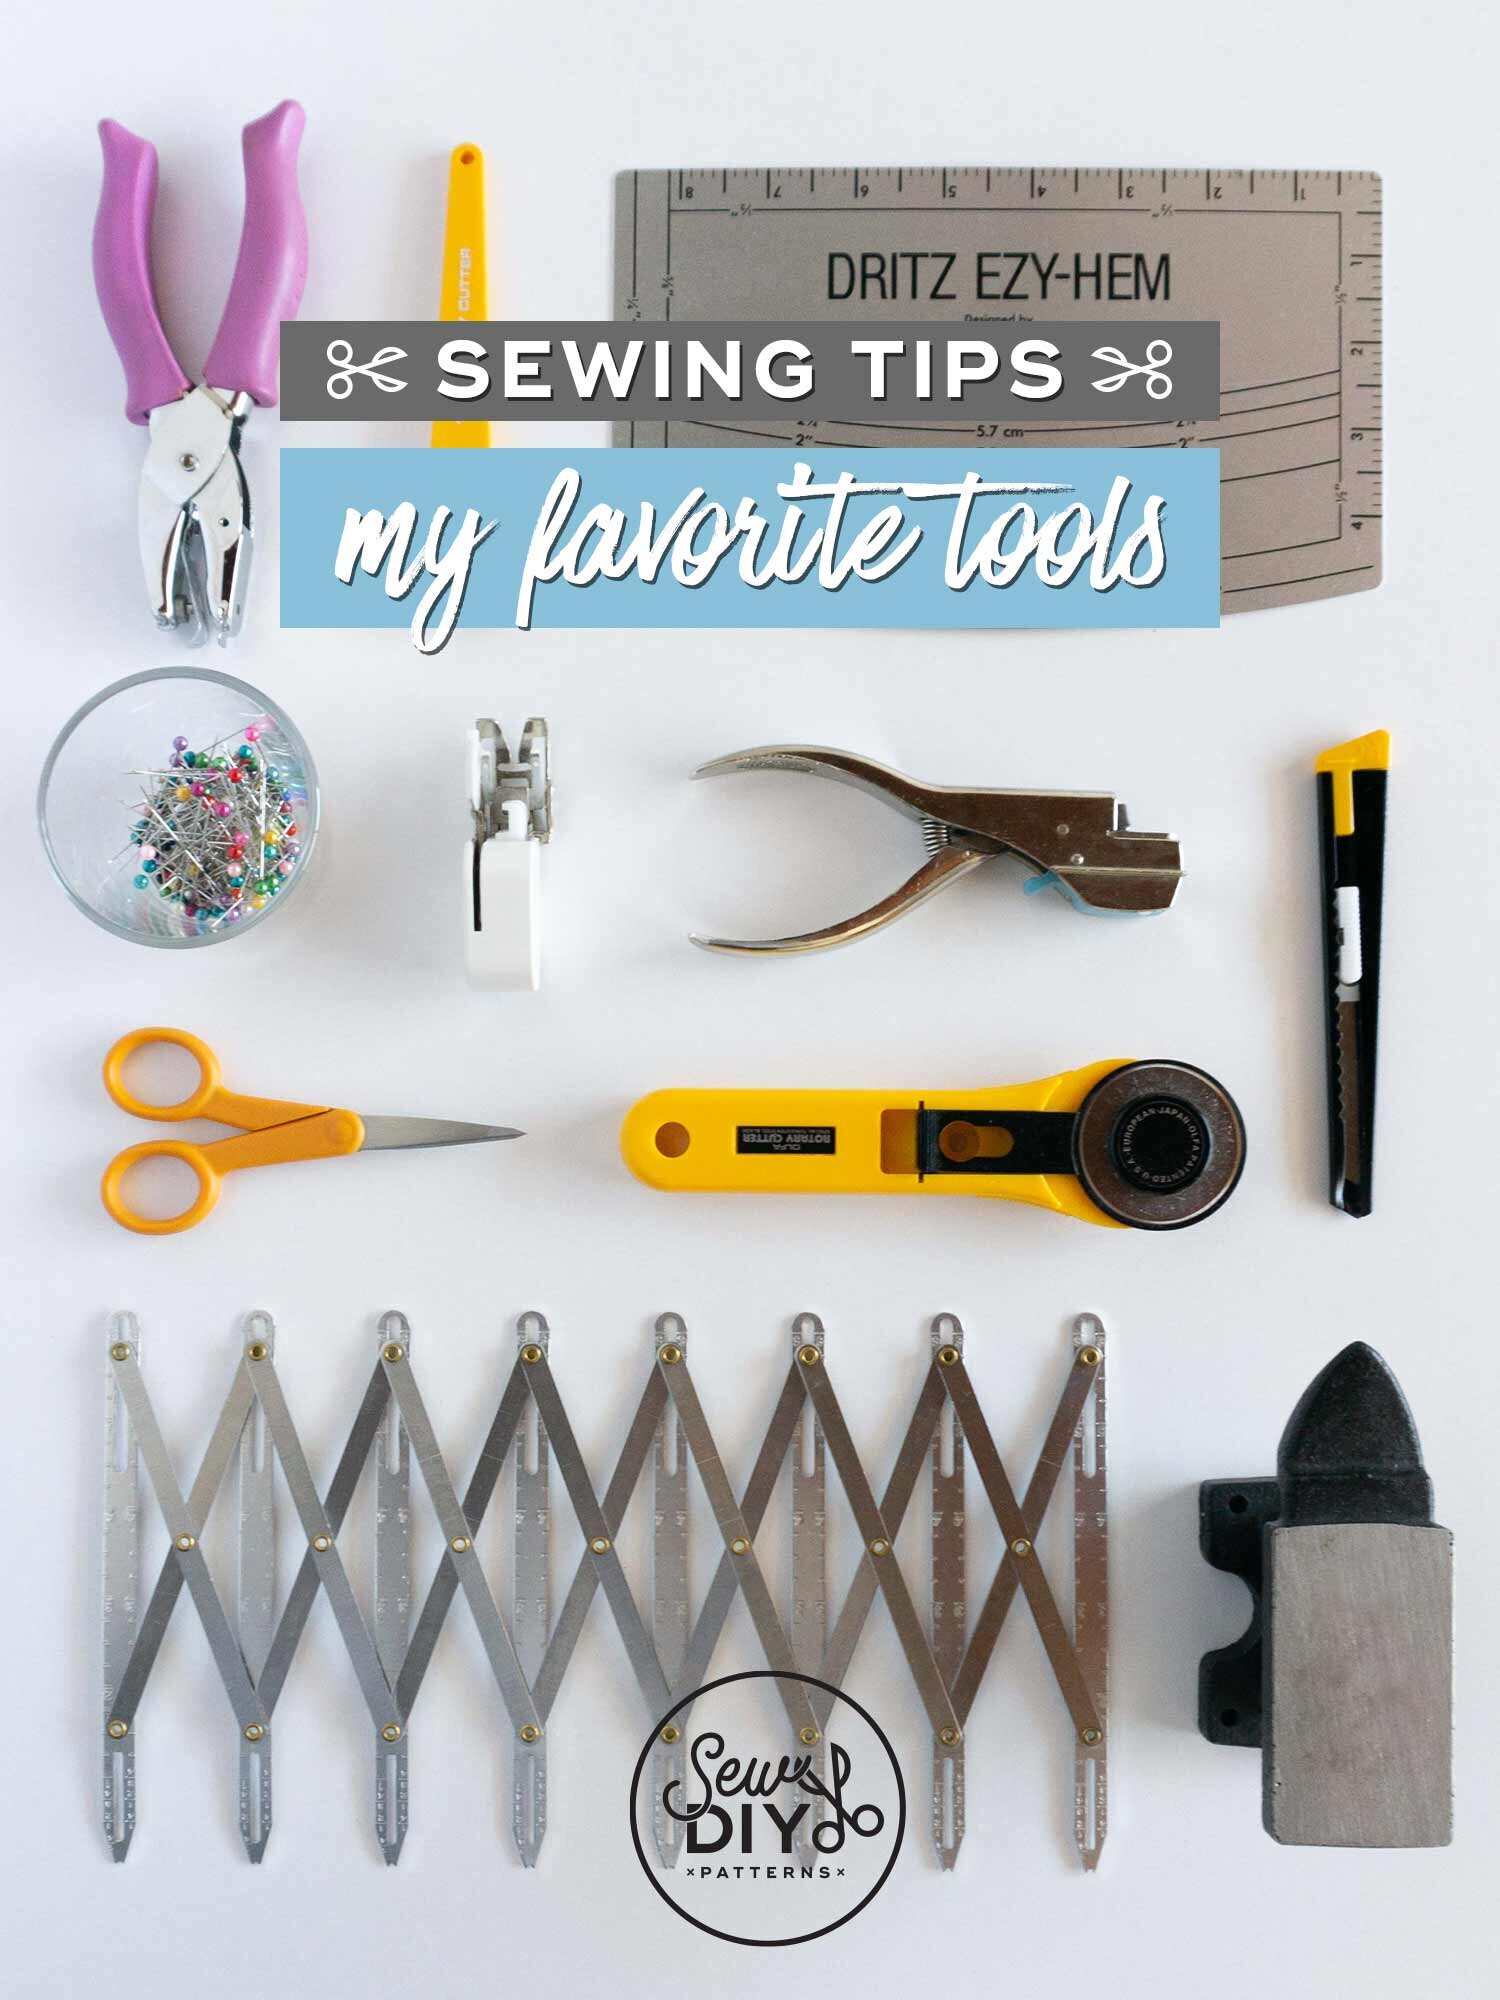
Today, I'm sharing my favorite sewing tools. These are the tools that I use often and that make a huge difference in the quality and/or ease of my sewing. I share why I love these tools and a little bit about how I use them.
I'm generally, pretty minimalist when it comes to tools. I only like to have things that I know are going to be useful. So, even though there are nineteen sewing tools on my list, you can rest assured that I use these all the time. If you're looking for ideas on how to build out your sewing tool kit or help someone else build theirs, this is a great video for you.
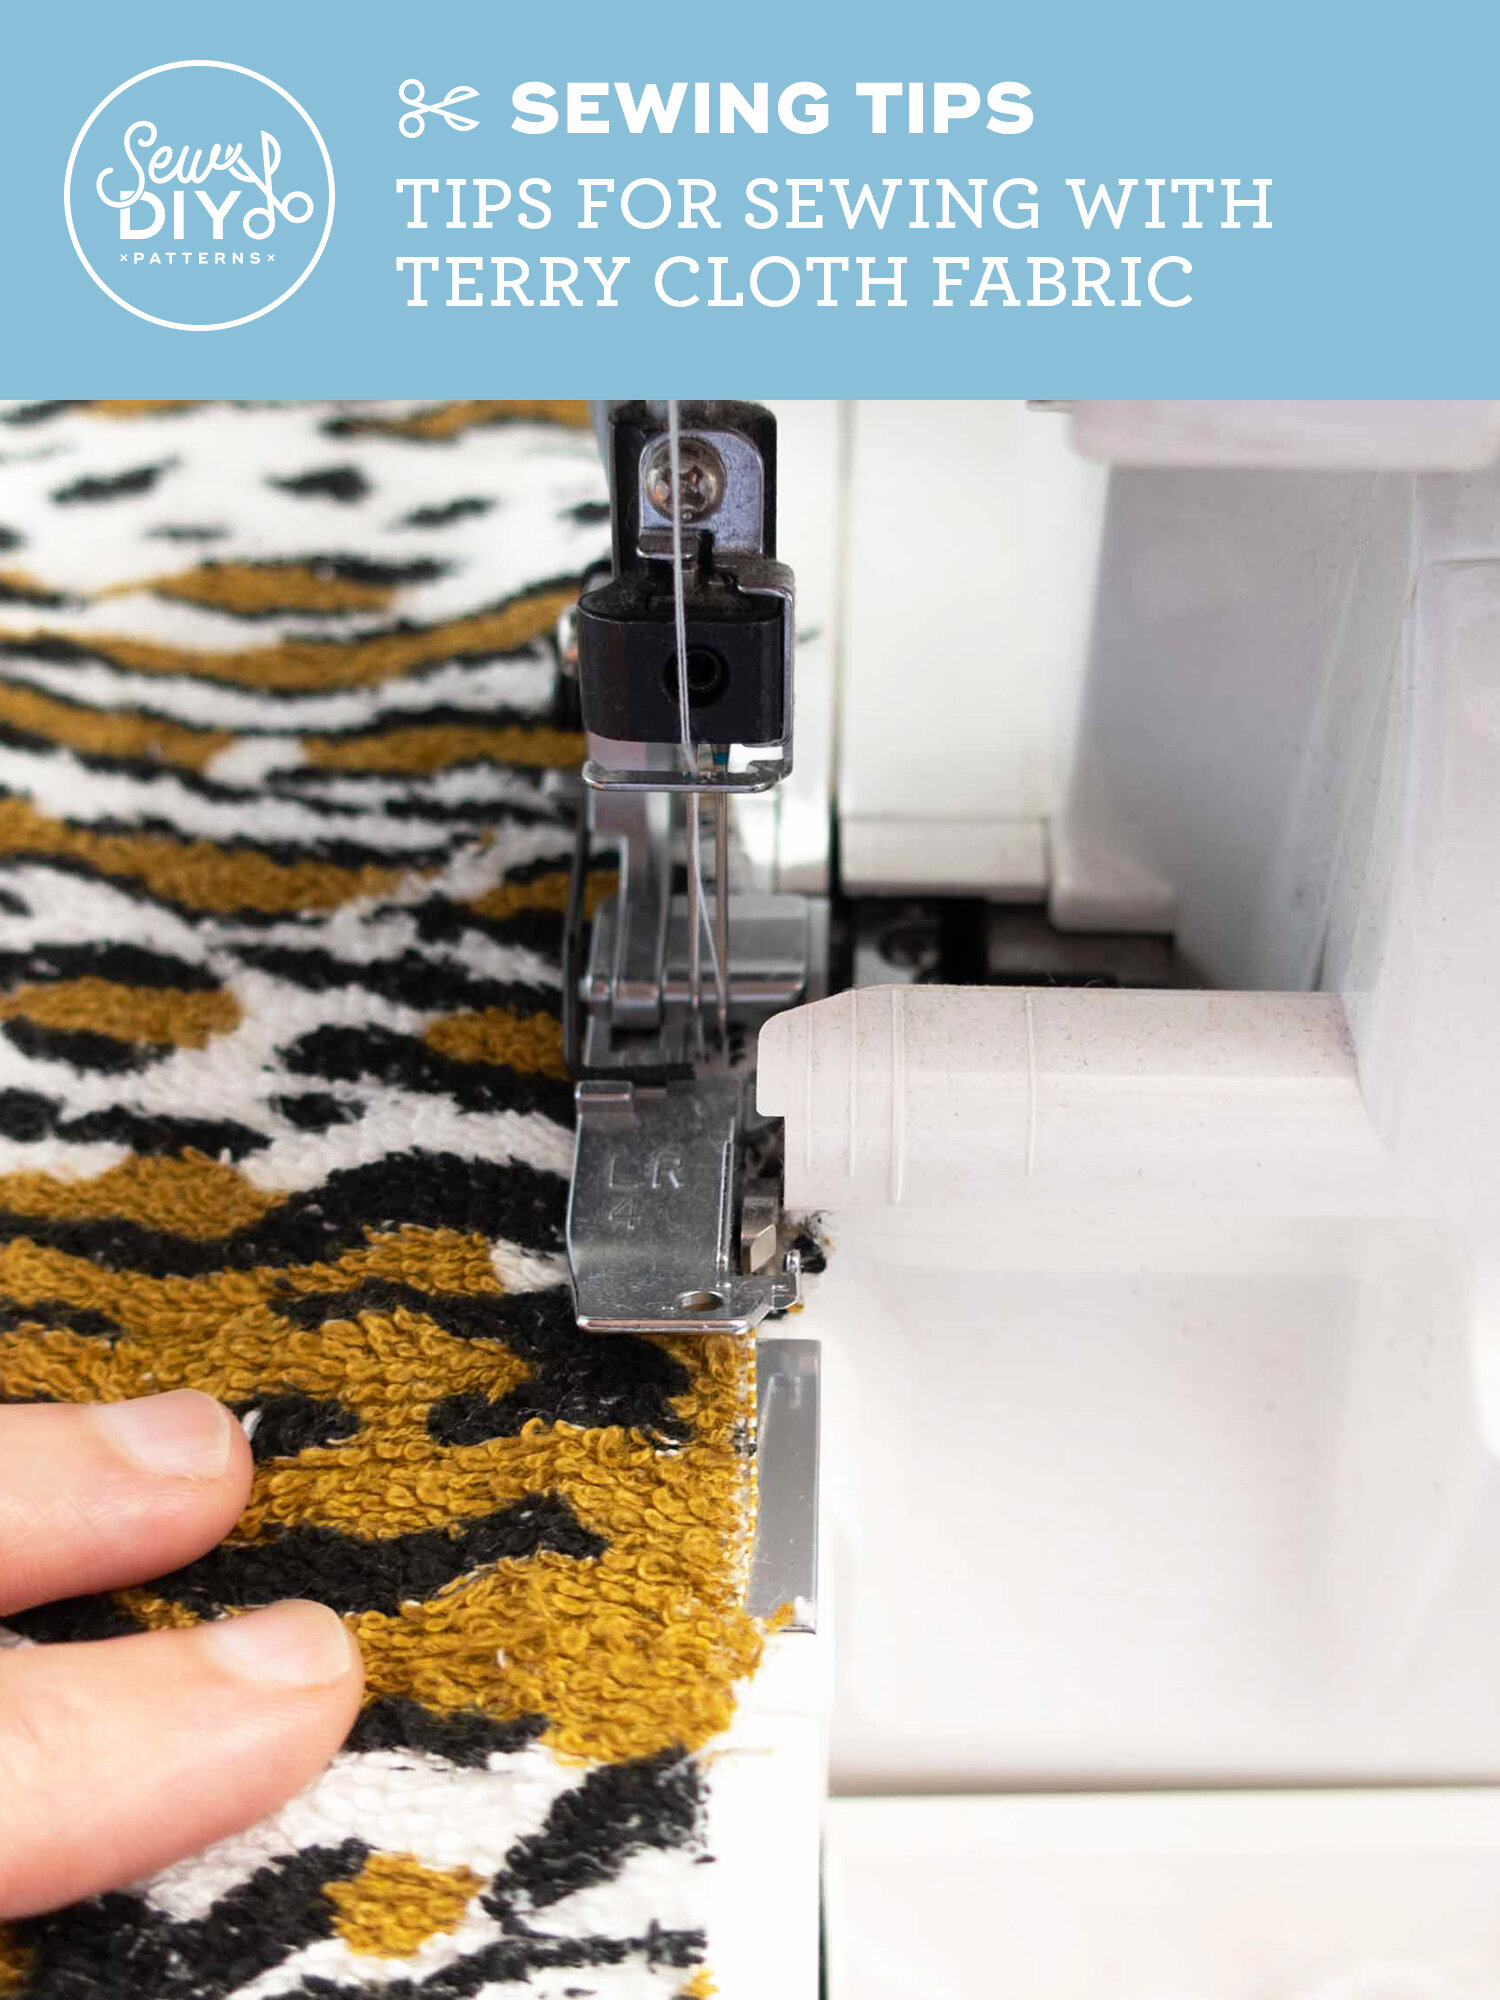
Terry cloth is one of those fabrics that’s in every household but not in every fabric stash. Last week, I shared my terry cloth pool robe and I thought it would be useful to share a few tips for sewing with this unique fabric. You’re probably most familiar with terry cloth from your bathroom towels. It’s a dense fabric made up of thread loops on both sides. It’s a thick and absorbent fabric making it great for robes or swim coverups.
Terry cloth is honestly not very hard to work with but there are a few things to be aware of before you jump in. Read on for more information.
Hello sew-friends! In today’s YouTube video, I’m answering one of the questions I’ve been asked most over the years – How do you know how much fabric to buy? I’ll be sharing my magic number for buying fabric, my best tips for deciding how much fabric you’ll need even when you don’t have a pattern in mind and the sewing supplies that I always stock up on.
I’ve been sewing for about 25 years now and have learned what works best for my sewing habits and the things I like to make. The more you sew, the better you’ll be able to estimate how much fabric you’ll end up using too. But in the meantime, read on and watch the video for my best tips to get you started.
My new Tasi Robe/Jacket draft-it-yourself pattern is (I hope) the first in a series of draft-it-yourself patterns. I love that the style of pattern is accessible to all people, teaches about pattern drafting and gives the maker (that’s you!) the power to customize the design.
This draft-it-yourself pattern will walk you through each step of designing and drafting your own custom fit pattern. You choose the proportions you’d like and we give you the formulas to draft all the pattern pieces. If you’re new to designing things, it can be a little tricky deciding how much ease you like and the proportions that work best for you. So, for today’s blog post, I’m going to share a few tips for how to design the Tasi for you preferences.
As a follow up to the virtual I Love my Fabric Party a couple of weeks ago, I thought I’d share how I go about sorting and organizing my fabric scraps. While I’m working on a project, I tend to just throw all my scraps into a basket and ignore them for a few months. Then, when the basket becomes particularly unsightly, or I have some motivation to tidy up, like the virtual party, I will set up tackling the scraps. In this video, I share some ideas on what you can do with your scraps, how to sort through them efficiently and share tips for how to store them later.
When it comes to sewing our own garments, the first thing we tend to think about is the stitches. But almost equally important is pressing. Pressing your fabric as you sew gives you a better garment in the end and in today’s video, I’m sharing a few tools that will make pressing easier and give you a better result.
I’m not one to say you need a ton of tools to start sewing. I actually did a video a few weeks ago where I share the six tools that actually need. But, if you are committed to sewing and want to make it a continued part of your life, then there are some tools that can help you create better garments.
It can be a little intimidating and even challenging to sew your own pair of jeans but with the right tools and supplies, it will be much easier to tackle. These are tools that are kind of unique to sewing with denim and most them you won’t need to use for an ordinary top or skirt. But, they are nothing to be afraid of. With these tools in hand, the jeans making process will be a much better experience. Click through to watch the video, where I show you all the special tools and supplies that you’ll need to sew a pair of jeans, with tips on how to use them and ways to make the process of sewing jeans a bit easier.
With the start of the new year, people often take on new adventures, including sewing. Yay! I was asked on Instagram a few times recently what sewing machine I recommend for beginners, so I thought I'd go ahead and share all the tools you need to start sewing your own clothing. And don’t worry, there are only six tools that you absolutely need. I’m a big fan of minimalism and not buying things you don’t need. Click through to watch the video explaining my picks and get links to my fave products.
If you’d like to support the blog or just want to sew a little something for yourself, I invite you to check out the pattern shop below.











Today, I'm very excited to bring you a tutorial for sewing a cat toy. I love my kitty and he LOVES catnip so catnip toys are very popular in my house. This project is inspired by a couple of toys that I bought that have a pocket that closes with velcro where you can put catnip. The pocket means you can replace the catnip when it loses potency and the velcro means that the catnip won’t fall all over the place while your cat is playing. Read on to download the (free!) template and watch the video.