Hello! Today I’m very excited to share a hack for the Lou Box Top and a FREE pattern add-on. January marked the 10th anniversary of this pattern and I’ve been celebrating it in my newsletter this month. (By the way, when you are signed up for the newsletter, you get access to the Sew DIY Resource Library and this pattern add-on. Click here to sign up.)
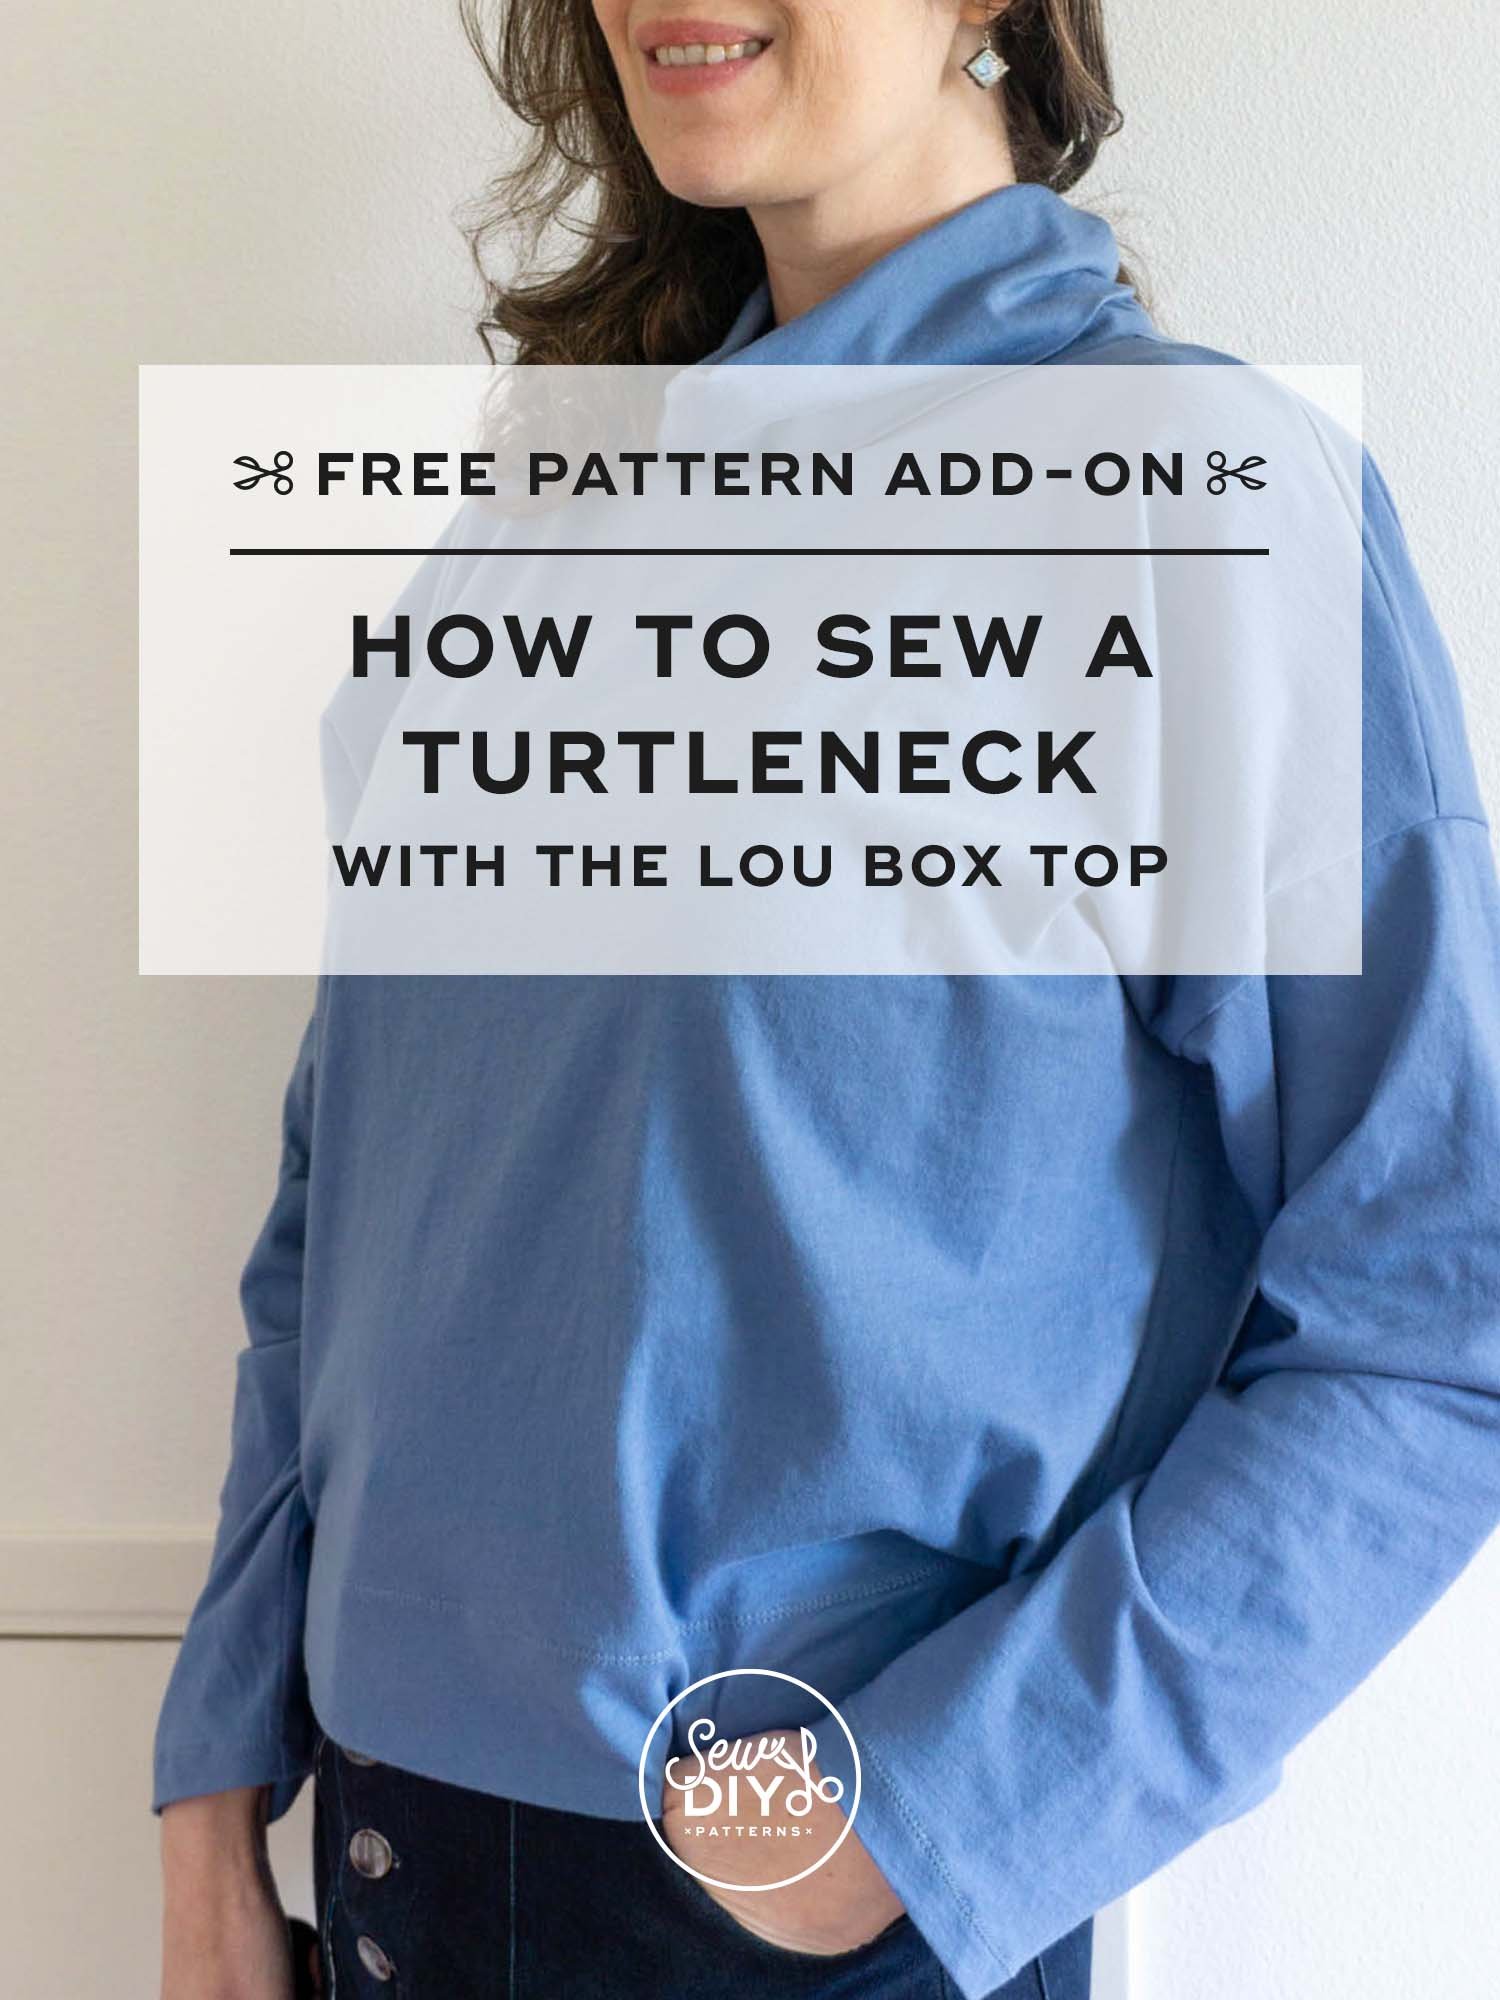
If you’re not familiar, I first released the Lou Box Top in 2015. It’s a versatile, loose fitting top with two neckline options and three hem options, for a total of six different silhouettes. It's a great project for beginners looking to get their feet wet and for more experienced sewists who want to add some quick-to-make basics to their wardrobe. It can be sewn in either woven or knit fabric (I recommend knit for this hack). In 2019, I updated the pattern to include sizes 0 to 32, up to a 58”/147cm bust.
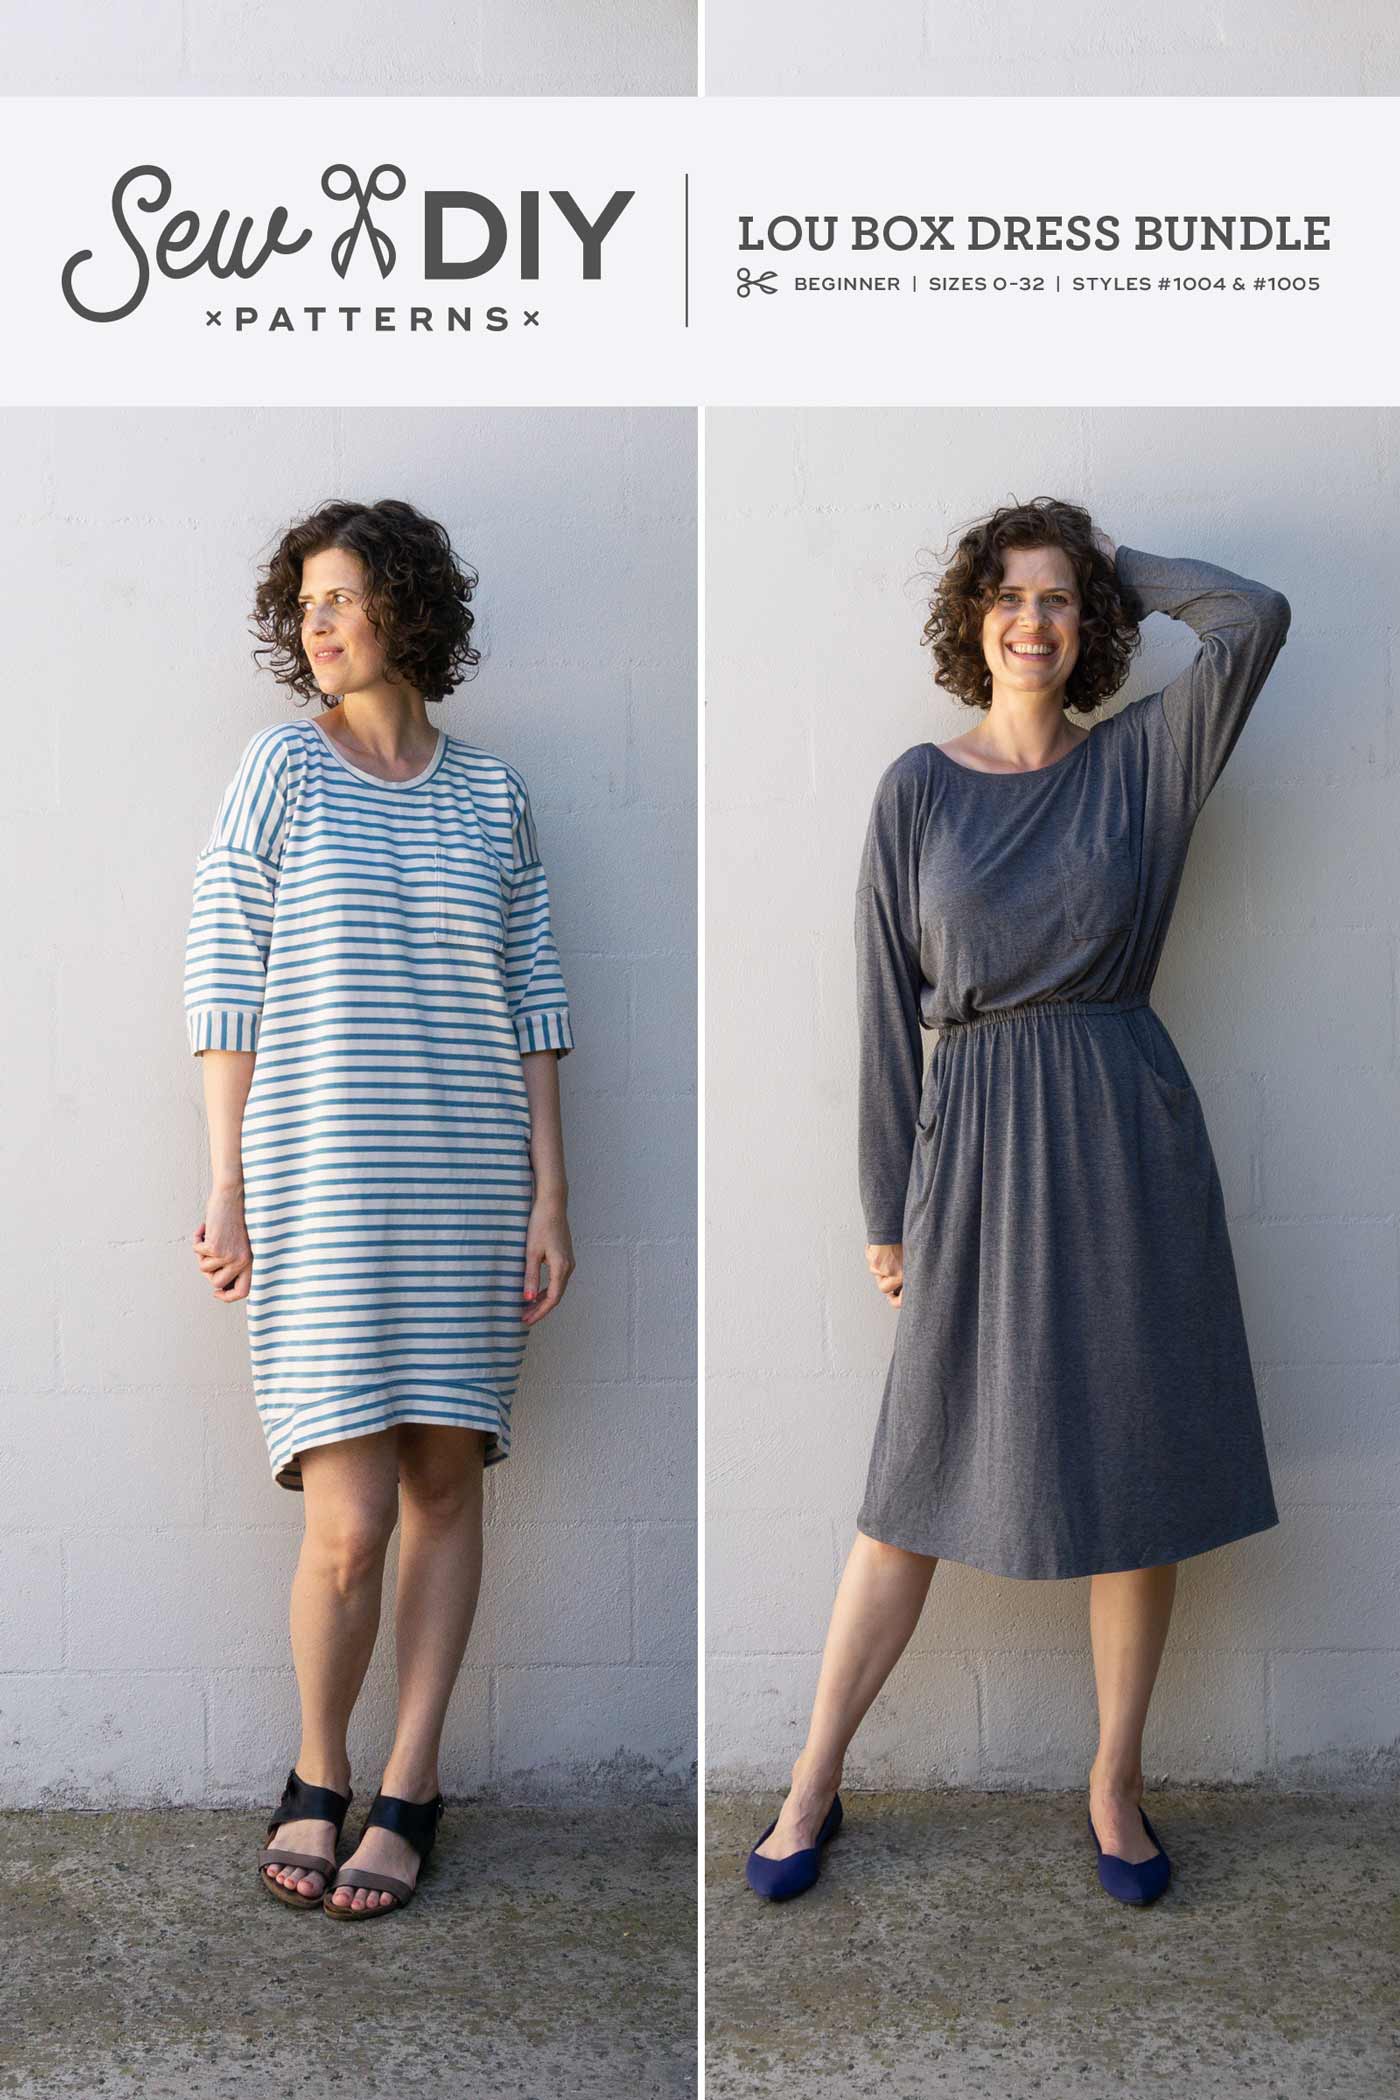
Additionally, there are two dress variations of the Lou Box Top. Dress One has a coccoon shape and short sleeves. Dress Two has an elastic waist, scoop pockets and long tapered sleeves. The sleeves are interchangeable with the top and available in their own separate expansion pack. You can explore the patterns below or by clicking here.


For this top, I used view A, the crewneck version of the Lou Box Top with the long tapered sleeves that can be found in the Sleeve Expansion pack or in the Lou Box Dress 2. It really is fun to mix and match the pattern pieces of the Lou Box Top. There are so many options!
For this version, instead of using one of the hems, I added 6” to the bottom. But then I wanted it a bit more cropped so I made a 2.5” hem and topstitched with a twin needle.
If you are going to make this variation, you will need to use a fabric that has some stretch so that you can fit the turtleneck over your head with ease. The fabric I used is a lighter weight cotton jersey with about 50% stretch that I bought on a recent trip to the LA Fashion District. Since the pandemic, it feels like stores have been changing more frequently and it’s been harder to find quality fabrics. But I was pleased to find some good knit fabric at a shop called JB Textiles. I couldn’t find a website but if you’re in the area, it’s located at 836 Maple Ave.


The construction of the turtleneck hack is really very easy to sew because you don’t need to stretch the collar to fit the neckline. The turtleneck collar replaces the neck band, ribbing or facing and that finishes the raw edge of the neckline. It can be attached after sewing the shoulder seams and I think it’s actually easier to sew than a regular neck band finish. So, if you hate sewing neck bands or don’t want to topstitch, this is a good alternative. Keep reading for sewing instructions.

If you are interested in drafting your own turtleneck collar, I have a tutorial on my Substack Sewing With Numbers that will show you how. All you need is a a t-shirt, top or dress pattern that is designed for stretch knit fabric and has a rounded neckline. If you’re new to pattern drafting, this is a really approachable project because the turtleneck collar is a just a rectangle folded in half with a seam at the center back.
Click here to read the drafting tutorial on Substack.
How to sew the lou box top Turtleneck hack
If you want to sew your own turtleneck Lou Box Top, first go grab yourself a copy of the pattern if you haven’t already. Then, come back here and download the turtleneck collar for free by signing up for our newsletter below. (If you’re already signed up, find your most recent email for the link and password to the Sew DIY Resource Library.)
All of our pattern add-ons and downloadable resources are available in the Sew DIY Resource Library. When you sign up for the newsletter, you’ll receive the password and link to the resource library. Sign up is below. You can unsubscribe at any time. Just scroll down to the “Pattern Add-ons” section to find the pattern.

INSTRUCTIONS
STEP 0: Download the pattern add-on. The pdf is designed to be printed at home on Letter or A4 size paper. It is four pages and includes layered sizes. If you prefer not to print, there is a chart on page two that includes the pattern piece dimensions. The pattern piece is 15” (38cm) tall for all sizes. You can find the width for your size in the chart.
You need to cut out one turtleneck pattern piece. You don’t need to cut out the neck band.
STEP 1: Fold the turtleneck in half along the center front with right sides together and stitch the center back seam.
STEP 2: Fold the turtleneck with WRONG sides together along the fold line, aligning raw edges. Place a pin at the center front. (This is also a good time to test that the fabric will stretch enough to comfortably go over your head.)

STEP 3: After sewing the shoulder seams of the top, mark the center back and center front of the neckline. With right sides together, pin the two raw edges of the turtleneck to the neckline matching the center front, center back and shoulder seams. See image above.
If you're nervous about having wrinkles when stitching, you can baste first. Then stitch through all layers.
Continue as instructed in the pattern booklet to complete the top.

For my version (shown above), I first stitched with a long, narrow zig zag stitch and then serged. Due to the nature of circles and seam allowance, the circumference of the turtleneck is probably longer than the cut edge of the neckline. But if drafted correctly it should equal the length of the stitching line. Because they’re the same length, it’s not too challenging to stitch and if you’re comfortable, basting isn’t necessary. (When I sew a neckband that needs to be stretched to fit the neckline, I prefer to baste it on first.)
I hope that you love this turtleneck hack. If you need additional help sewing the Lou Box Top, make sure to check out the sewalong for lots of helpful blog posts on all the parts of this pattern and general tips for sewing with knits and using a serger. Happy sewing!