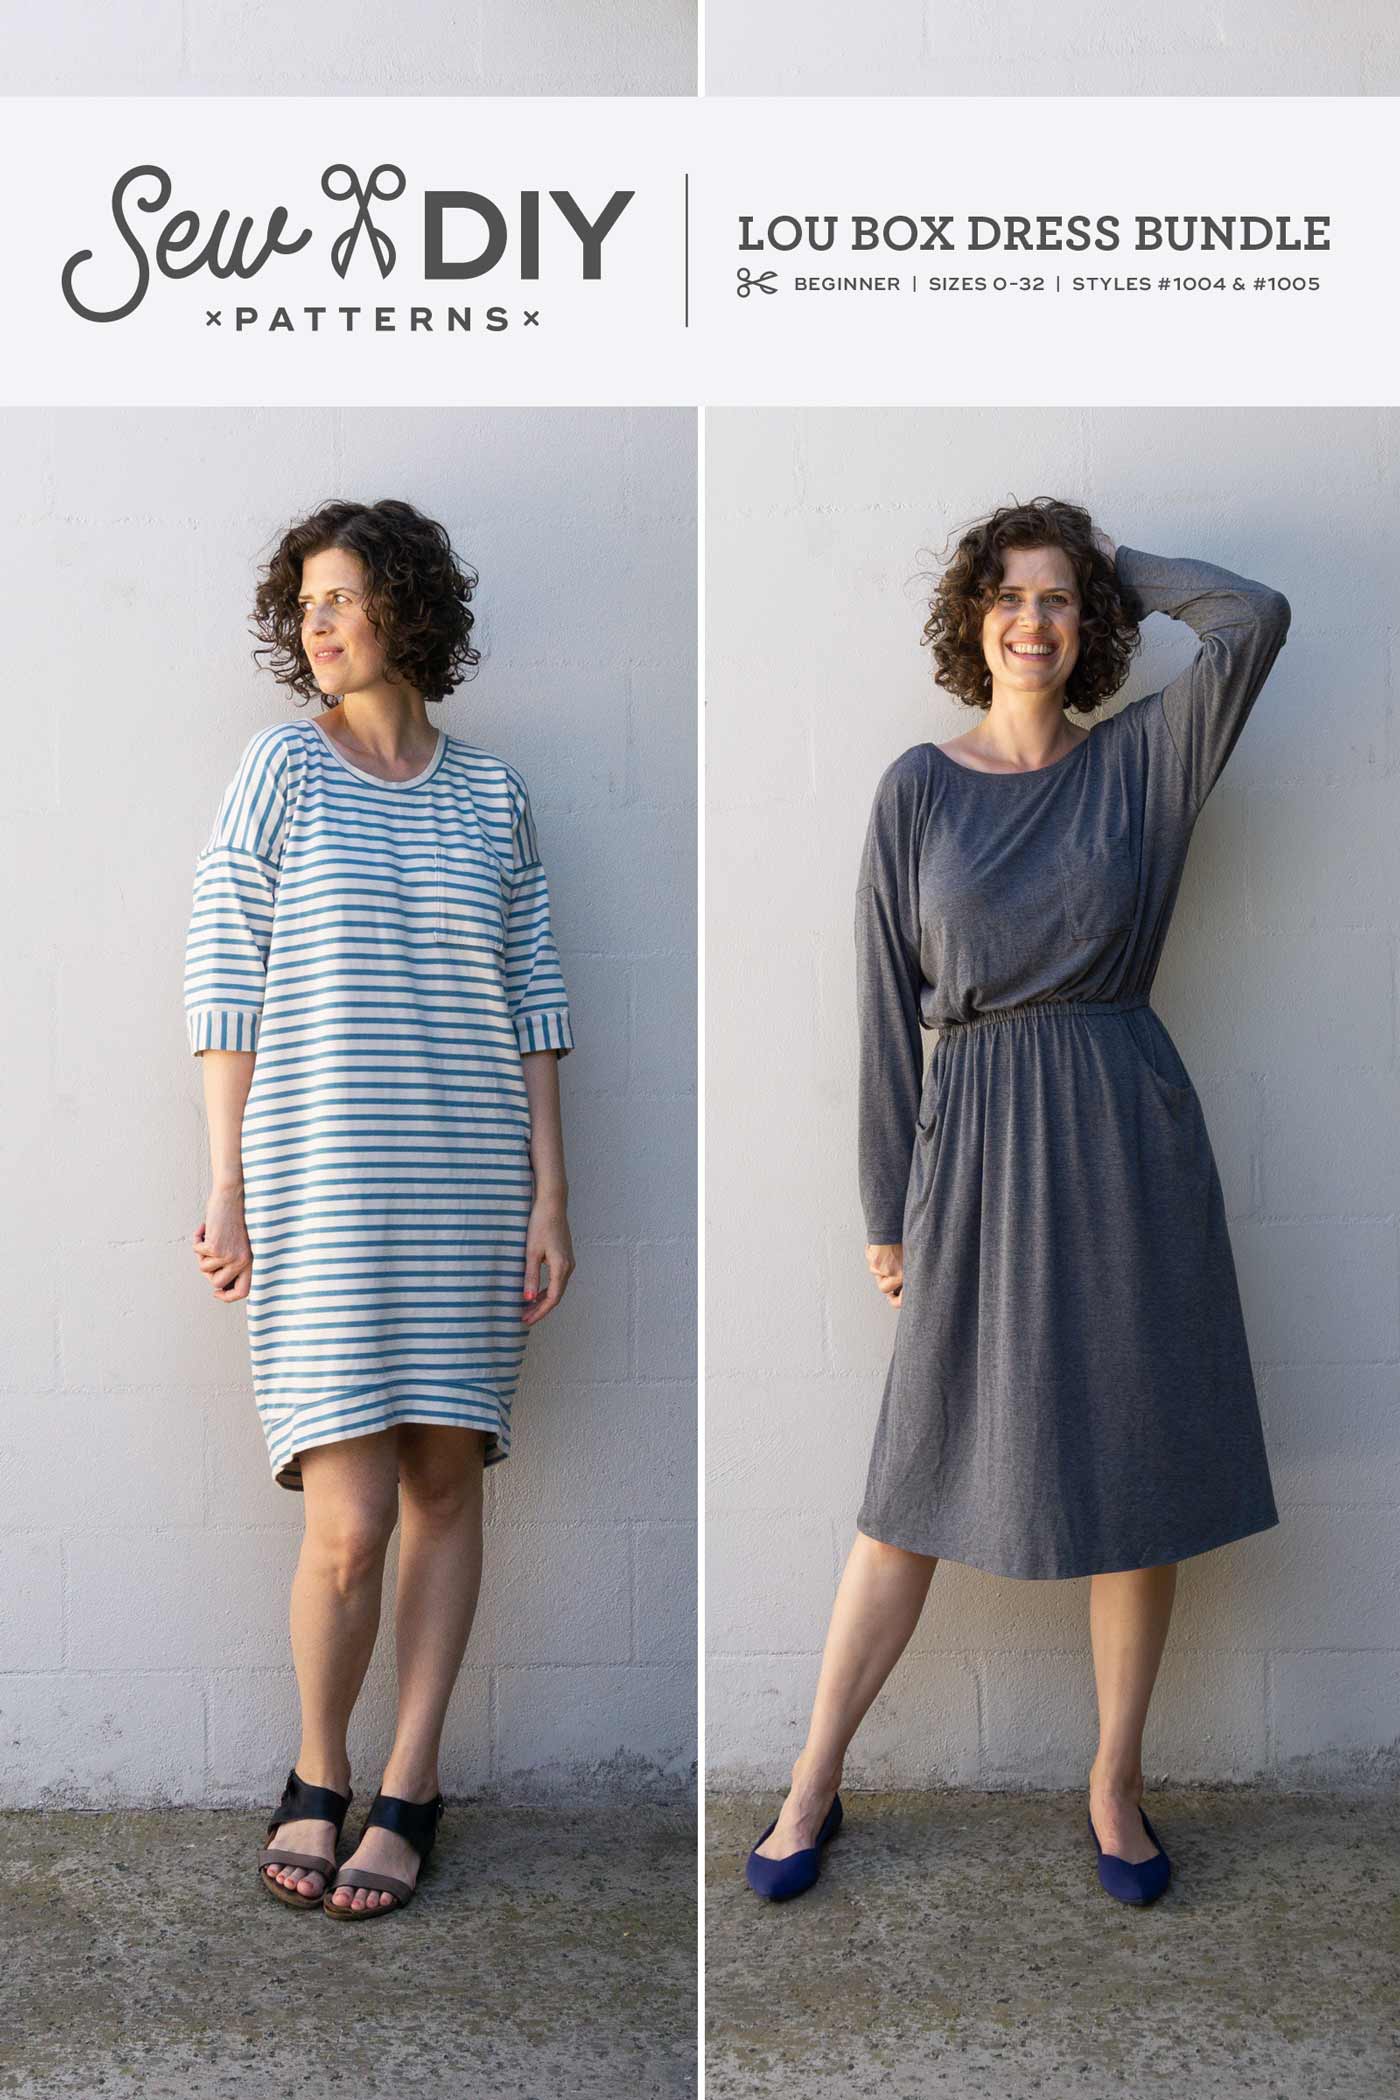
The Lou Box Dress 2 features a waist that is gathered with elastic housed inside a casing making it figure flattering and comfortable. This pattern uses my favorite method for making a concealed waist casing in a dress. It uses the seam allowance to create a casing for the elastic so there are fewer pattern pieces to cut out and a nice clean finish. At this point, you will have already finished the bodice and the skirt. Today, we’re going to stitch the two parts together and you'll have a dress! Read on for all the details.
How to Sew Lou Box Dress 2 Waist Casing
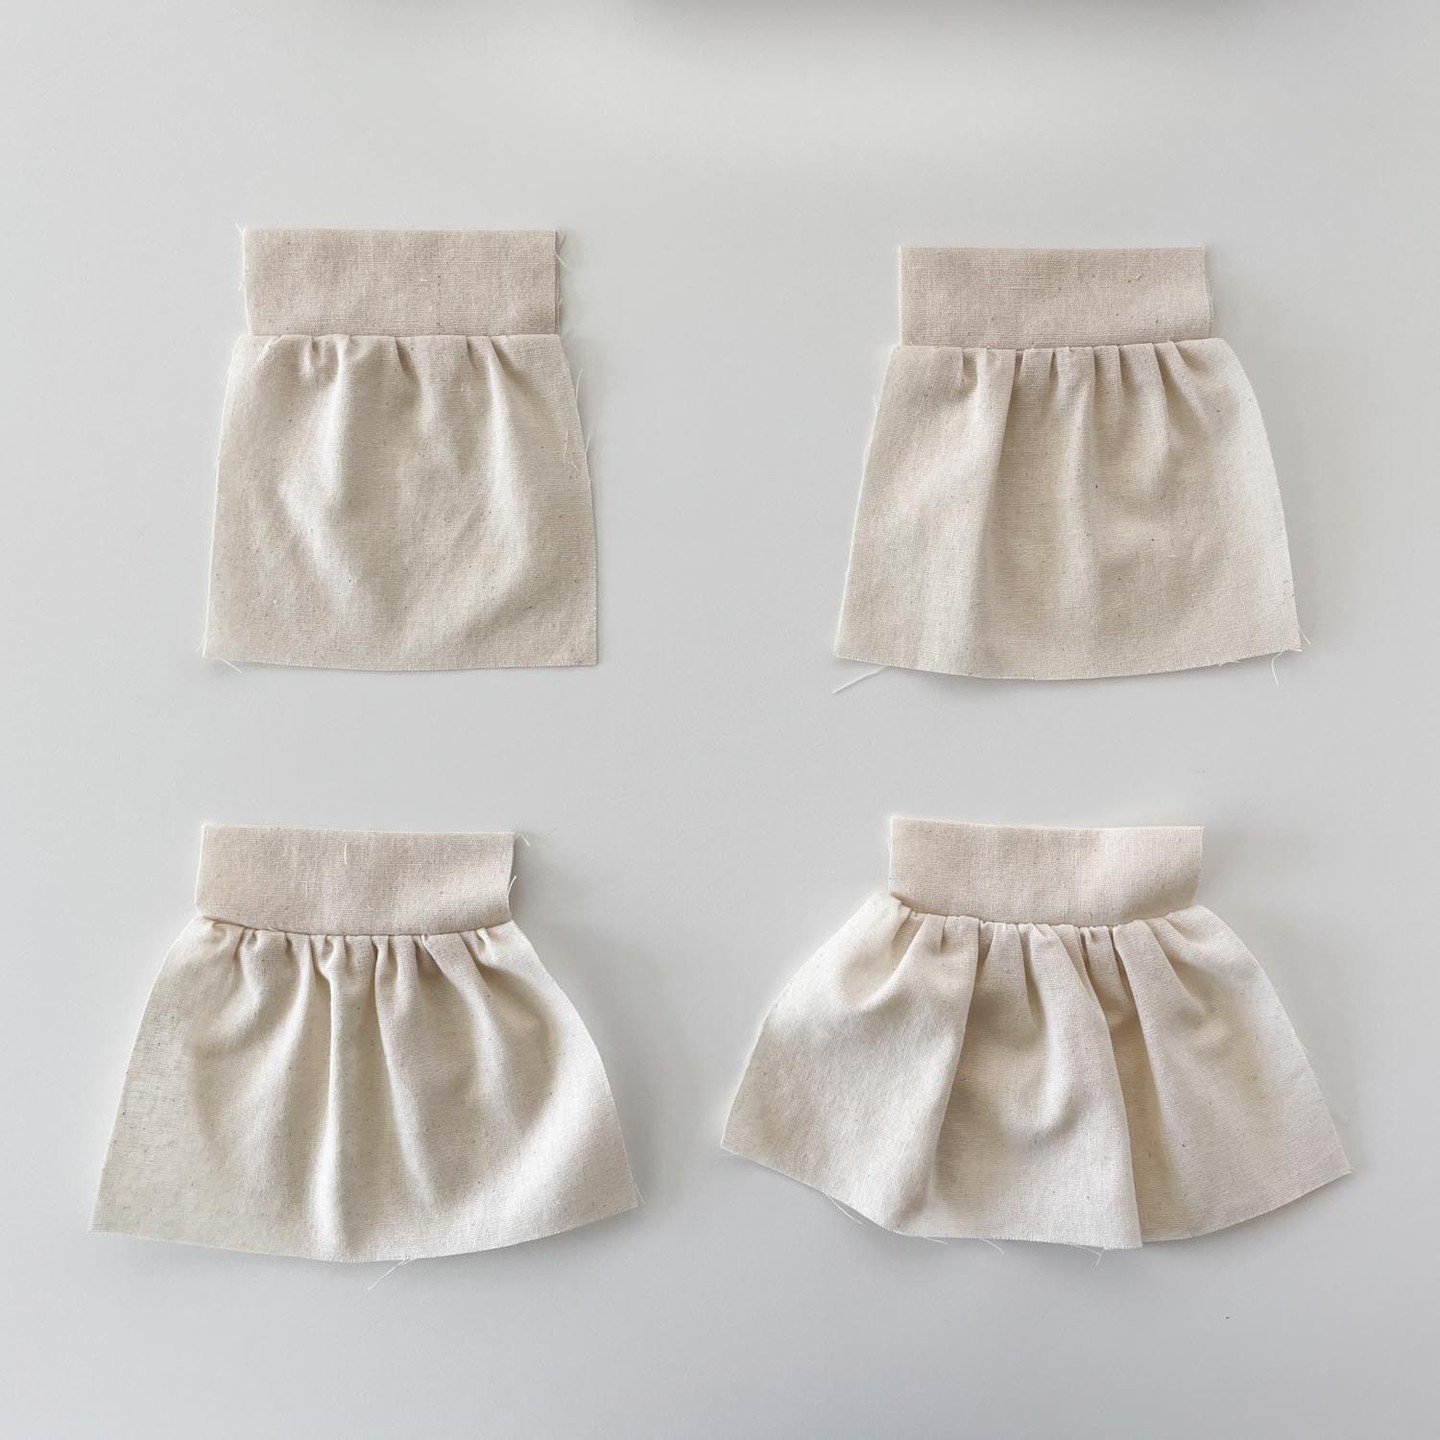
Step 1: Mark the center front and center back of the skirt and bodice. With right sides together, place the bodice inside the skirt and pin matching the center points and side seams.
We will use a slightly larger seam allowance of 3/4" (1.9 cm) at the waist seam because the seam allowance is going to be the casing for the dress. If you are sewing with a knit fabric and using a serger, DO NOT use a serger to stitch this seam. Instead, use a narrow zig zag stitch or stretch stitch on your conventional machine to stitch the waist seam. If you're sewing with woven fabric, use a traditional straight stitch. Stitch all the way around the waist seam to join the skirt to the bodice.
STEP 2: Finish the seam allowance without trimming it smaller and press towards bodice. You can use your serger/overlocker with the knife disengaged, or use an overcast stitch on your conventional machine.
Press the seam allowance towards the bodice. Stitching close to the edge, topstitch the seam allowance in place, and leave a roughly 2" (5.1 cm) opening at the center back. This topstitching won't be very visible in the finished garment because of the gathers from the elastic. I like to use a narrow zig zag for knits and a straight stitch for wovens.
STEP 3: Wrap the elastic around your natural waist and find a comfortable fit. I like to safety pin the elastic together and wear it for a minute, walk around, sit down, stand up and ponder, "Will this be comfortable when I wear it for 15 hours?". When you get the right fit, overlap the ends 1 inch and cut. Using a safety pin, thread elastic through the casing.
Overlap edges of elastic and pin together using the safety pin. Now is a good time to try on the dress and check that you like the fit of the elastic. Trust me, it's so much better to test this now than find out later that you don't like it. If it feels good, stitch the ends of the elastic together using a zig-zag stitch.
Tuck the elastic back into the casing and topstitch the opening in the waistband casing closed. And that's it! The waistband casing is all done!
Tomorrow I'll share the final post of the sewalong for how to sew the hem facing for the Lou Box Dress 1. Check out the links below for more of the sewalong. And if you haven't picked up your pattern yet, there are links below for that too. Happy sewing!
LOU BOX DRESS SEWALONG SCHEDULE
DAY 1 RTW Inspiration Tues Jan 9
DAY 2 Fabric & Supplies Wed Jan 10
DAY 3 How to Print and Store PDF patterns Thurs Jan 11
DAY 4 How to Finish a Knit Neckline Mon Jan 15
DAY 5 How to Finish a Woven Neckline Tues Jan 16
DAY 6 How to Sew a Patch Pocket Wed Jan 17
DAY 7 How to Sew In-Seam Pockets with a Serger Thurs Jan 18
DAY 8 How to Sew Lou Box Dress 2 Scoop Pockets Mon Jan 22
Day 9 How to Sew Lou Box Dress 1, View A Sleeves Tues Jan 23
DAY 10 How to Sew Lou Box Dress 1, View B Sleeves Wed Jan 24
DAY 11 How to Sew Lou Box Dress 2 Waist Casing Thurs Jan 25
DAY 12 How to Sew a Hem Facing Fri Jan 26