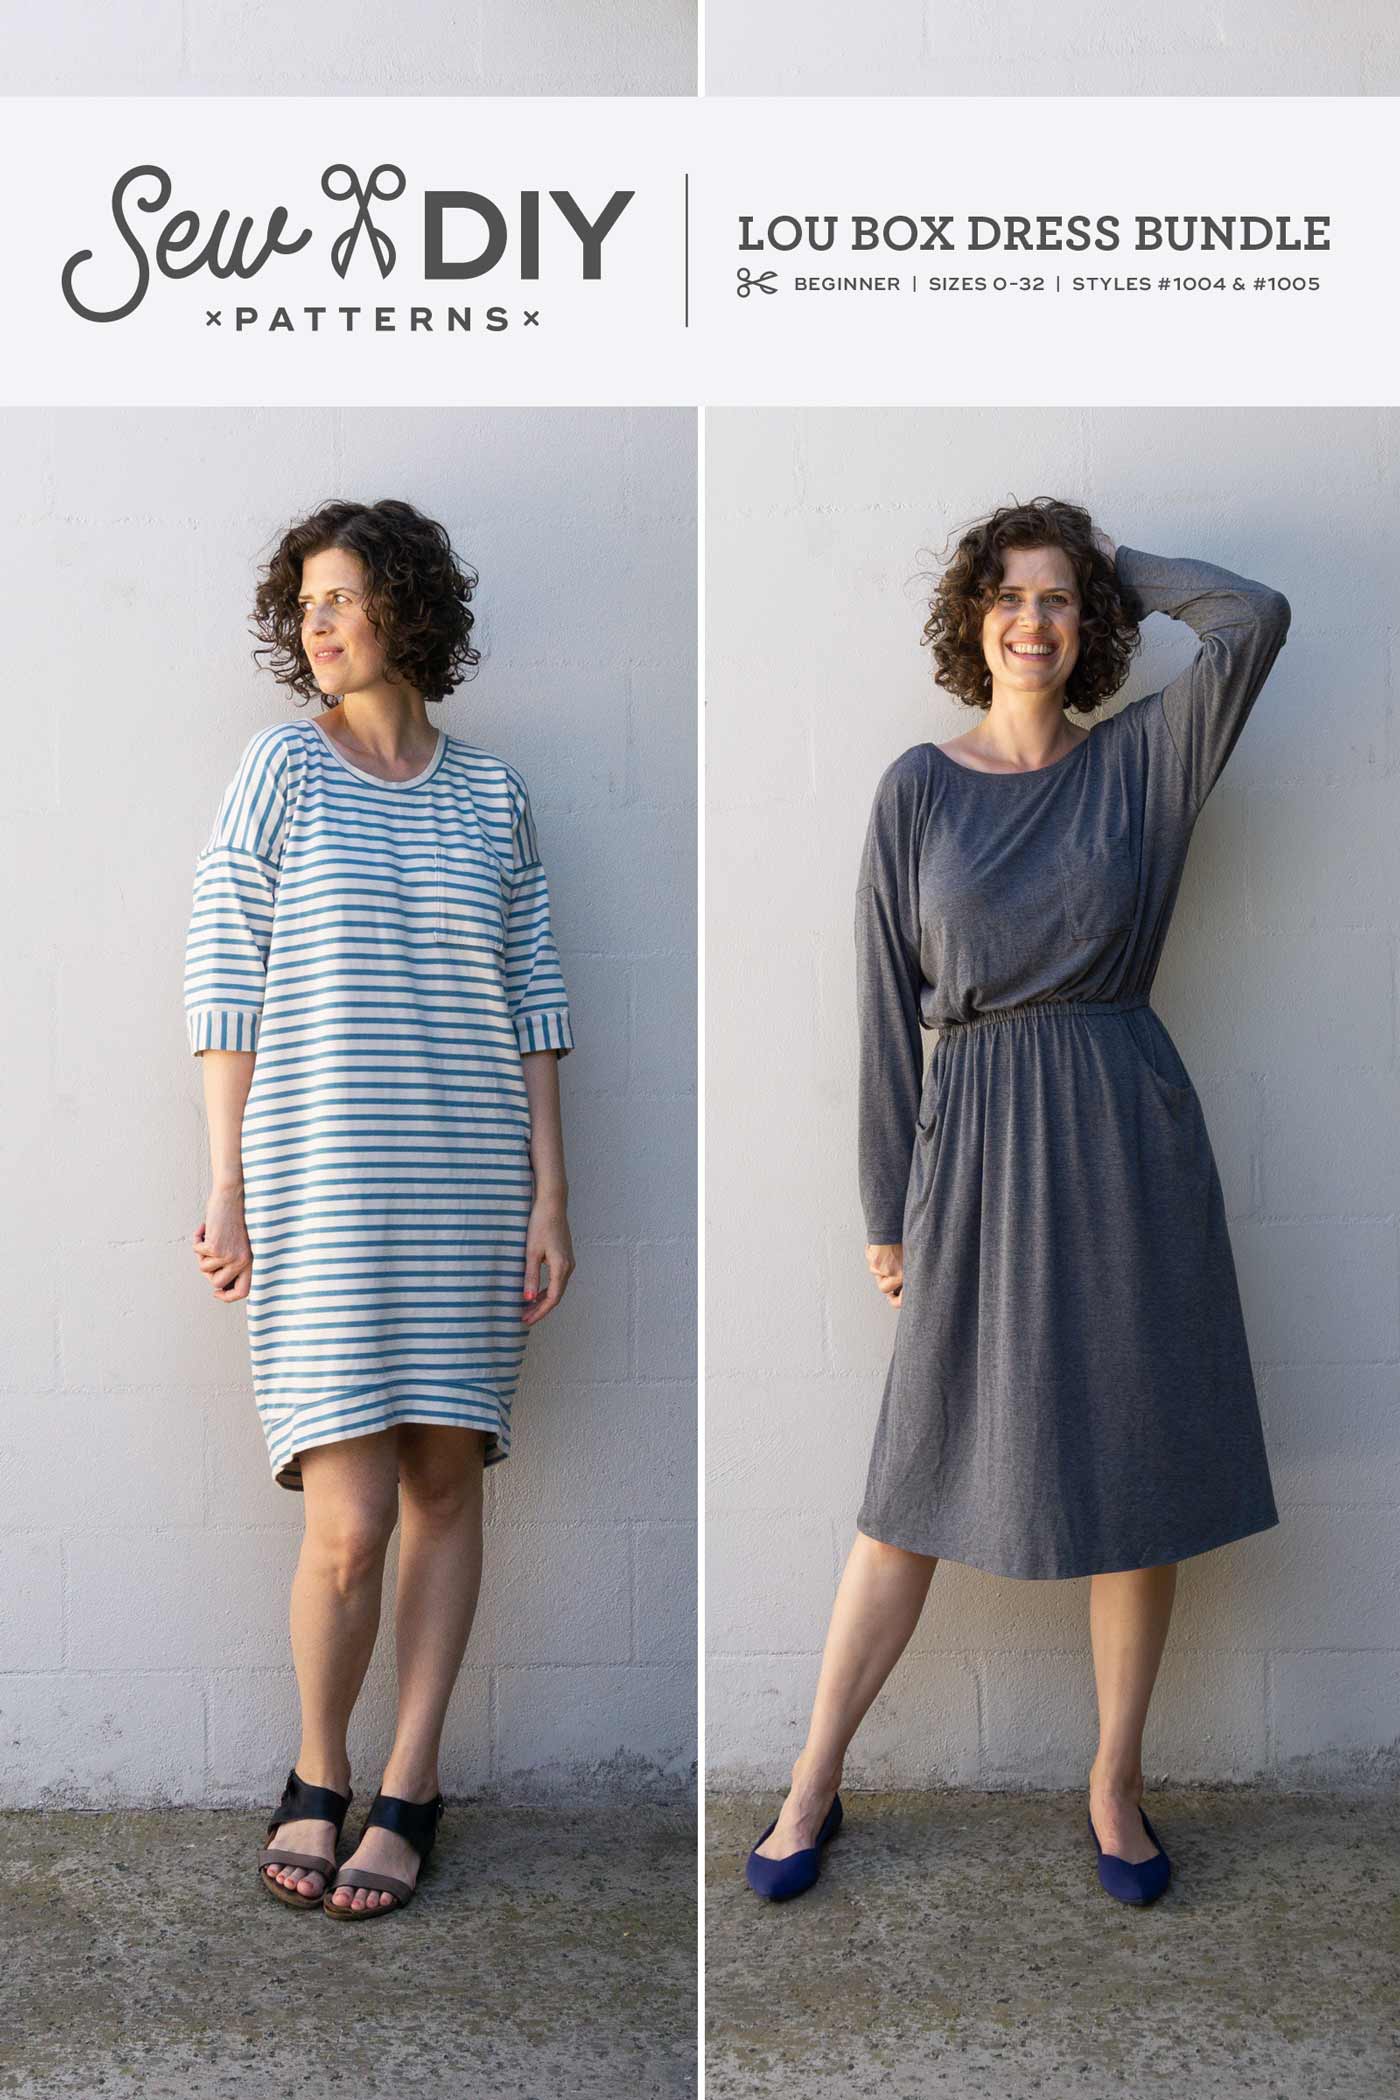
The Lou Box Dress 1 features a rather dramatic curved hem so I decided to include a hem facing to finish the woven version. (The knit version features a hem band. I have not included that in the sewalong but I’d be happy to add it if there is interest. Just let me know in the comments.) I like to use the hem facing because it creates a really clean finish to the hem and will create the appearance of a tall hem. Plus its really pretty easy to do. You can of course do a standard double turn narrow hem if you don’t wish to use the hem facing.
How to Sew a Hem Facing
Step 1: With right sides together, pin the side seams of the hem facings. I always find it a little tricky to remember what side goes up with these pieces, especially when there’s no wrong side to my fabric. So, before I stitch the side seams, I put the facing on top of the dress and make sure everything is matching up. Also, remember to line up the seam line on the pattern pieces, not the edge of the fabric, as shown in the photo above. Stitch the side seams and press open.
Note: I do not apply interfacing to the hem facing as I don't feel that it usually needs it. However, if your fabric is a little thinner, you may want to apply a light interfacing to the hem facing to provide more structure to the hem. If you want to learn more about stabilizing hems, I recommend this article from Colette.
Finish the un-notched edges of of the hem facings. I like to finish the hem facing using the same method that I use for the rest of the dress, usually a serger. If you want an even cleaner finish on the inside, you can turn the untouched edge to the wrong side once and press. This will create a fold that you stitch down instead of the serged edge.
STEP 2: With right sides together, pin facing to hemline matching side seams and notches. Stitch. Grade the seam allowance, cutting the facing seam allowance shorter than the hem seam allowance as shown above. For reference, try to trim the seam allowance from the facing piece to about 1/8" and the seam allowance from the dress to about 1/4". Clip into the curves being careful not to cut into the stitching every couple of inches or so.
Step 3: Press the seam allowance towards the facing. Now we're going to understitch the facing. Understitch is just a fancy term for stitching the seam allowance to the facing or lining. This will help keep the facing turned to the wrong side. You may be tempted to skip this step but don't. It really does help create a clean finish. I like to work with the garment right side up and a slightly longer stitch length. As I stitch, I use my fingers to feel the seam allowance underneath and make sure it is pressed to the right, under the facing. The understitching will not be visible on the outside of the dress. Try to stitch as close to the seam as possible (about 1/8" to 1/4").
STEP 4: Press facing towards wrong side and pin. Topstitch the hem facing in place, stitching close to edge of facing. For a little extra flair, you may try stitching a double row of topstitching.
Your hem is now done and your dress is finished! Woohoo! I know there are a lot of steps to these two dresses so I have not covered in the sewalong so let me know in the comments or via email if there's anything that you'd like to see added. Below are links below for the rest of the sewalong. Or go to the sewalong main page here. Also make sure to check out the Lou Box Top Sewalong because it uses a lot of the same techniques as the dresses. And if you haven't picked up your pattern yet, there are links below for that too. Happy sewing!
LOU BOX DRESS SEWALONG SCHEDULE
DAY 1 RTW Inspiration Tues Jan 9
DAY 2 Fabric & Supplies Wed Jan 10
DAY 3 How to Print and Store PDF patterns Thurs Jan 11
DAY 4 How to Finish a Knit Neckline Mon Jan 15
DAY 5 How to Finish a Woven Neckline Tues Jan 16
DAY 6 How to Sew a Patch Pocket Wed Jan 17
DAY 7 How to Sew In-Seam Pockets with a Serger Thurs Jan 18
DAY 8 How to Sew Lou Box Dress 2 Scoop Pockets Mon Jan 22
Day 9 How to Sew Lou Box Dress 1, View A Sleeves Tues Jan 23
DAY 10 How to Sew Lou Box Dress 1, View B Sleeves Wed Jan 24
DAY 11 How to Sew Lou Box Dress 2 Waist Casing Thurs Jan 25
DAY 12 How to Sew a Hem Facing Fri Jan 26