Usually I only share one project per post but today I’m sharing two. These are both really easy projects and I already posted about one of the patterns before so, I didn’t really think there would be enough content for a full post. Plus I think they look really cute together! These projects were perfect quick sews to give me a break from the month long pattern launch and sewalong (btw just in case you missed it, I launched the Lou Box Dress 1 and 2 at the beginning of January and have a 12 post sewalong right here). Plus, both makes are perfect for winter lounging at home when I just want to be cozy and warm.
Let’s start with the pj pants. The fabric is a flannel from The Fabric Store that I picked up at the end of last year. This fabric is so soft and I love the mix of kind of pink red and mint green. When I was last in the shop I didn’t see anymore of this flannel but they do have some other plaids. I have a partnership with The Fabric Store, wherein they give me fabric to play with and I post about it from time to time. (I know! I’m very lucky!) I genuinely love their fabrics and their shop. It’s always a delight to visit them.
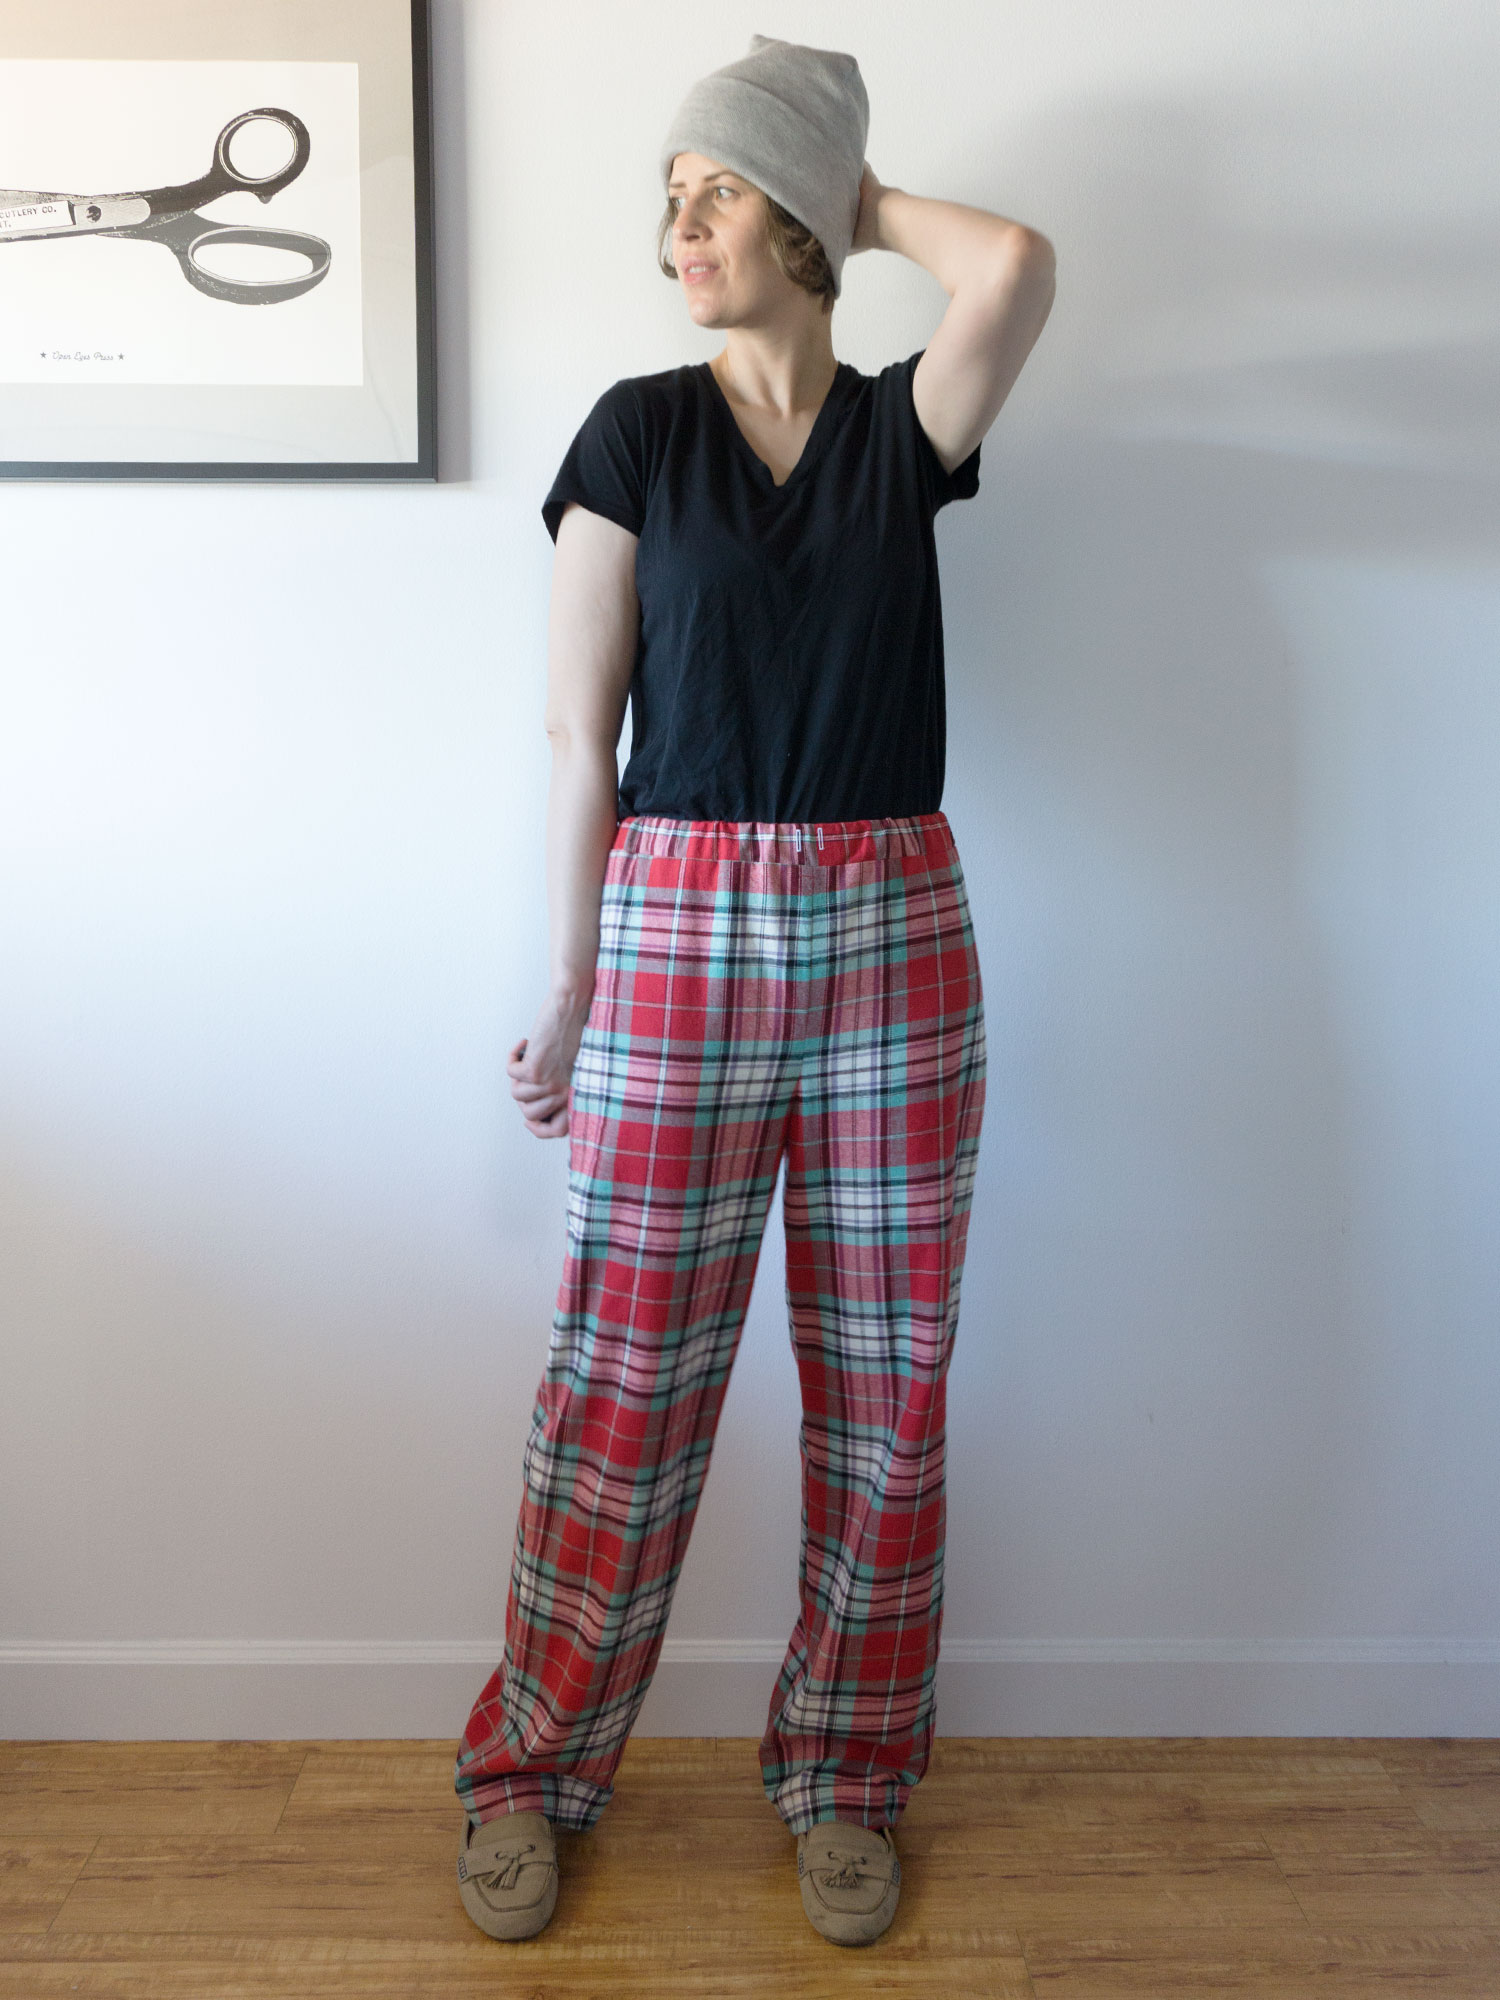
The pattern is the Ultimate Pyjamas from Sew Over It. I made this pj bottoms last year and posted about it here. They are some of my favorite pj pants and I wear them whenever the weather allows. I made a size small again with 1.5” added to the length. Plus, this time I lengthened the crotch one inch. (For reference, my hips are 39” and I’m 5’11”.)
I also made buttonholes for a drawstring but haven’t put one in yet. My cat will wake me up in the middle of the night by playing with my drawstring, while I’m wearing the pants. Super annoying. And yes, the cat does crawl under the covers to do this. I could just tuck the drawstring inside my pants while I wear them but since there is elastic in the waistband I figured that I don’t really need it. Also, this time I did not include the optional side seam pockets. I thought they added a little too much bulk (although they were never uncomfortable to wear). Hopefully I don’t miss the pockets too much. They are handy for tissues and such.
I did have a challenging time matching the plaid. I even took the time to cut everything in a single layer but still had some shifty bits. I had the same problem with the flannel I used last year. I’m just happy that I managed to line up the plaid at the center front on this pair. And seriously I’m going to be wearing these to bed so it really doesn’t matter if the plaid lines up perfectly.
Next up is the Delia Beanie by Named Patterns. I’ve seen Allie from Indie Sew wearing it a lot and thought it was time that I give it a try. My new house is drafty with rather inefficient heating and I’m a wimp who just can’t handle cold. I keep reminding myself that it will be lovely in the summer! Anyway, this is a really easy pattern for a basic beanie. I think I was able to cut it out and sew it together in about 30 minutes. It would be great for assembly line presents or for donating to charity. It comes in just one size so the fabric you choose will really determine how tight the fit is. I have a kind of small head and the fit is ok but not tight on me.
I used a waffle knit fabric that I bought from a bargain bin in the LA fashion district about a year ago. The pattern recommends a thick knit or jersey with 40-60% stretch. When I sew it again, I’ll try to find a thicker fabric. This is a little thin for wearing outdoors on really cold days but it’s nice for around the house when I need a little extra layer. I’ve been trying to do a 30 day yoga challenge this month (inspired by the Helen and Caroline from the I Love to Sew podcast) and there have been days when it was just too cold in my house. The beanie has really helped though. If you’re interested, the challenge is called the True challenge. It’s on YouTube and totally free. I’m on day 17 and I’ve really liked it. It’s more meditative than the kind of exercise I usually do and it was hard for the first week to slow down and sit. I can be very go-go-go so sitting quietly is a struggle. I really appreciate being able to learn how to slow down and breathe. As the month goes on it is starting to get more active.
Anyway, this pattern is super easy and you only need a little bit of fabric. It was a little hard to imagine how the one pattern piece would become a hat but it of course worked perfectly. The hat ends up being two layers of fabric that fold up to create a brim. There is one seam that you can wear at the back. I sewed it all on my conventional machine. The instructions say you can use that or your serger. You will have to do a little hand stitching to close the hole where you turn the hat right side out. The photo on the left above shows the back seam and my not so invisible hand stitching. When the brim of the hat is folded up though it covers the hand stitching. I'm really happy with these makes and I'm sure I'll be able to get a lot of use out of them.